Modern industries often struggle to present buildings, infrastructure, and location data in a way that feels realistic and easy to understand. Flat maps may display information, yet they usually fail to provide depth, scale, and spatial context. Because of this, architects, urban planners, tourism teams, and real estate businesses are now shifting toward Adding 3D Objects to interactive maps for clearer visualization and better storytelling.
Fortunately, MAPOG makes this process much easier. With features like Annotation, 3D Model upload, and Add Manually, users can build immersive map experiences without advanced GIS knowledge. Moreover, interactive maps can now combine location data, 3D buildings, amenities, branding, and business information within one visual project.
Key Concept Behind Adding 3D Objects
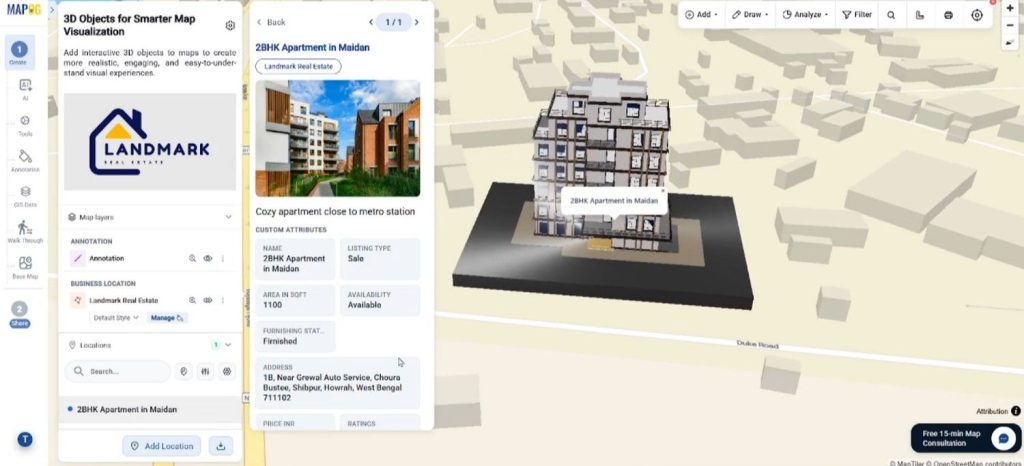
The idea behind Adding 3D Objects is simple: instead of viewing locations as flat points, users can visualize buildings, landmarks, or structures in a more realistic environment. As a result, viewers understand property layouts, tourism destinations, construction projects, and urban plans much faster.
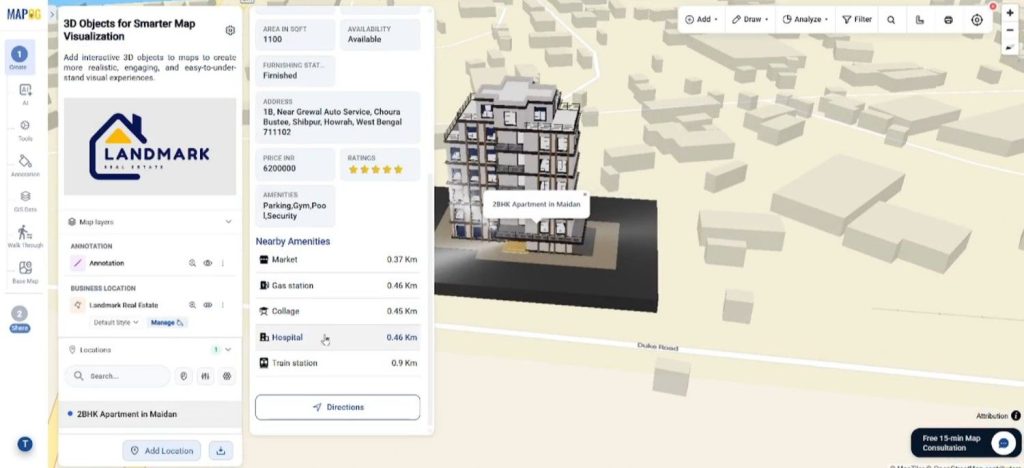
For example, a real estate company can display apartment buildings with nearby amenities like hospitals, cafés, and transport routes. Similarly, a tourism board may present heritage monuments in 3D to create engaging visitor experiences. Because spatial understanding improves significantly, decision-making also becomes easier.
Step-By-Step Guide to Add 3D Objects
Step 1: Adding 3D Objects with MAPOG
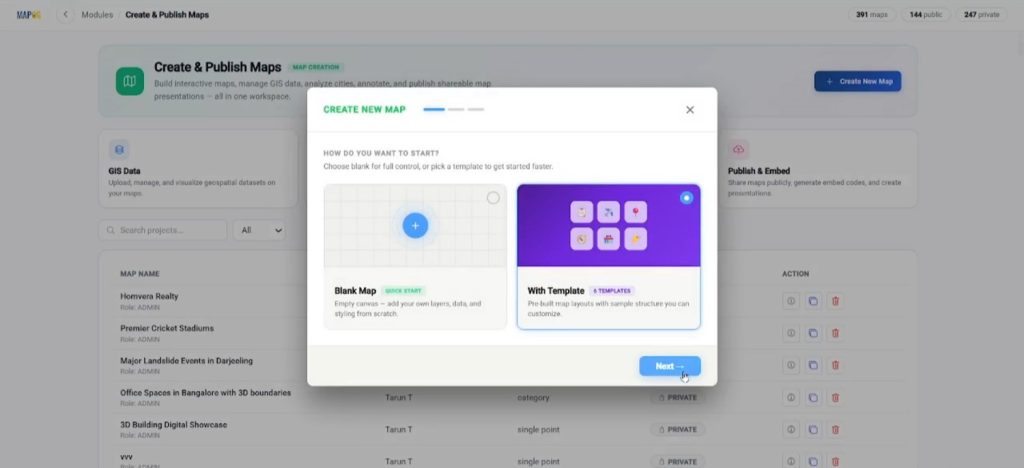
To begin Adding 3D Objects, first open MAPOG and click on Create & Publish Map. Then select Create New Map and choose the With Template option.
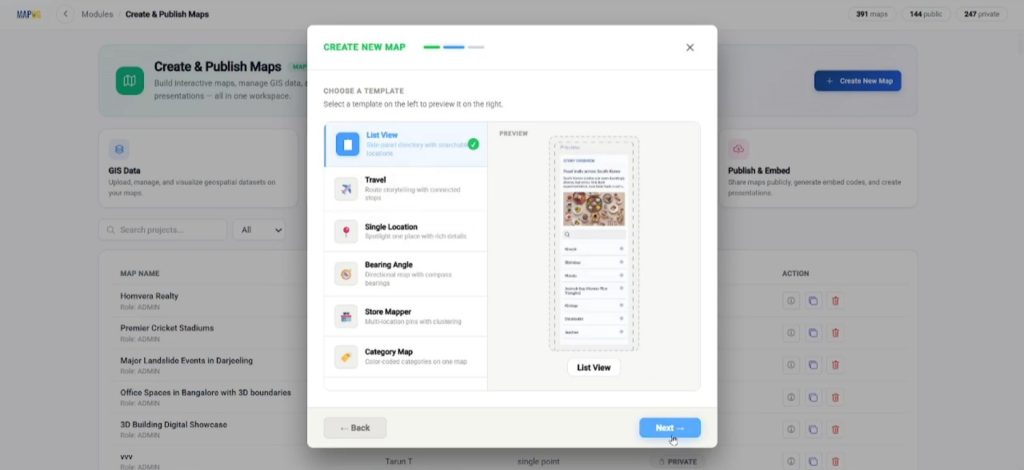
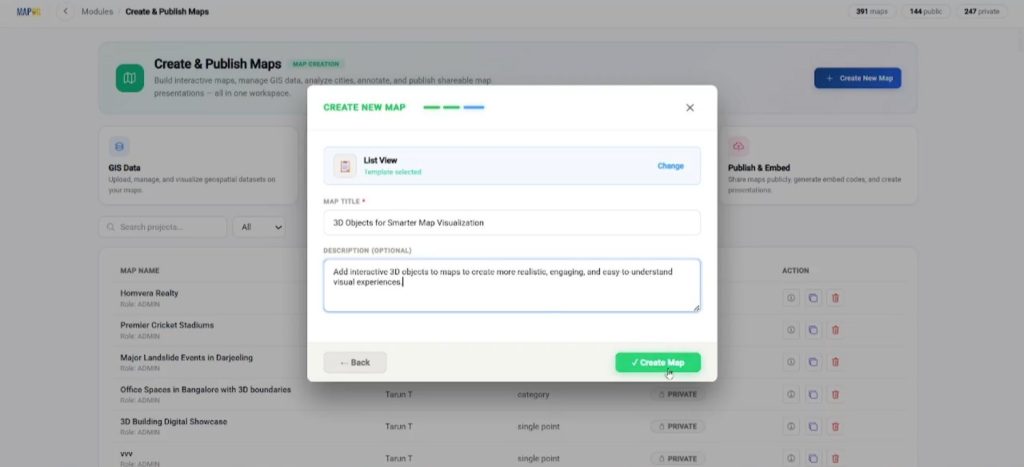
After that, pick the List View,
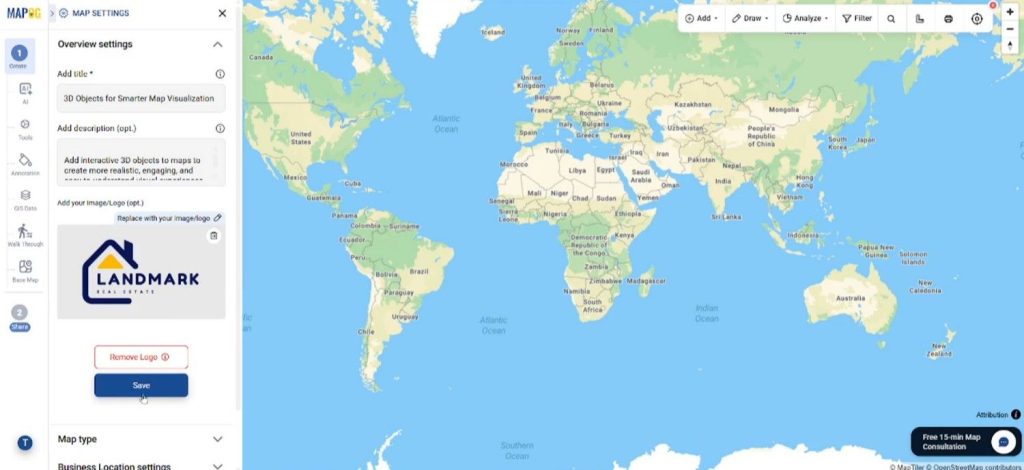
add your map title and description, and click create map to create the project.
Once the map interface opens, go to Map Settings and upload a logo for project branding.
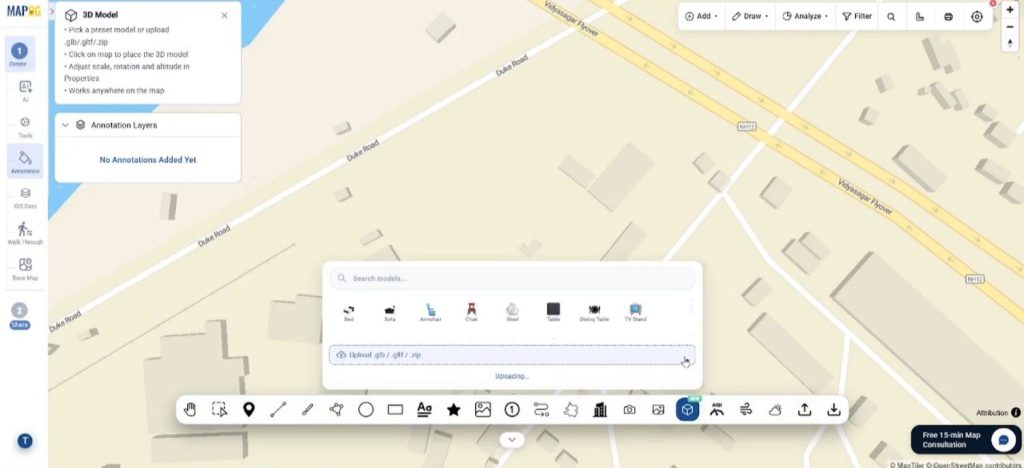
Step 2: Uploading 3D Models Through Annotation
Next, open the Annotation section and choose 3D Model. Here, MAPOG allows uploads in GLB, GLTF, or ZIP format. After uploading the file, place a point on the map and the 3D structure will instantly appear.
Moreover, the edit panel helps adjust the model’s name, opacity, scale, and altitude. Meanwhile, the X, Y, and Z rotation tools improve positioning so the object matches the actual landscape view. Once the adjustments are complete, click Fix View to lock the model onto the map.
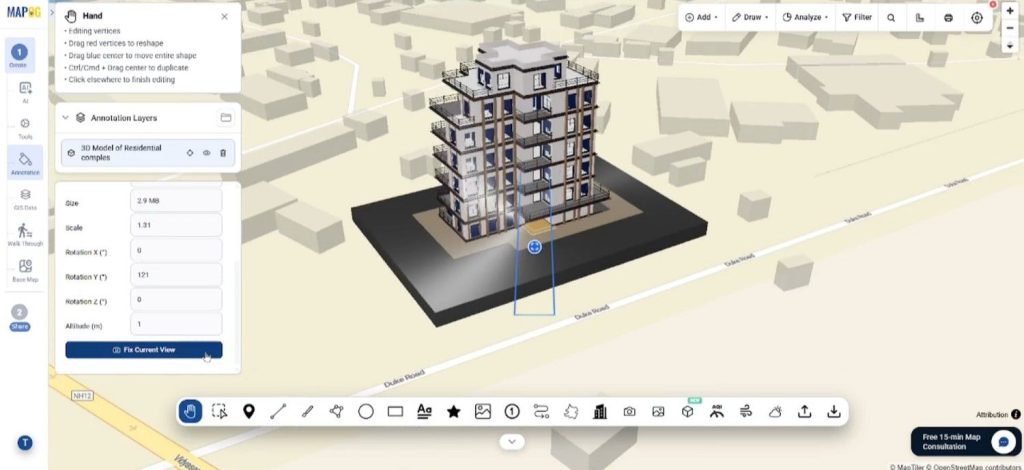
Because of these controls, Adding 3D Objects becomes practical for urban planning, campus visualization, smart city projects, and construction mapping.
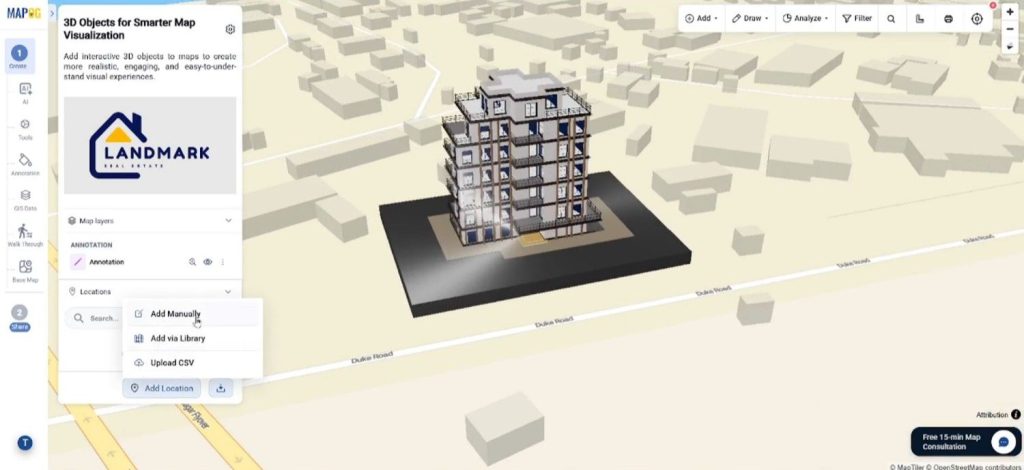
Step 3: Creating Building Areas with Add Manually
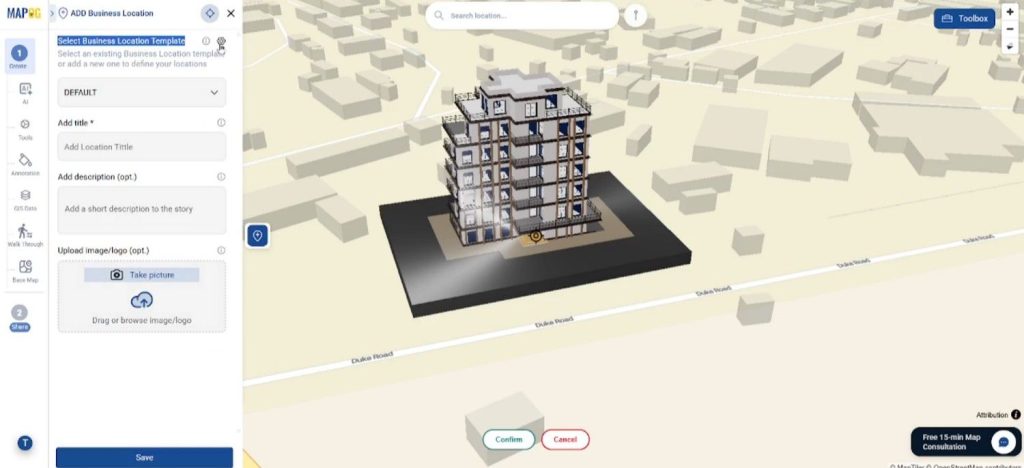
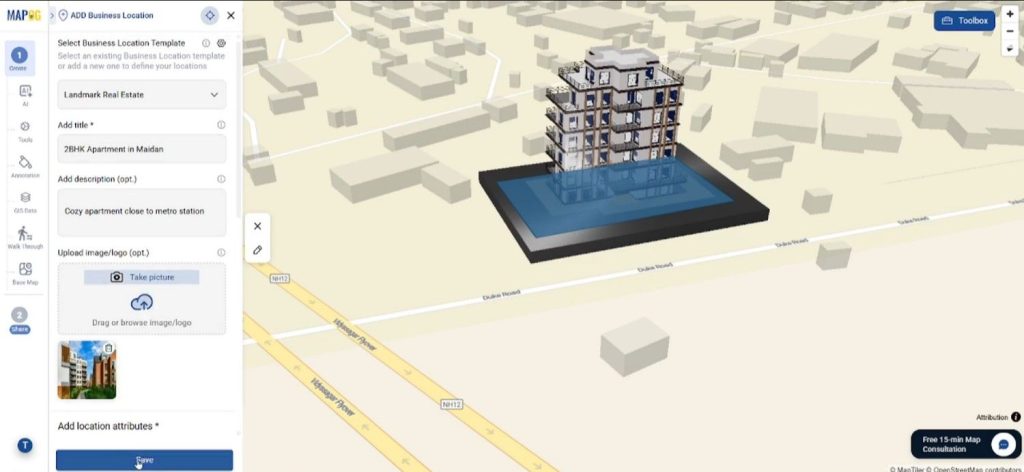
After placing the 3D structure, go to Add Location and choose Add Manually.
Then open Select Business Location Template Settings.
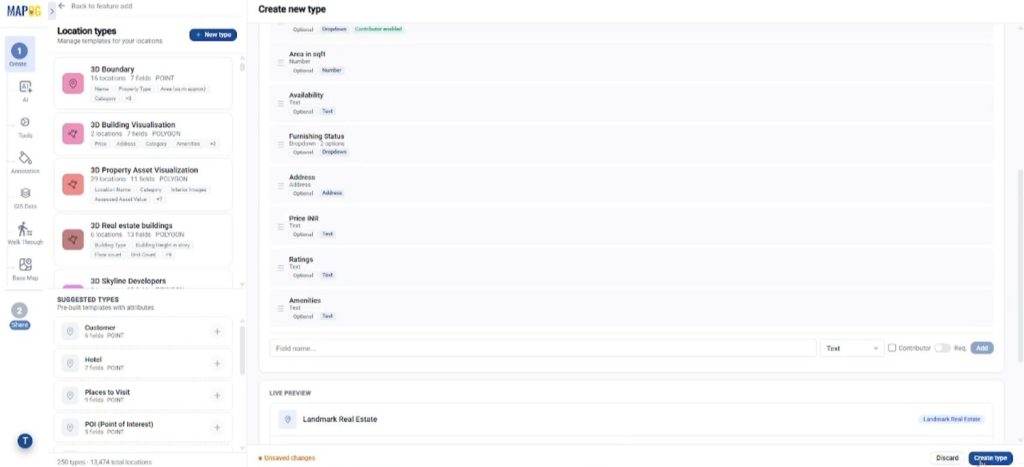
Click new type to create a new location type. Set the geometry as Polygon, since buildings usually require polygon-based boundaries.
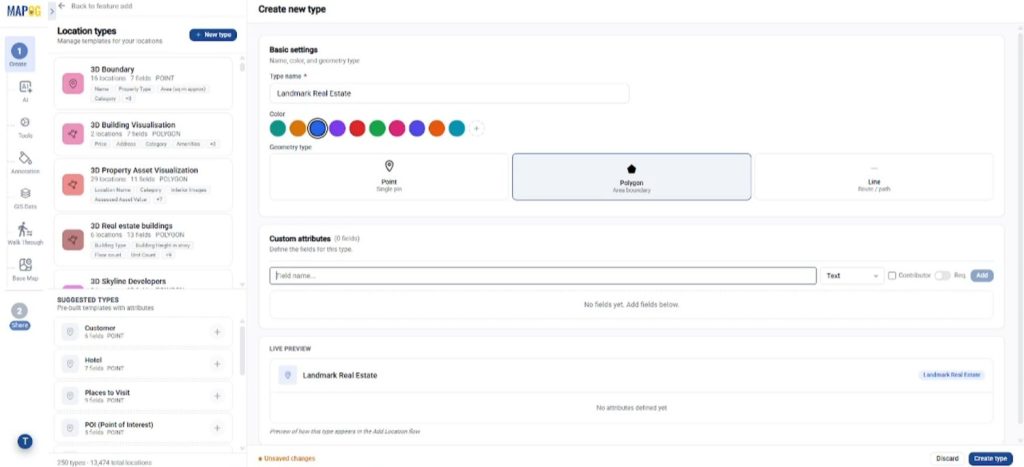
You can also attach custom fields like building name, lease type, address, area size, and property category. Additionally, enable contributor access so external teams can update information directly from their side.
Now return to the map and use the polygon draw tool to outline the building corners accurately using add point option. Once the polygon is completed, confirm it.
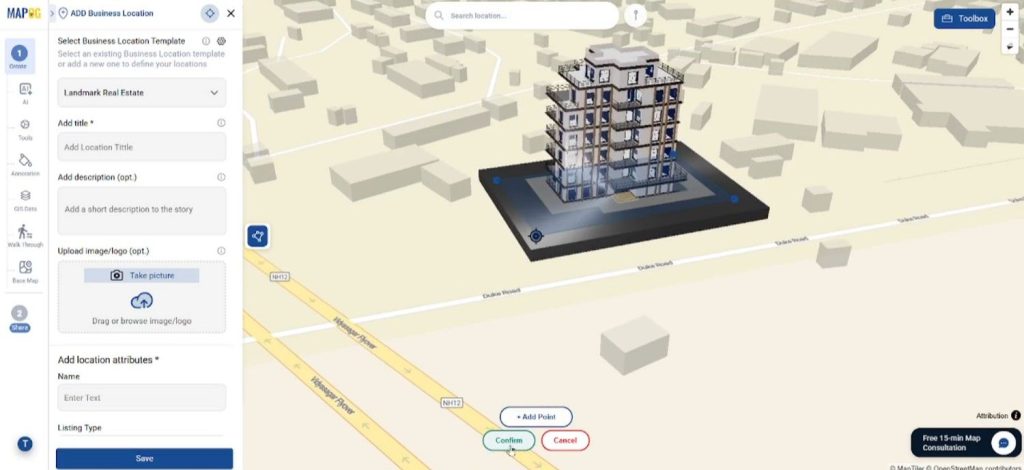
After that, save the location details with images, descriptions, and attributes.
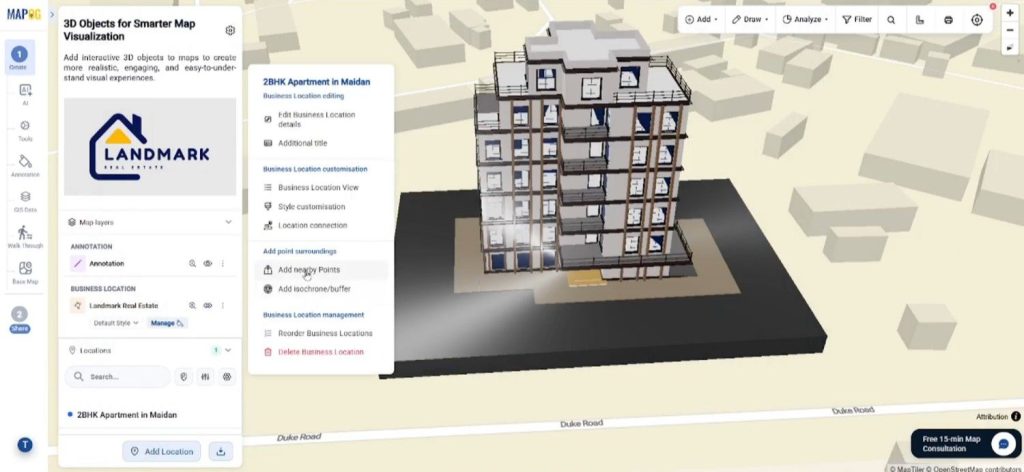
Step 4: Adding Nearby Amenities for Better Context
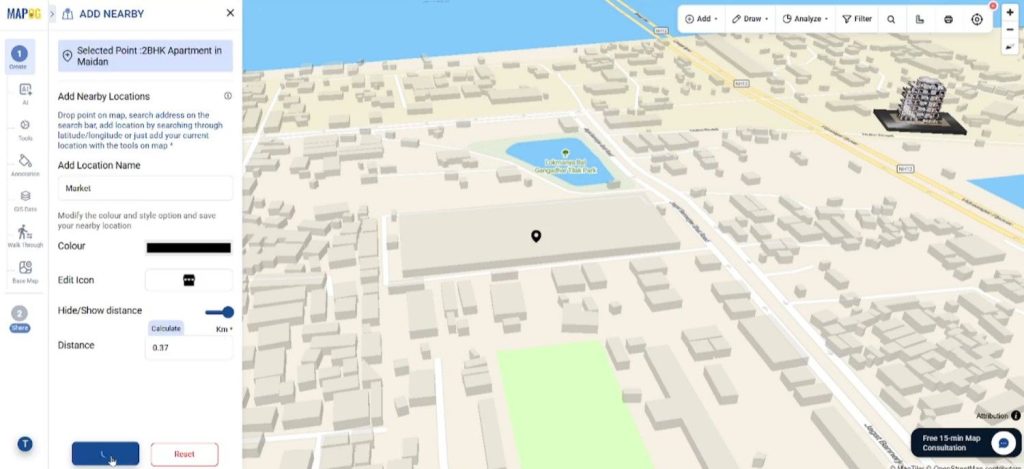
Interactive maps become more useful when nearby facilities are included. Therefore, open the edit option and add nearby points such as restaurants, parking areas, hospitals, or transport points.
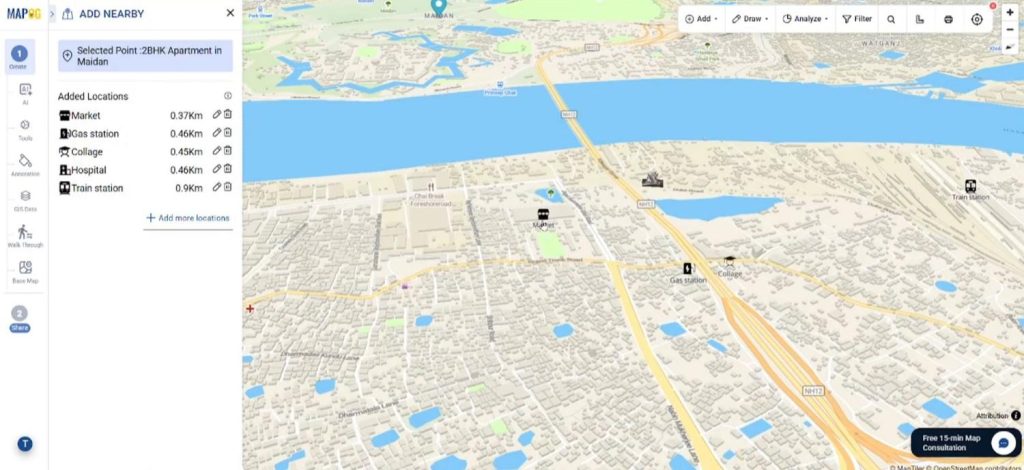
These can either be searched automatically or added manually by placing points on the map. Then add location name, set & edit icon. MAPOG also calculates distances between the building and amenities, which helps users understand accessibility instantly.
Consequently, real estate listings, hotels, and tourism maps become far more informative.
Step 5: Finalizing and sharing the 3D Map
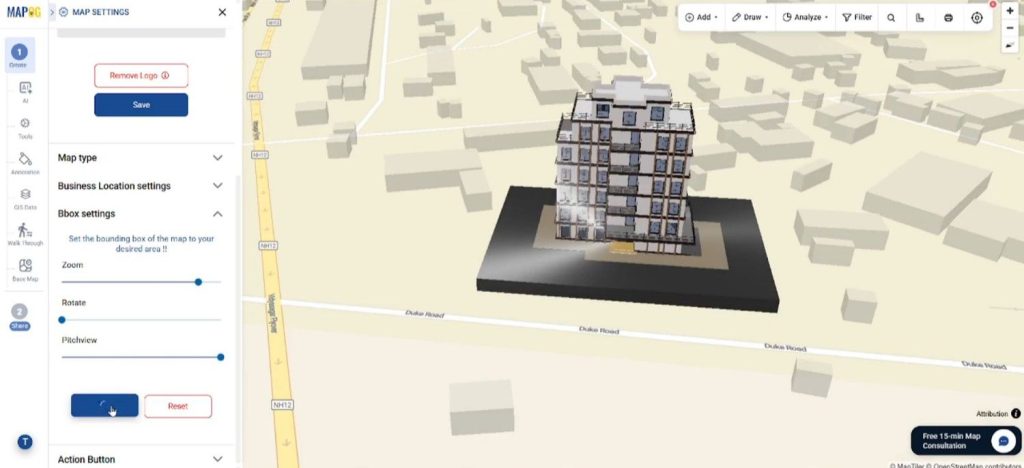
Before publishing, open Map Settings and configure the BBox Settings to adjust zoom, pitch, and rotation views.
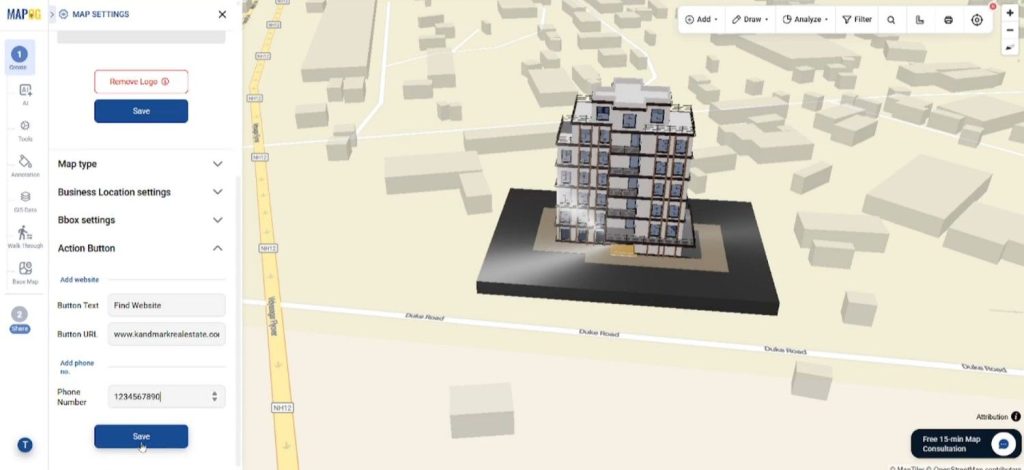
Then add website URLs and contact details through the Action Button section so visitors can connect directly from the map
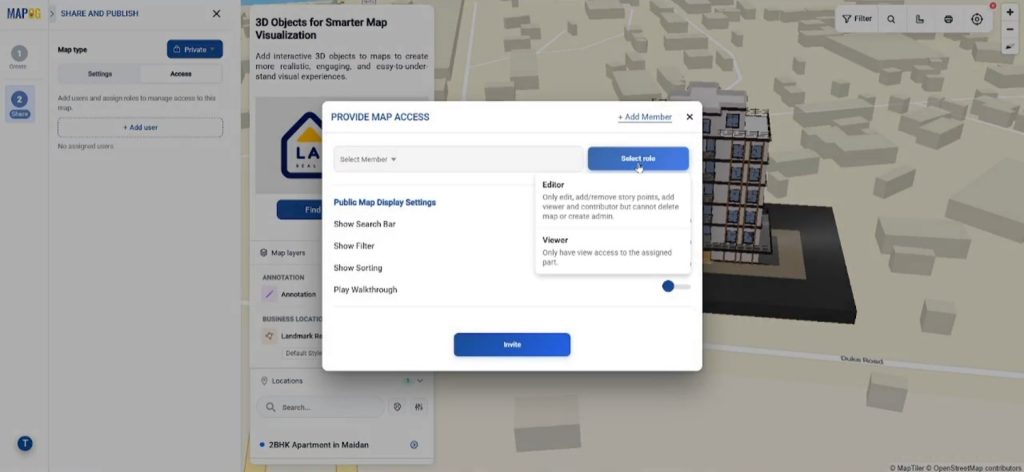
Finally, go to Preview & Share. Your map can be kept private or made public depending on the audience. You may also assign collaboration roles.
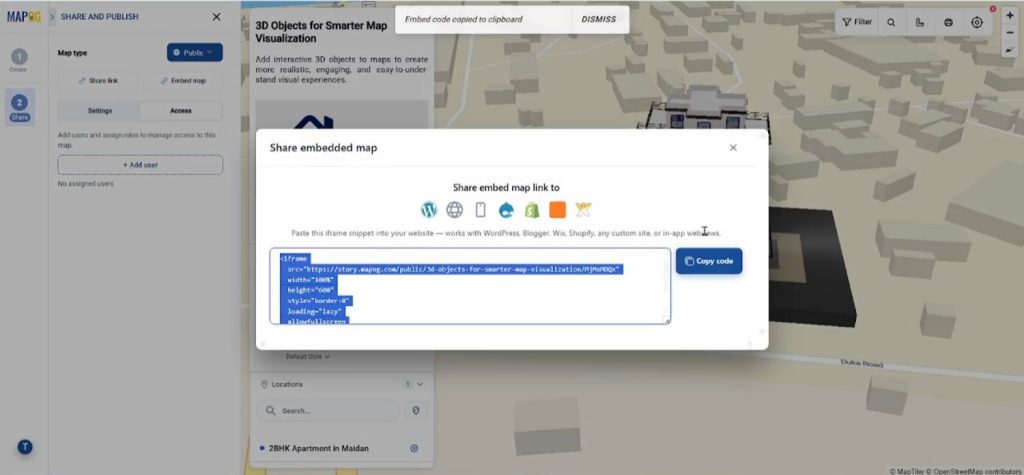
Dhare map link or embed the map into websites or blogs.
Industries Benefiting from Adding 3D Objects
Today, adding 3D Objects is widely used in real estate, smart cities, tourism, education, and infrastructure planning. Real estate businesses can showcase property layouts more clearly, while tourism organizations can create immersive destination guides. Likewise, urban planners often combine 3D buildings with transportation and population layers for smarter analysis.
Since visual storytelling is becoming increasingly important, interactive 3D maps are now helping businesses improve engagement, planning, and communication simultaneously.
Conclusion
Traditional maps are informative, yet interactive 3D visualization delivers a much richer experience. By Adding 3D Objects through MAPOG‘s Annotation and Add Manually features, users can build maps that feel more realistic, engaging, and easier to understand. Whether you are presenting buildings, tourism spots, or infrastructure projects, 3D mapping can significantly improve visual communication and user interaction.