In today’s real estate industry, users expect more than static listings—they want a clear, visual understanding of property locations and nearby amenities. Interactive maps have become essential to display property listings effectively while improving engagement.
However, building such solutions can be complex and resource-intensive. MAPOG simplifies this by allowing businesses to create and embed interactive property maps with ease, helping showcase listings more effectively and enhance user experience.
Key Concepts on how to Display Property Listings on your Website
To display property listings on embedded interactive maps, it relies on concepts like location intelligence, interactive mapping, and clear data visualization to help users explore properties easily. It emphasizes strong user experience, marker customization, and seamless website integration, along with real-time updates and mobile responsiveness.
Step by Step Process for Displaying Property Listings on your Website
1. Create and Upload Property Locations
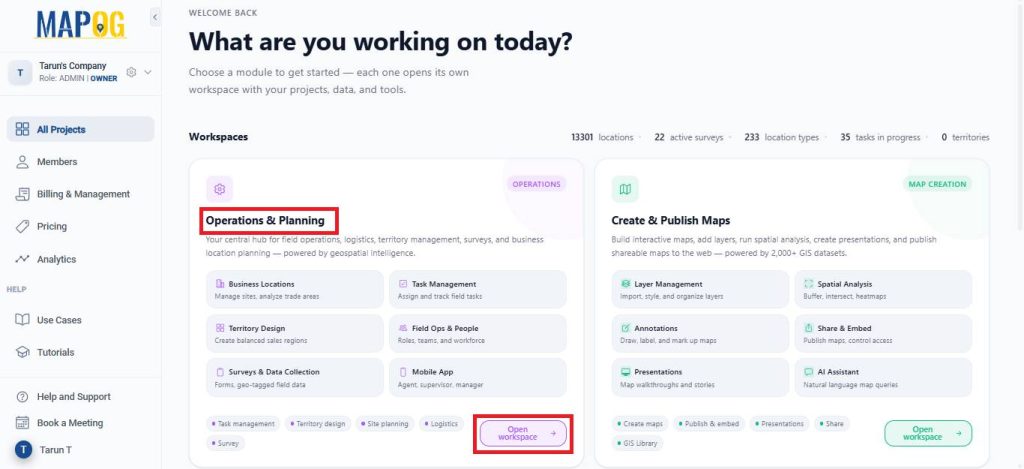
Open MAPOG and go to Open Workspace under the Operations & Planning section.
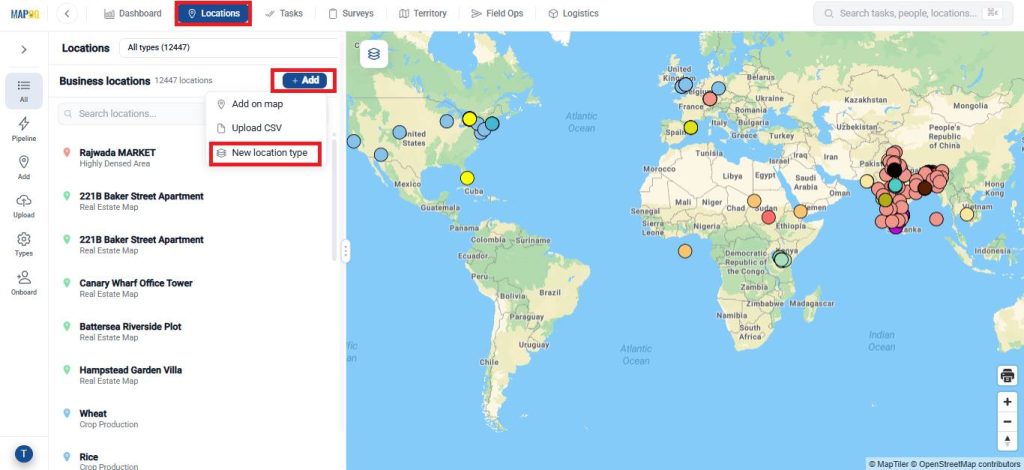
Navigate to Locations and click Add, then select New Location Type to create a Business Location Template.
Enter a name, choose a suitable color, and set the geometry type as point.
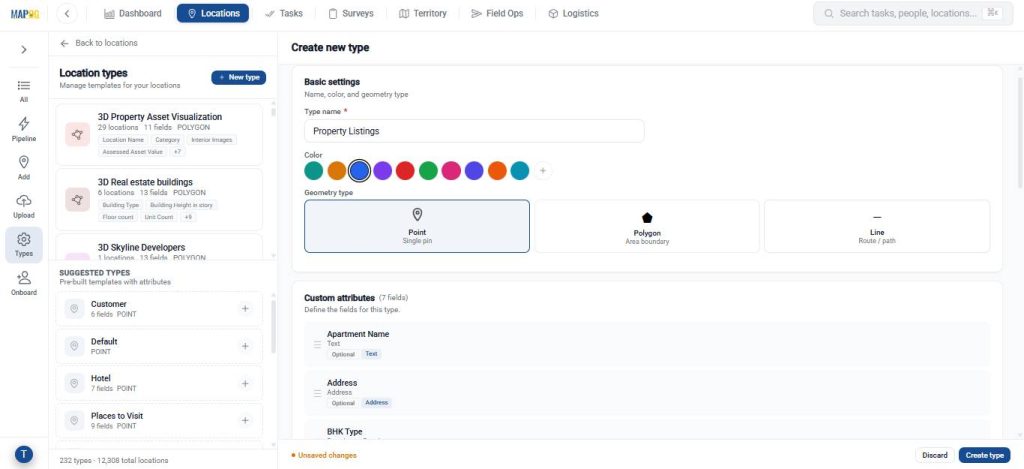
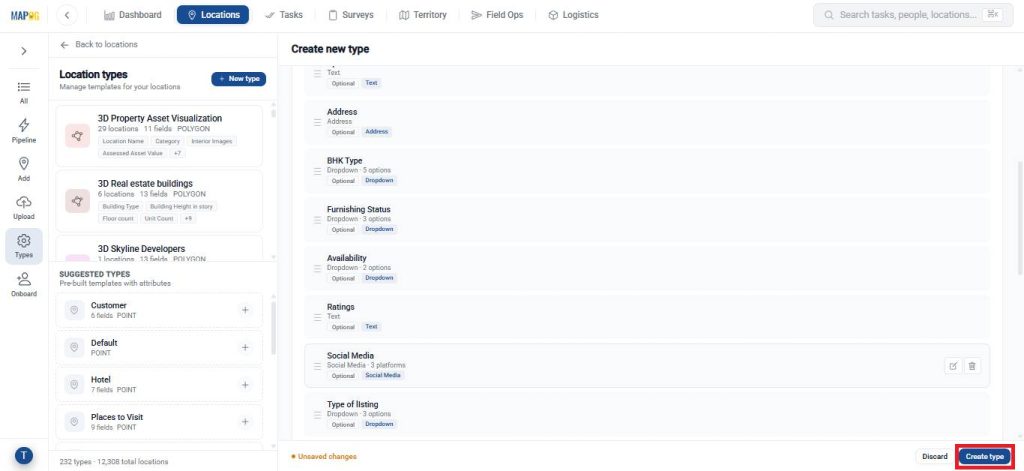
Add attributes that define your point using text, number, dropdown, or multi select based on the details you want to capture, then click create type to save the template.
Next, go to Upload, select the created template, and upload your CSV or Excel file.
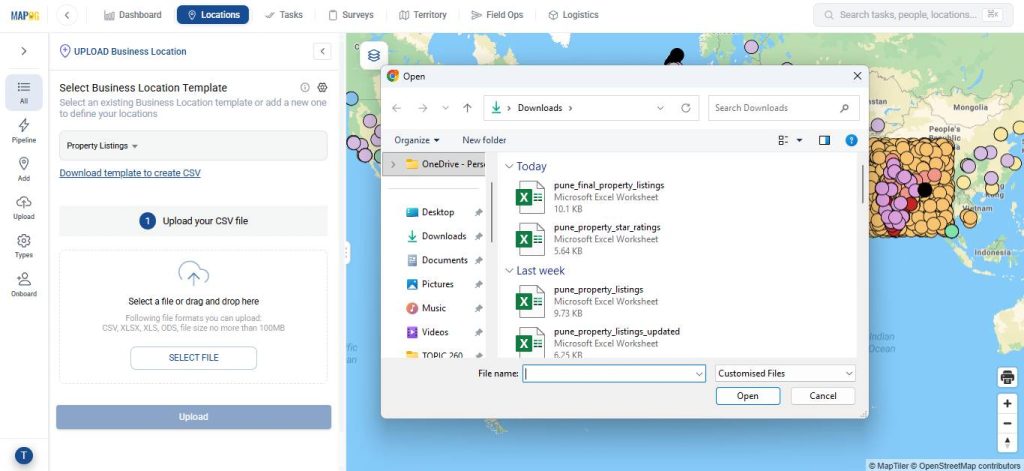
Assign a Unique ID to each location to avoid duplicates and allow easy updates.
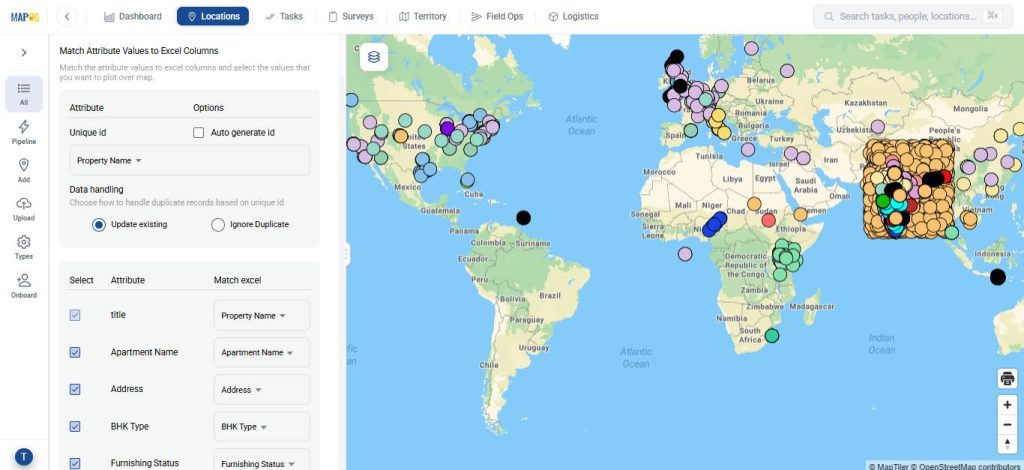
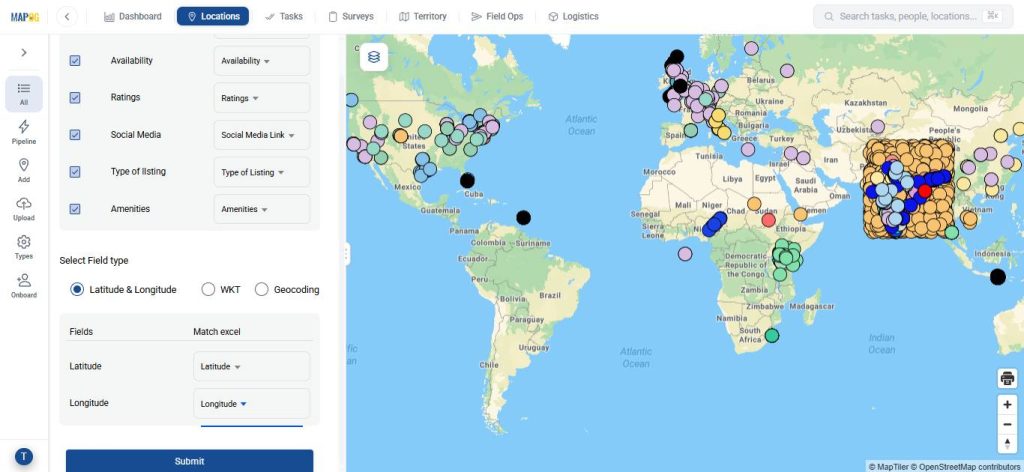
Match the attributes with excel and field type to latitude and longitude. Lastly, hit submit.
2. Create a New Map
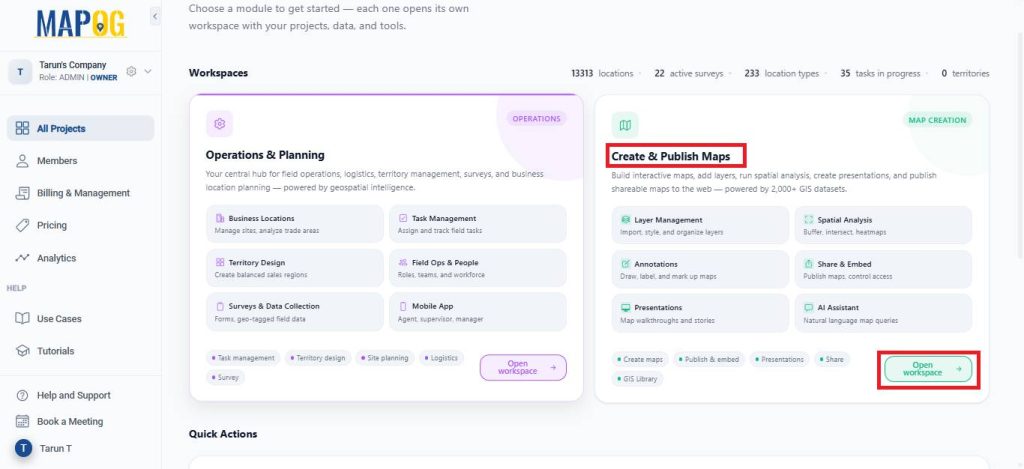
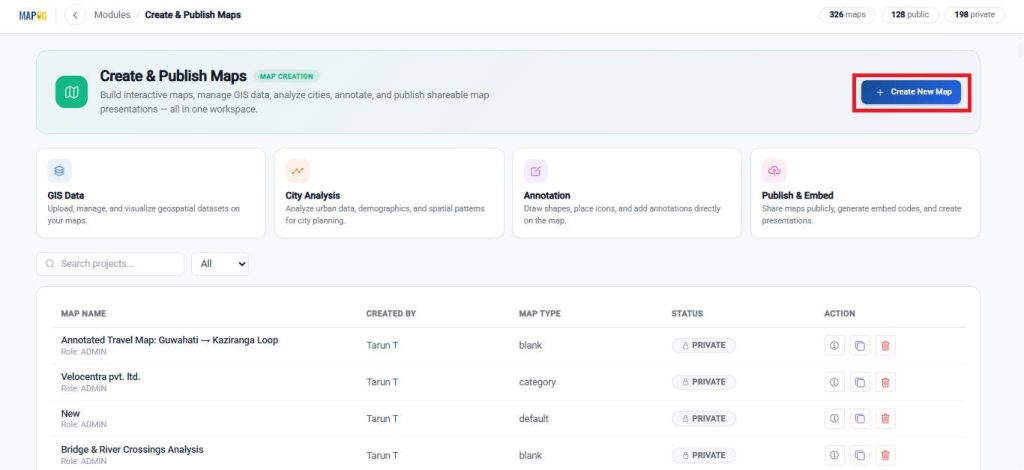
Open MAPOG and go to Open Workspace under the Create and Publish section.
Click on Create New Map.
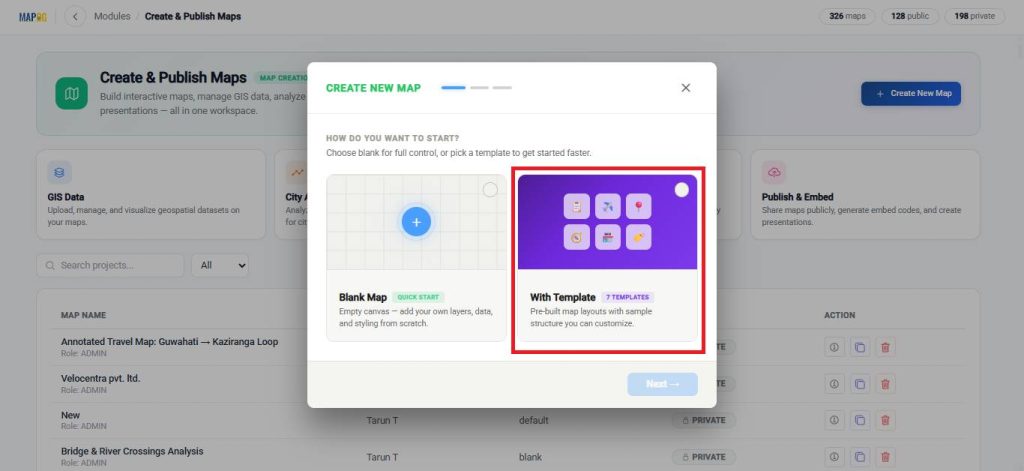
Then, select the Template option and proceed to the next step.
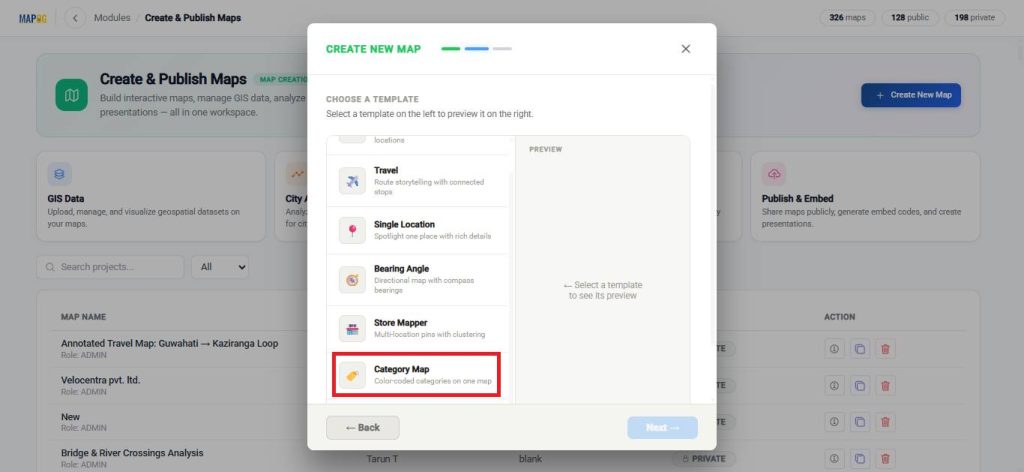
Choose Category template and continue.
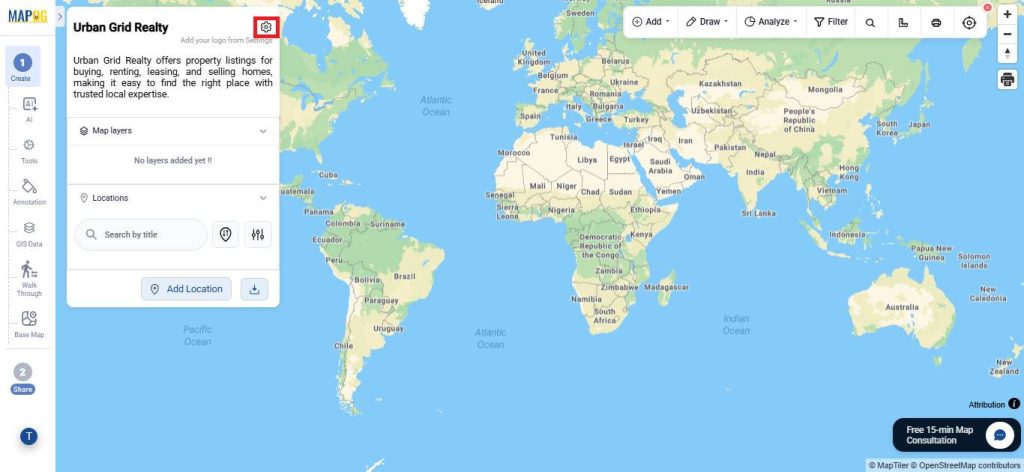
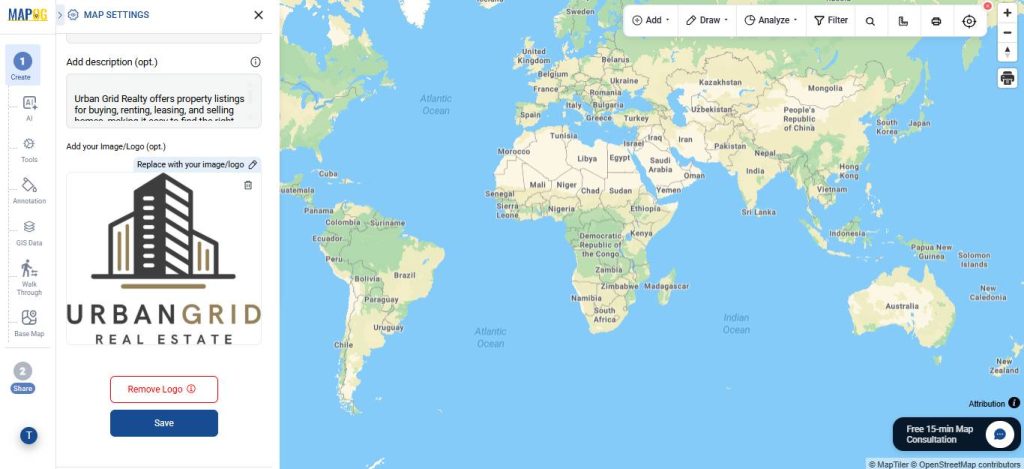
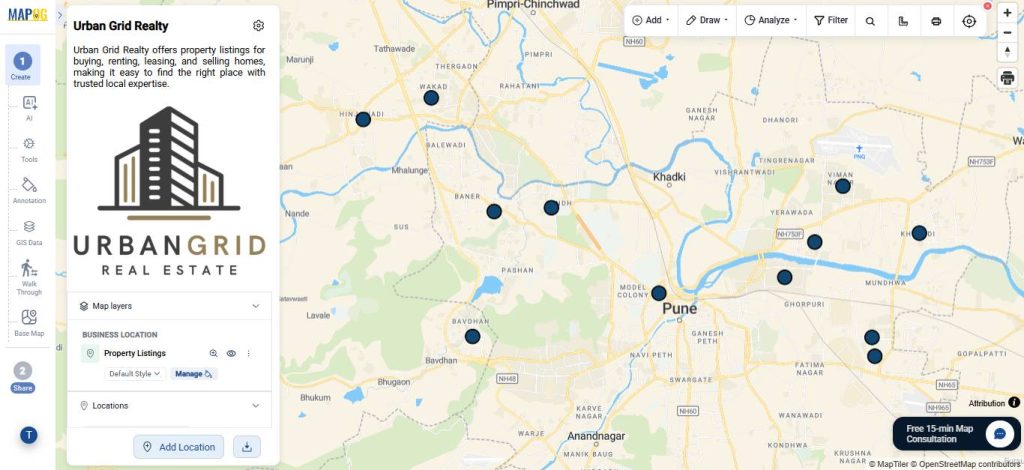
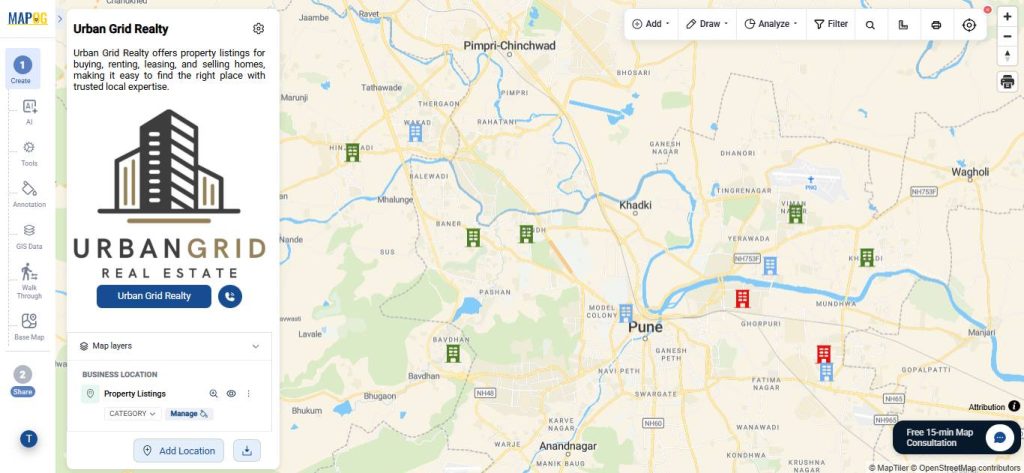
Enter a title and a brief description for your map.
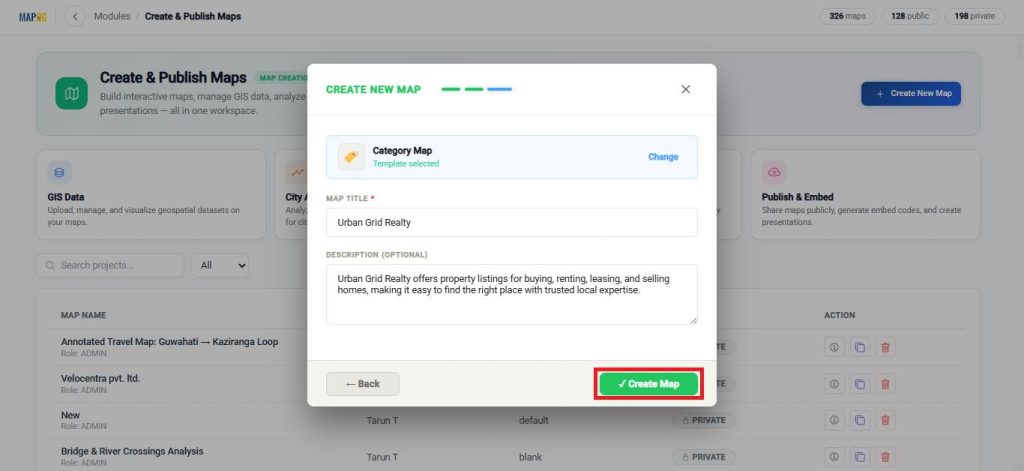
Finally, open the settings, upload your logo, and save your changes.
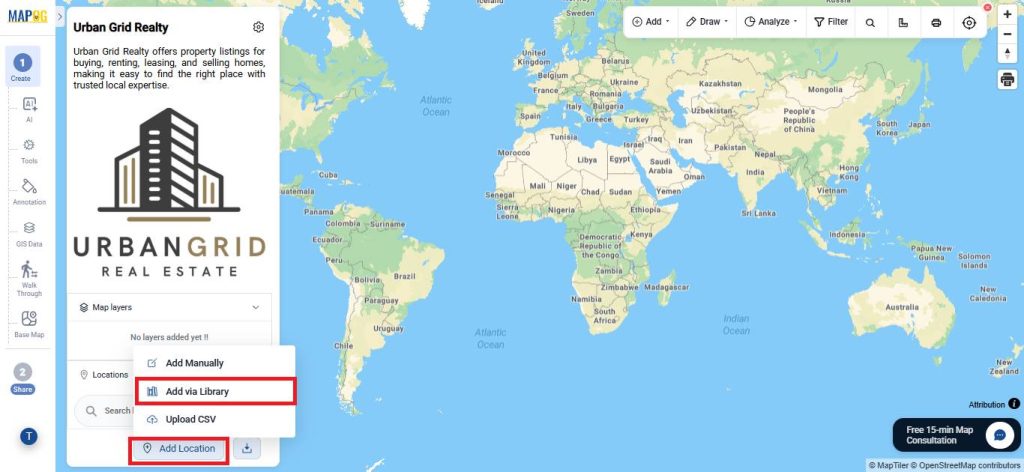
3. Add Locations to Your Map
Now, select the Add Location option and choose Add via Library.
In the library, search for the business template you created earlier.
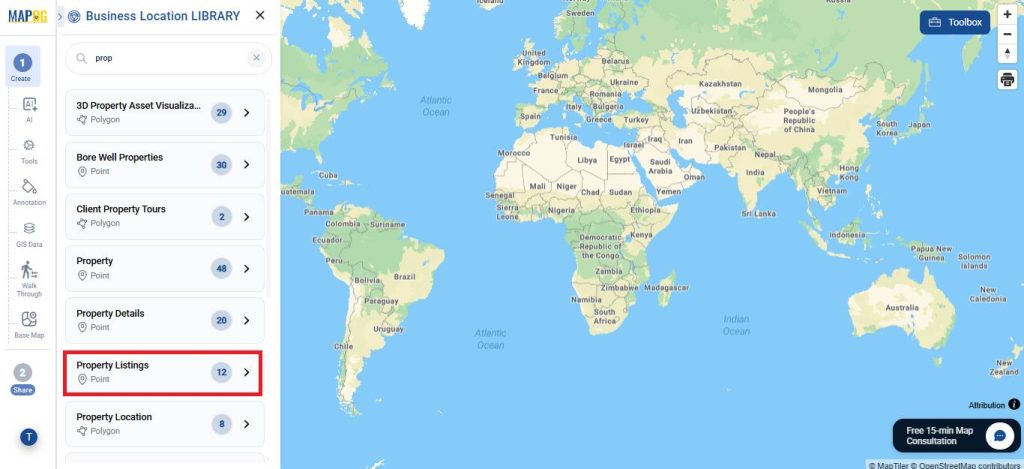
Select the locations you want to add by clicking on them individually, or choose Select All to add every location at once. Then click Add Business Locations.
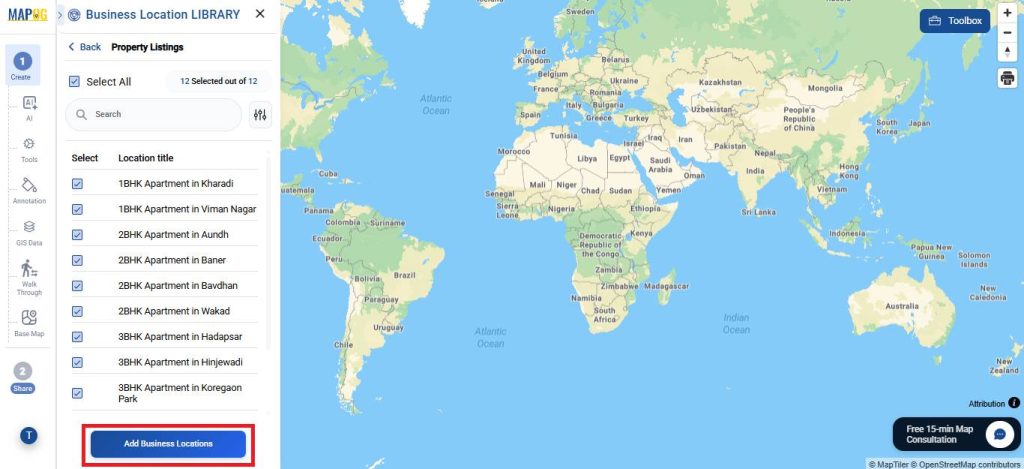
Your selected points will now appear on the map.
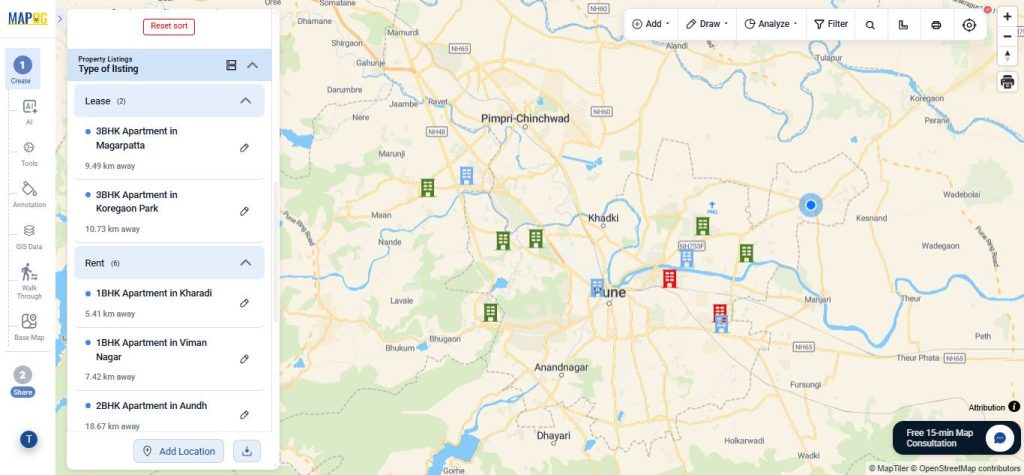
4. Style, Edit, Group, Filter and Sort the points
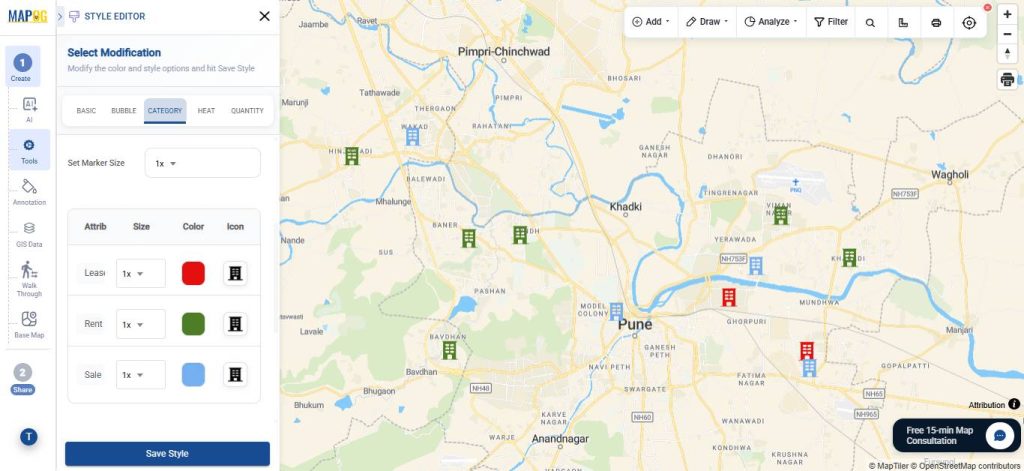
After that, click Add Layer Style to customize how the point appears.
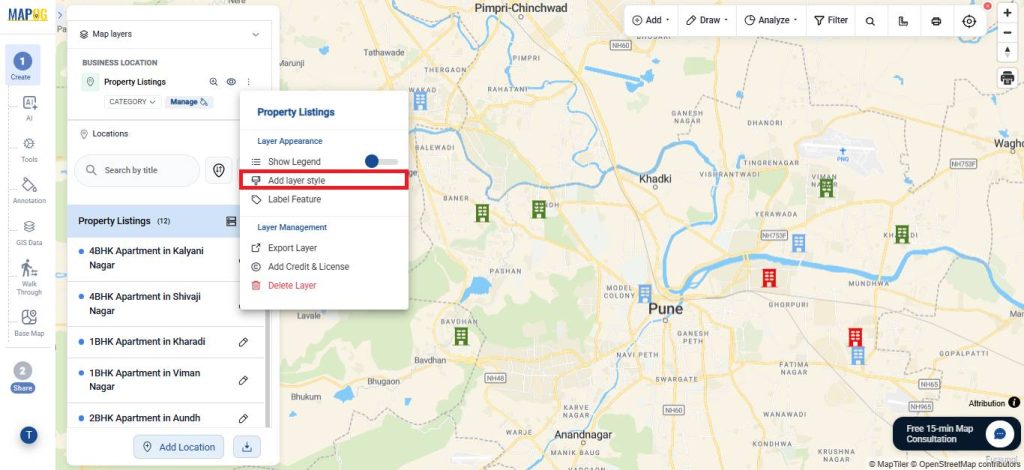
Go to category style, and select an attribute like type of listings to categorise. Then, select an icon and colour, and save the style.
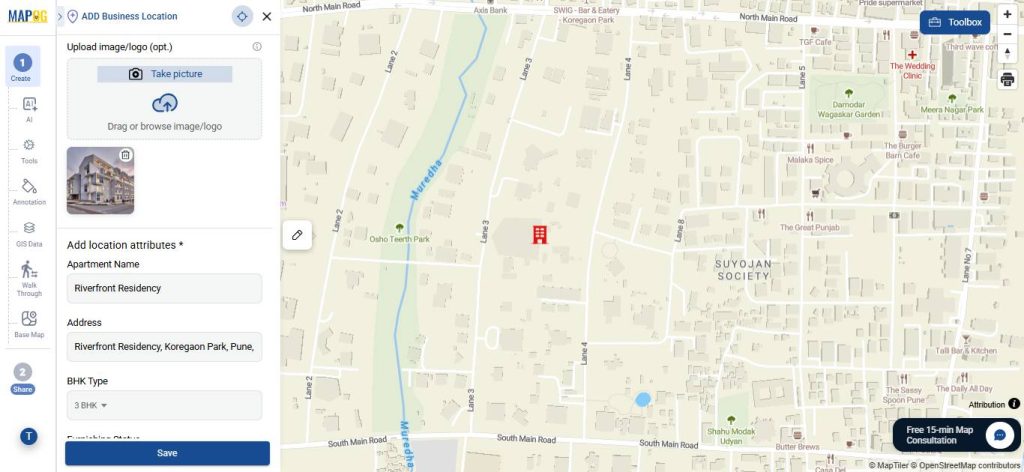
Then, go to edit business location details and add description and images to complete the attributes.
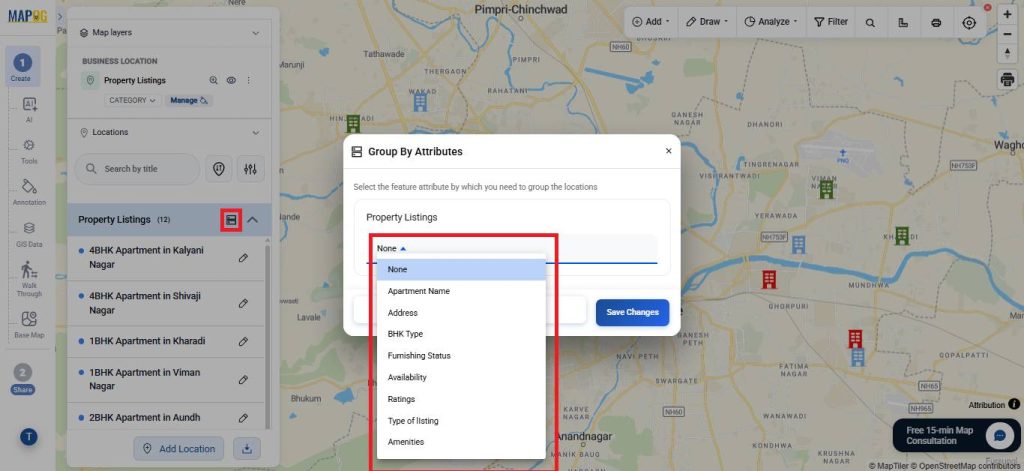
Next, select Group by Attributes to categorise the points based on one particular attribute.
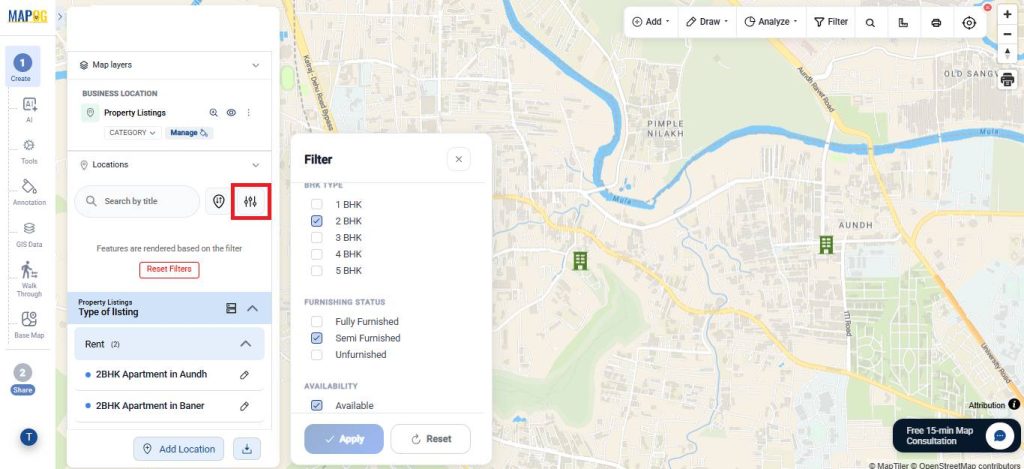
Use the filter option to group points by attributes like BHK type, or furnishing status, focusing on the most relevant information.
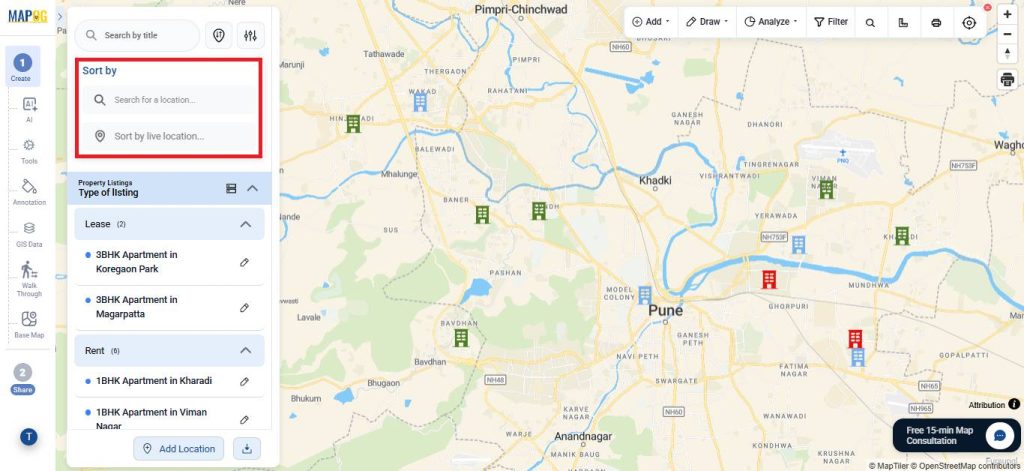
Features like Sort by Live Location and Search for Location let users quickly see distances between mapped points and searched locations.
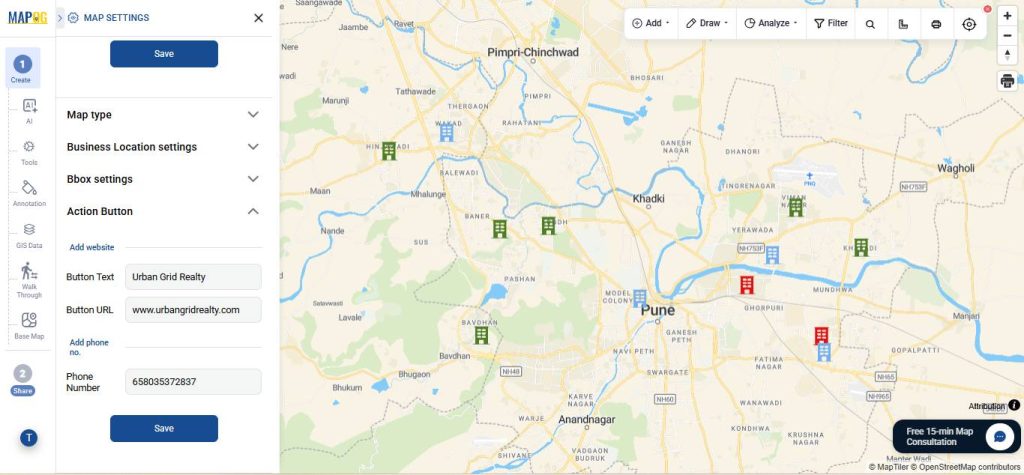
5. Add Call to Action Button
Go to map settings, under actions buttons add text, URL and phone number to create call-to-action buttons for website visits, or contact. They let users take quick action directly from the map, improving experience and conversions.
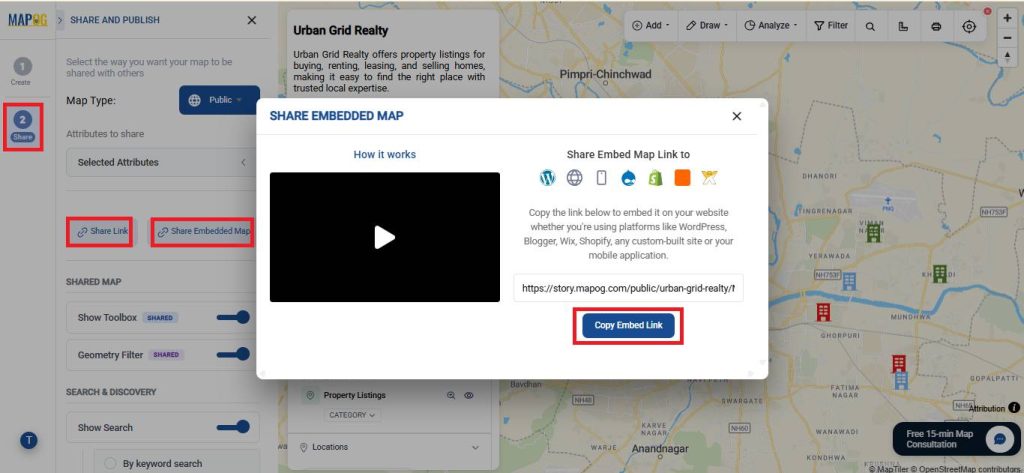
6. Share and Publish
To share your map, click on Preview & Share to make your map public. Then, share via link or embed it on your website using the copy embed link option. It allows you to enable enhanced UI options for embedded maps, including search (keyword or sorting), live location tracking, a filter panel, pitch view controls, map layer switching, and interactive walkthroughs—making the embedded map more dynamic, user-friendly, and customizable.
Real World Applications
Embedded interactive maps are widely used in real estate websites to help users explore properties by location and nearby amenities. Developers use them to highlight project locations, while brokers present listings more visually to clients. They’re also useful for market analysis and for platforms like rentals and co-living services to help users choose locations easily.

Conclusion
In conclusion, embedded interactive maps have become essential for modern property listings, offering a more intuitive and engaging way to explore real estate based on location and context. They enhance user experience, improve decision-making, and streamline how properties are presented online. MAPOG makes it easy to implement these capabilities, enabling businesses to adopt advanced mapping solutions without complex development.