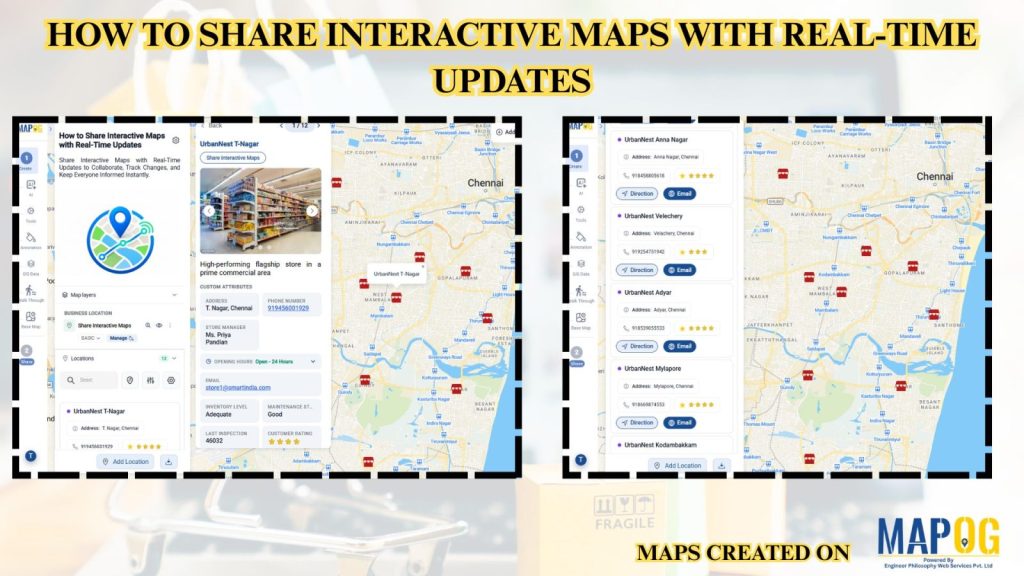
Businesses often struggle to keep teams aligned when maps become outdated, files are shared across multiple platforms, or location updates are delayed. MAPOG makes collaboration easier by allowing users to share interactive maps with real-time updates, ensuring every team member accesses the latest geographic information from a single source.
Key Concept: Share Interactive Maps with Real-Time Updates
Interactive maps with real-time updates enable organizations to instantly share location-based information, synchronize map changes across teams, collaborate efficiently, track ongoing activities, and provide stakeholders with the most current geographic data. This improves communication, coordination, decision-making, and operational efficiency.
Methodology: Real-Time Updates
Create, update, and share interactive GIS maps in real time so every user can view them.
1. Create, Upload, and Update Your Interactive Map
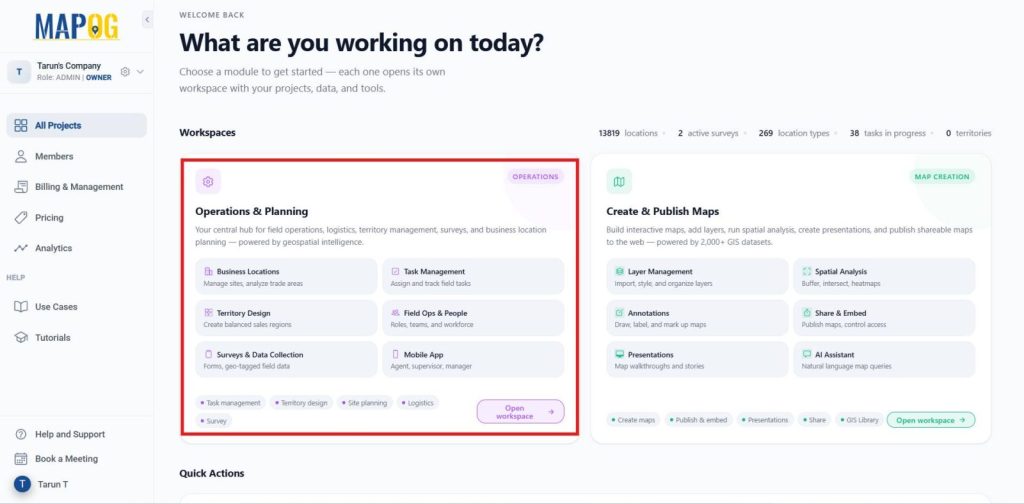
Launch MAPOG and navigate to Operations and Planning → Open Workplace.
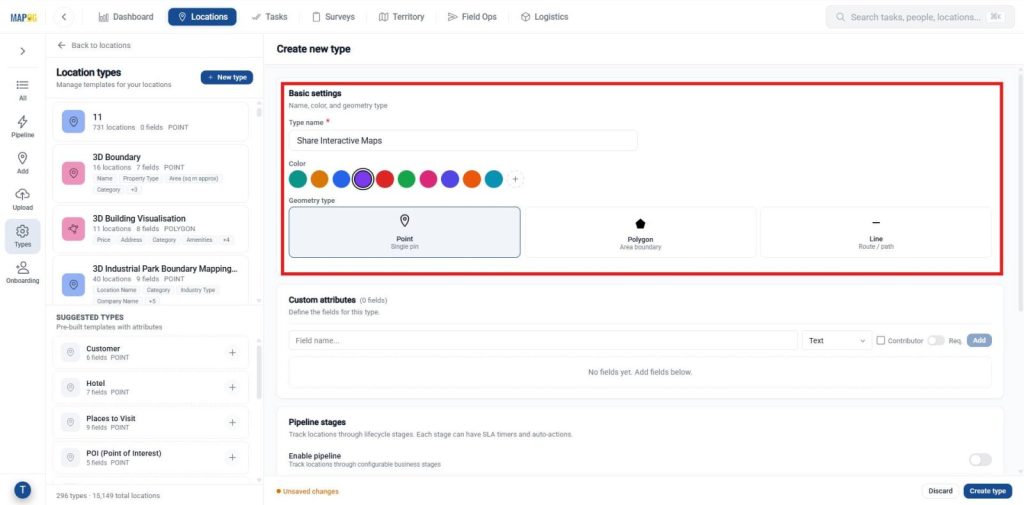
From the workspace, open Location, click +Add > New Location Type, add attributes, and click Create Type.
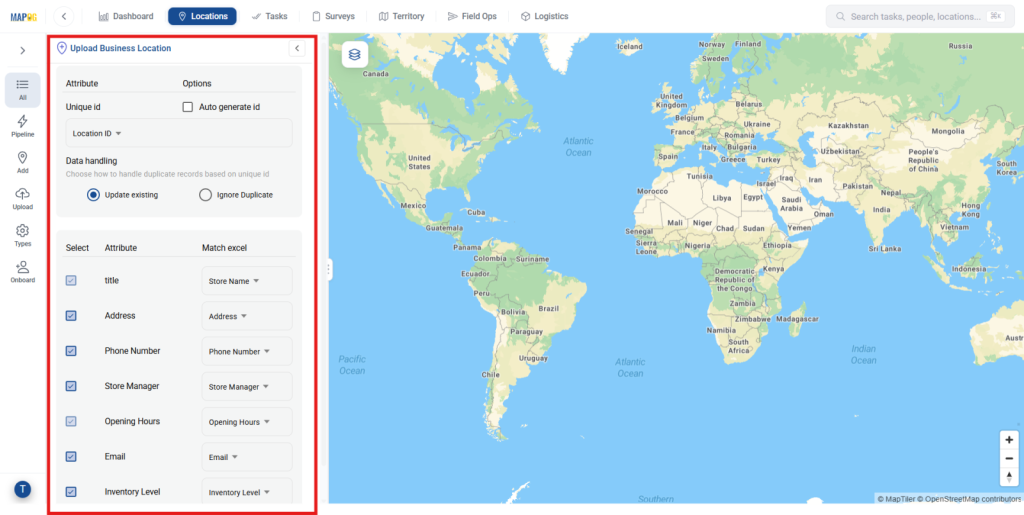
Go to Uploads, select your template, upload your CSV, map the fields, assign a Unique ID, choose duplicate handling, and click Submit. Your map is ready and stays updated automatically.
Open the Location dashboard to edit any location, save your changes, and see updates reflected instantly on the shared interactive map in real time.
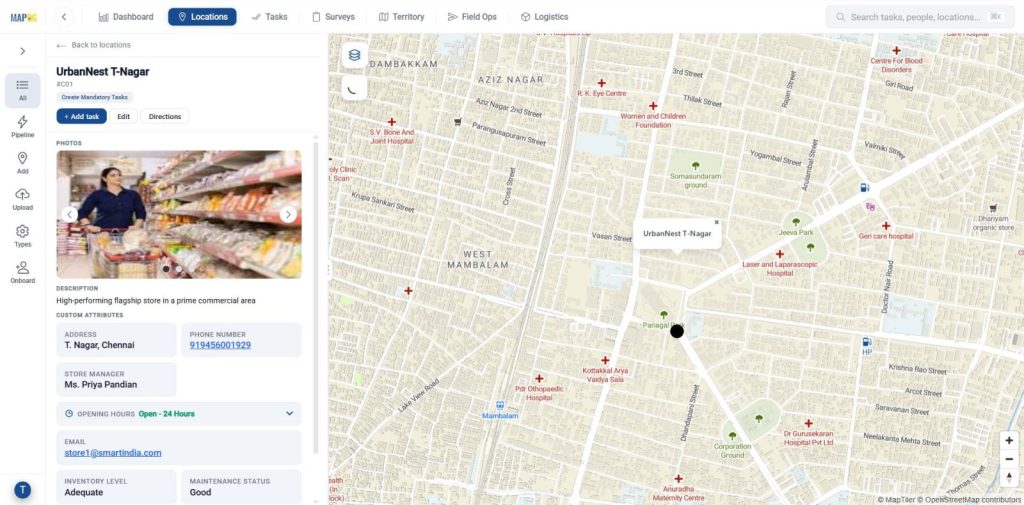
2. Create Your Interactive Map
Return to the MAPOG Dashboard and select Creating and Publish Map.
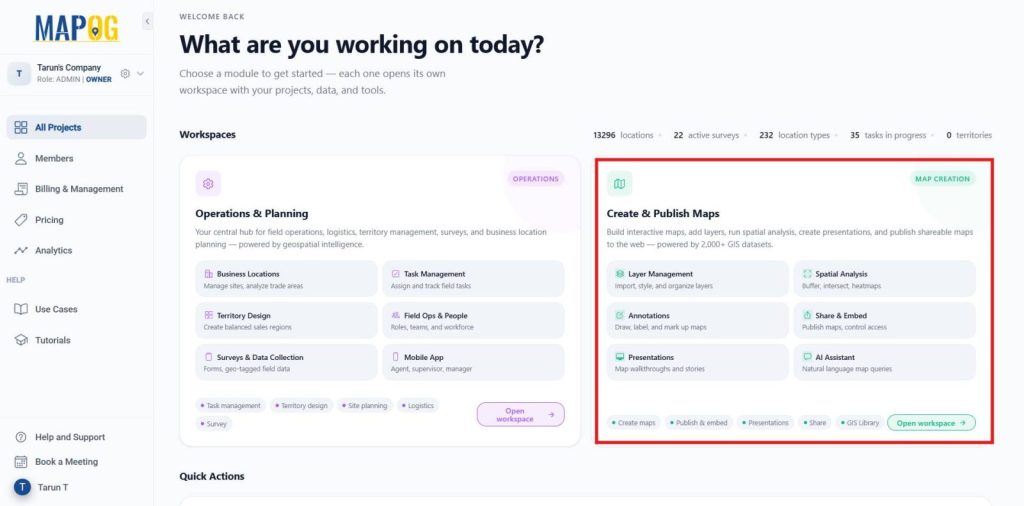
There, click Create New Map.
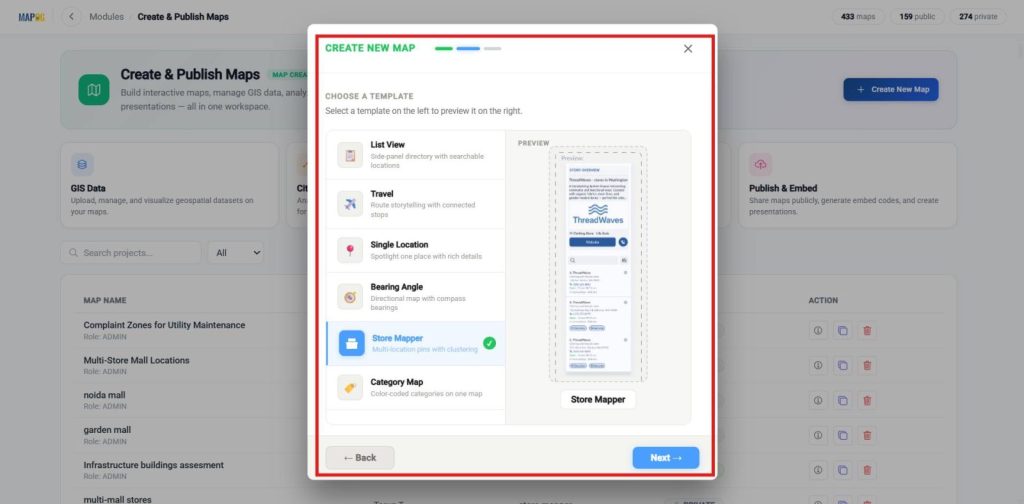
Choose a map template and continue to the next step.
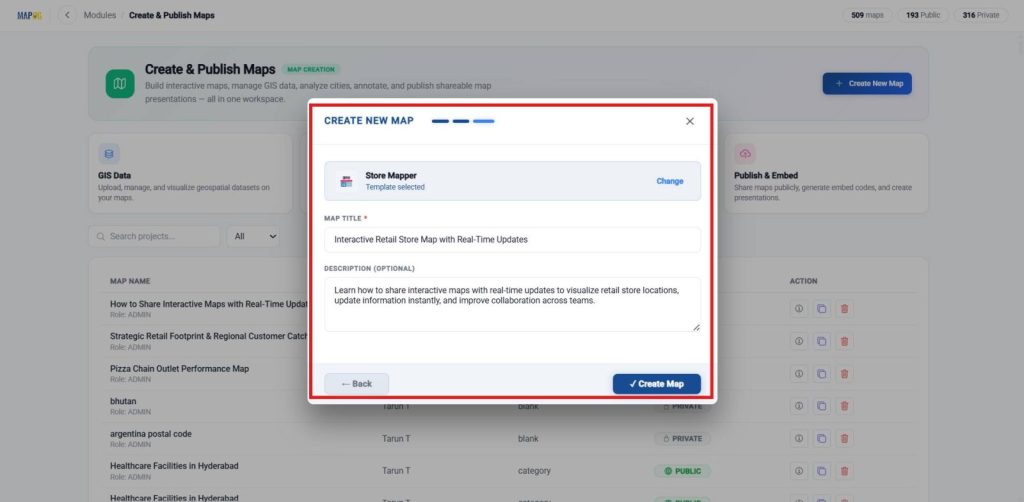
Enter a Map Title and Description, then click Create.
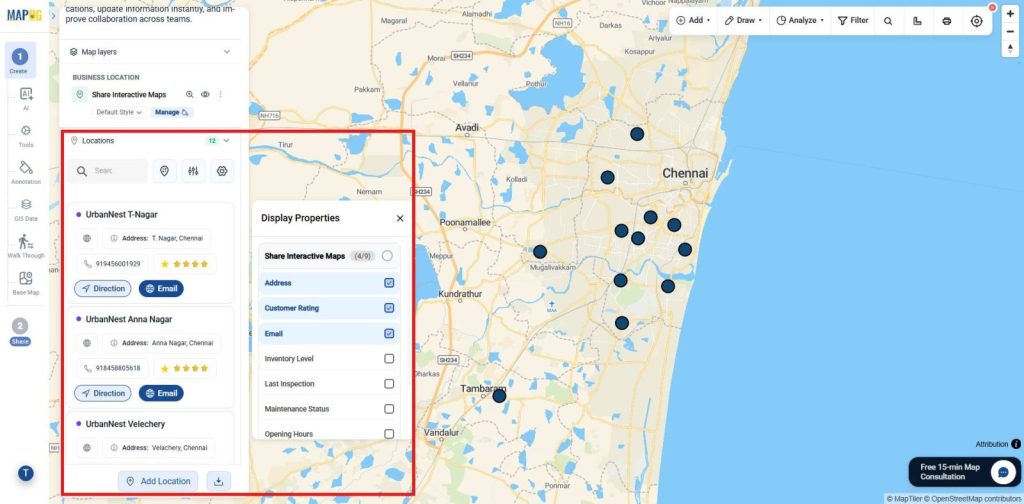
Add your locations using Add Location or Add Via Library.In the Business Location Library, search for the location template you created and select it.
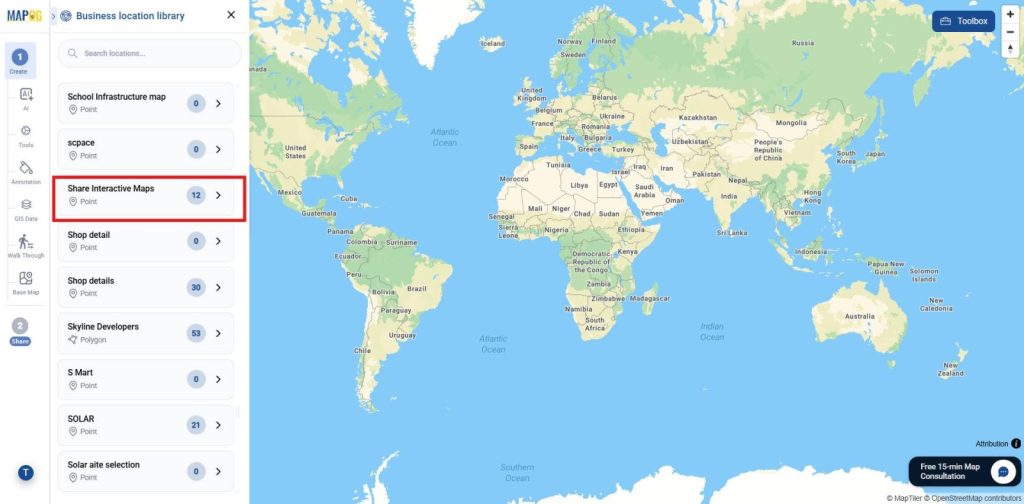
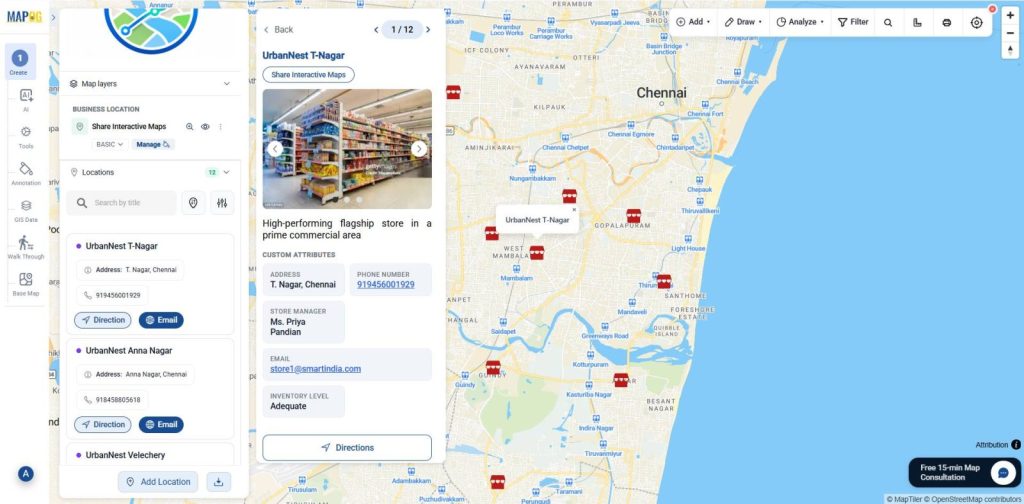
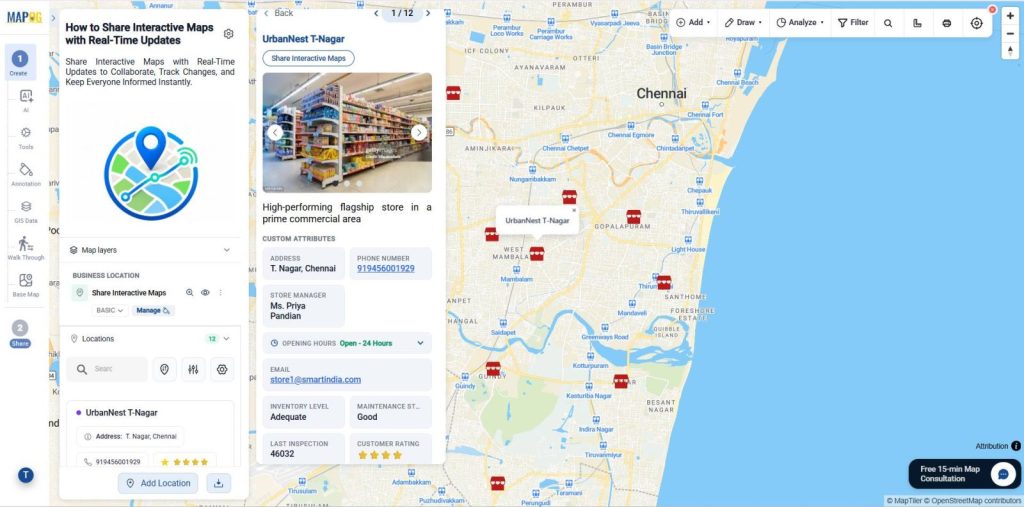
All selected locations are added to the map, and any updates are reflected instantly, ensuring everyone always sees the latest information.
3. Customize Your Branding
Open Map Settings. Click Replace to upload your company logo or project image.
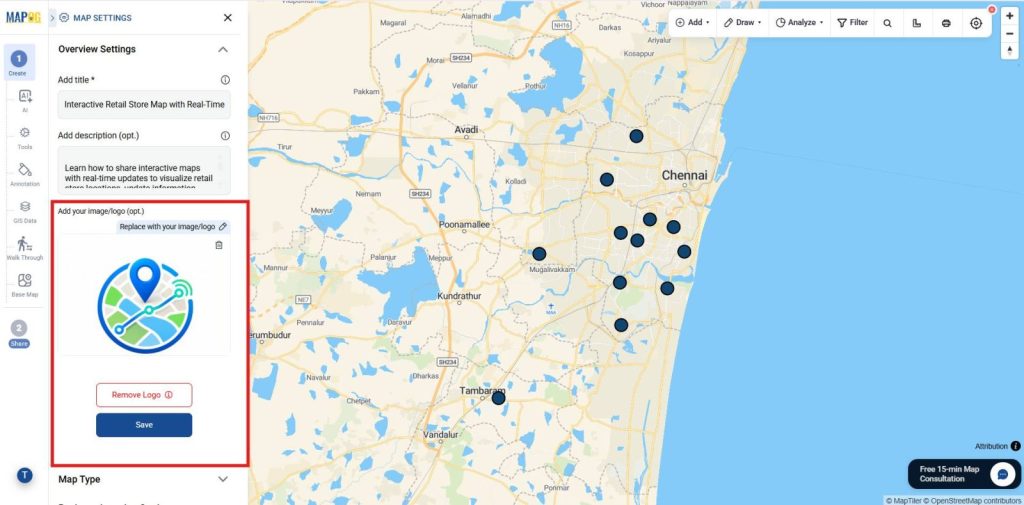
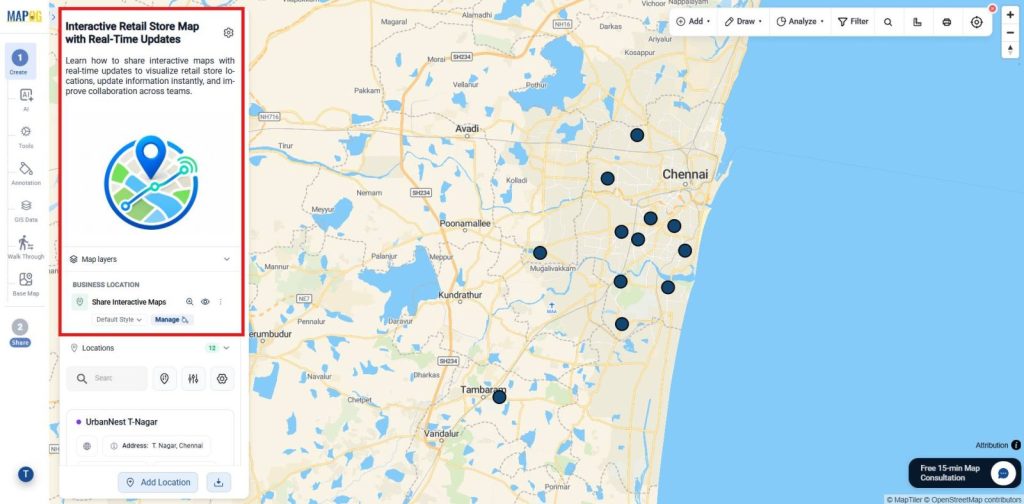
Adjust the logo placement and save your branding.
4. Style your Map
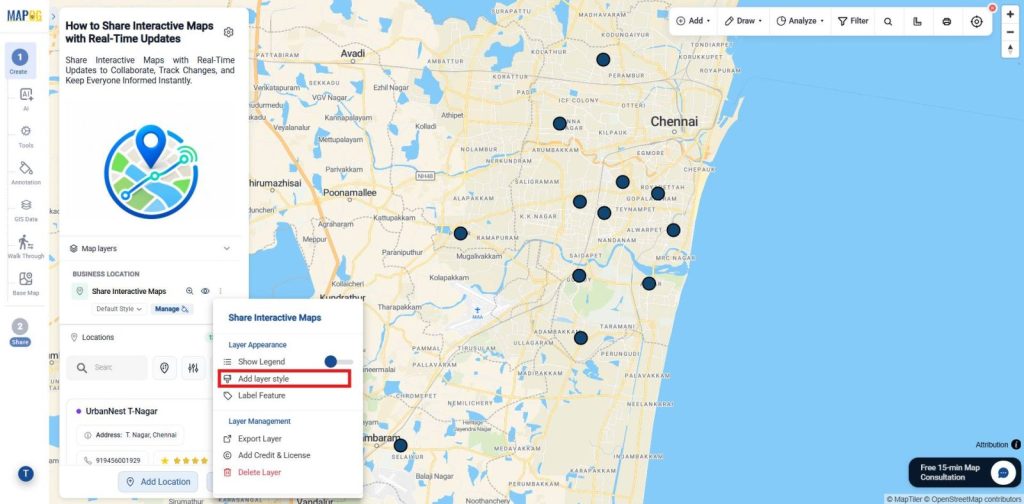
Go to Settings under Map Layers, select Add Layer Style, set the Basic Style, and Move to Icon.
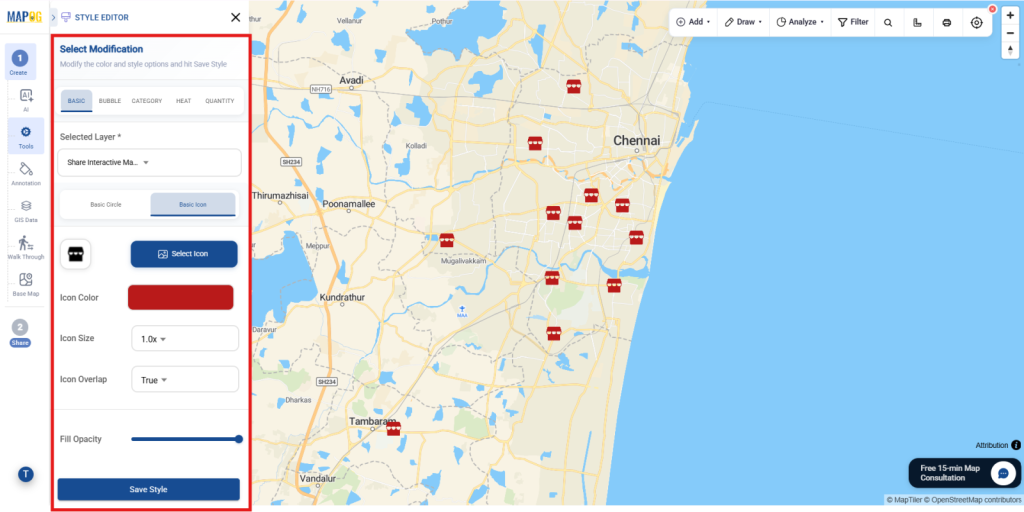
Then, select the icon you require and choose the color and click Save to clearly visualize on the map.
5. Open Preview & Share
Once your map is ready, click Preview & Share.
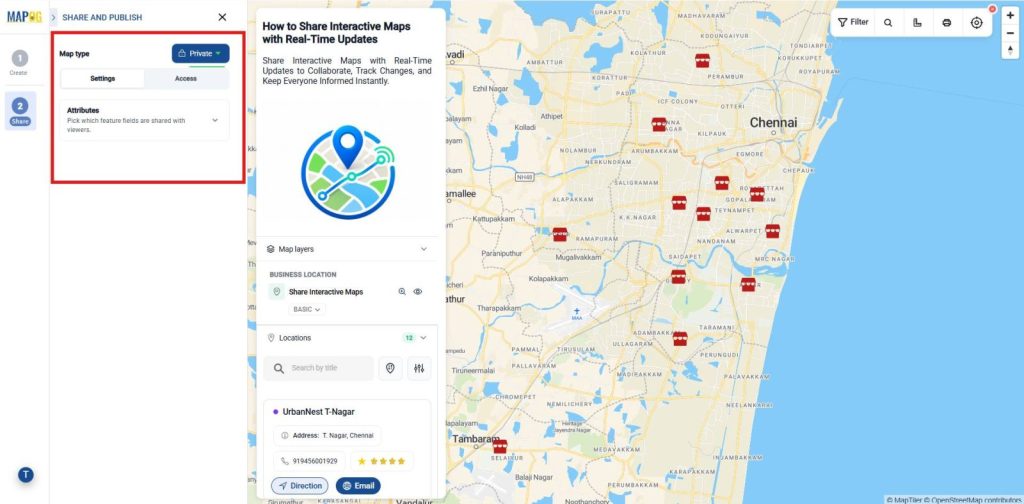
This is where you configure how users access and interact with your published map.
6. Choose the Map Type
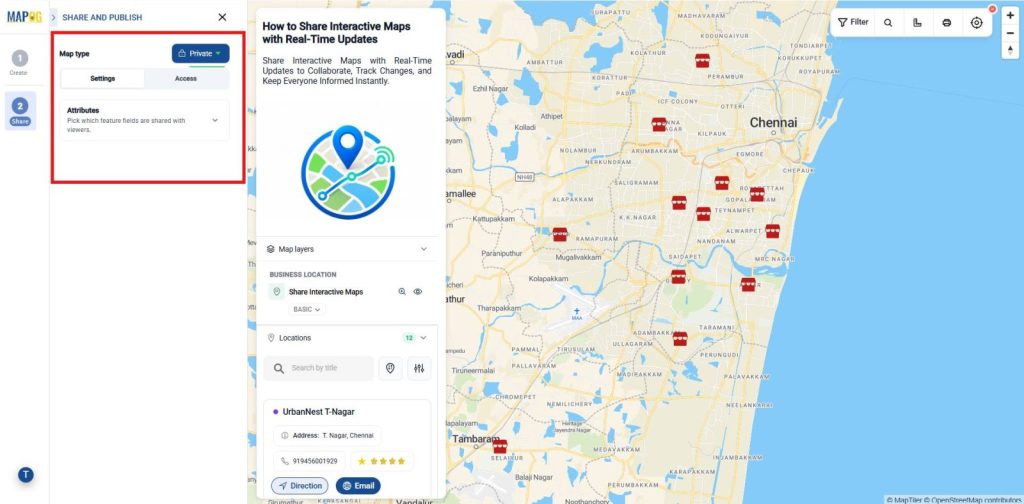
Select the appropriate Map Type.
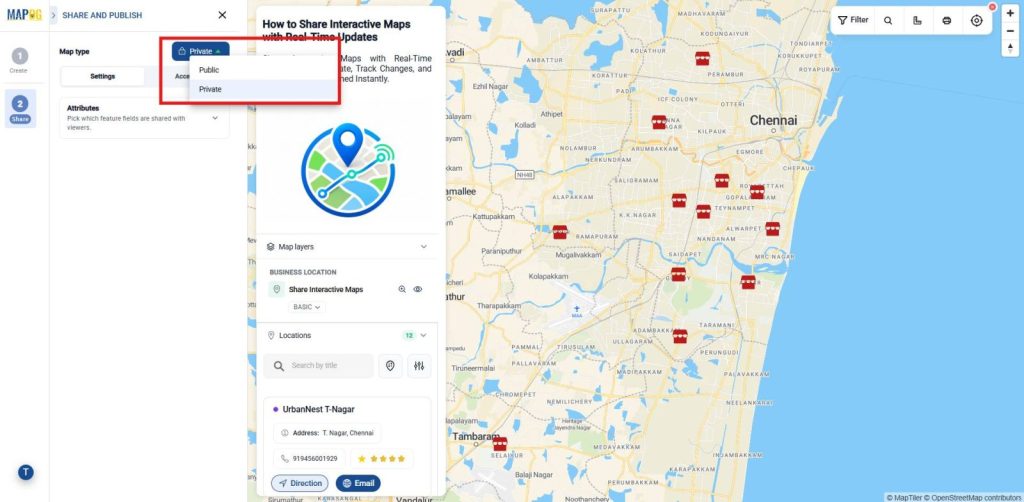
Choose Public if you want anyone with the link to access the map.
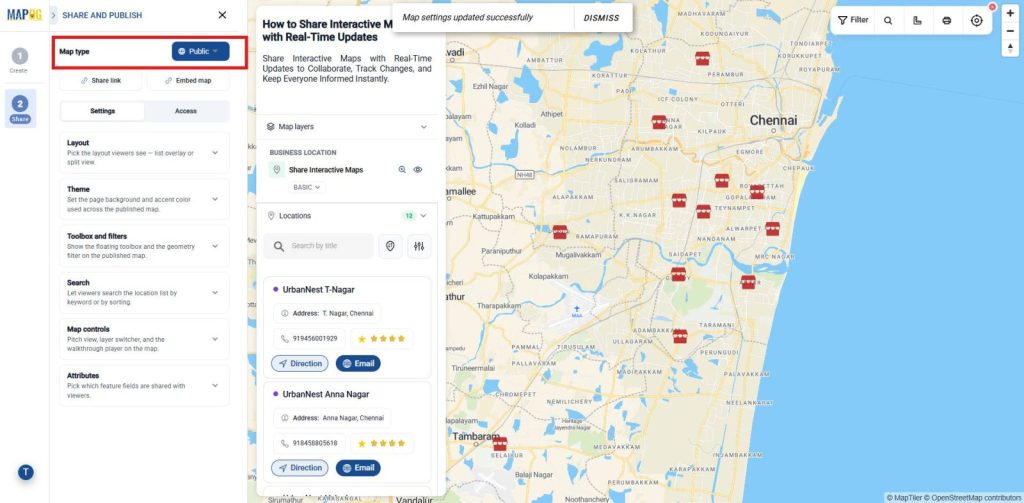
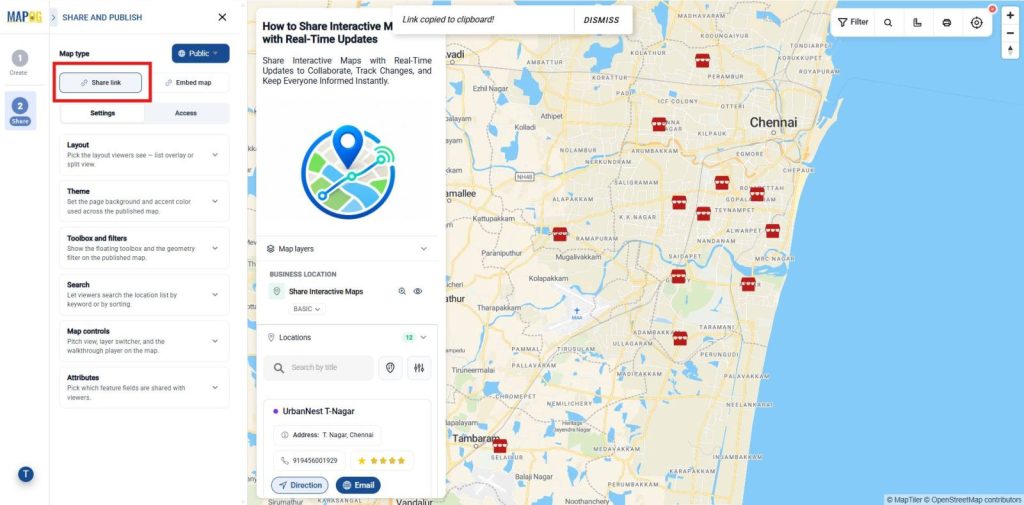
7. Share Your Map
Generate a Share Link to send your map directly to team members, clients, or stakeholders.
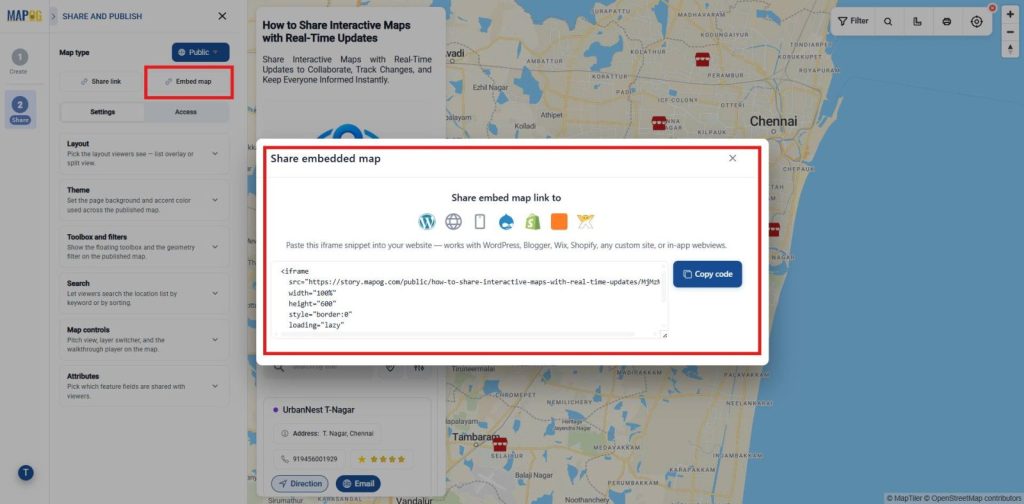
You can also use Embed Map to display the interactive map on your website or internal portal.
8. Configure Published Map Settings
Open the Settings tab.
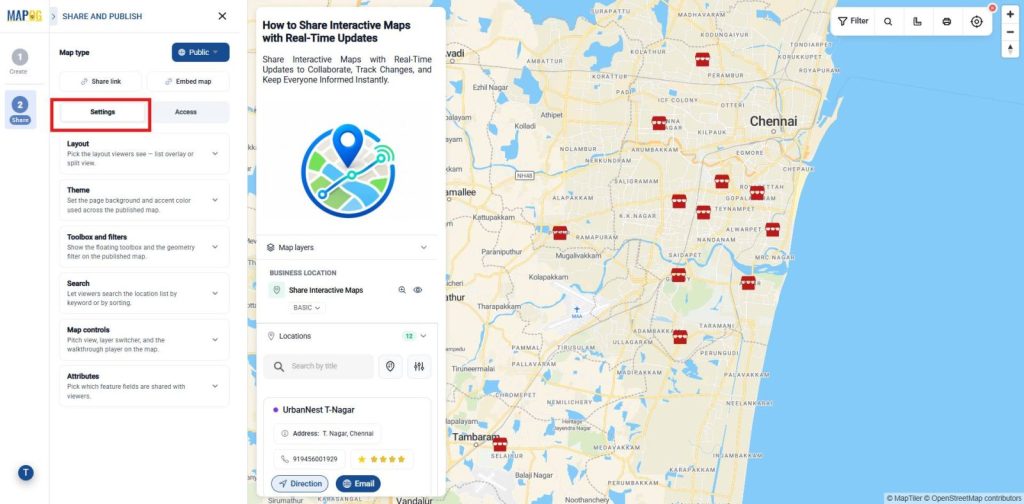
Choose the preferred Layout so viewers can switch between List Overlay or Split View.
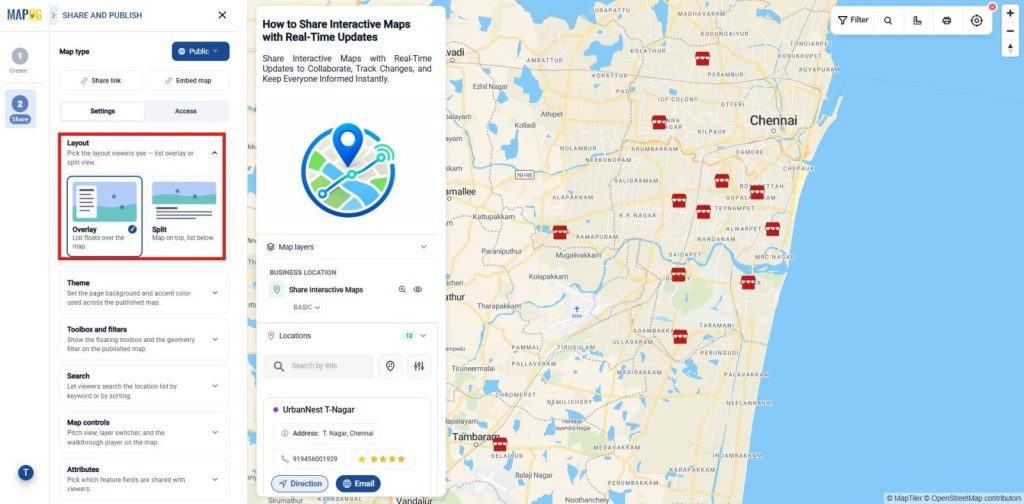
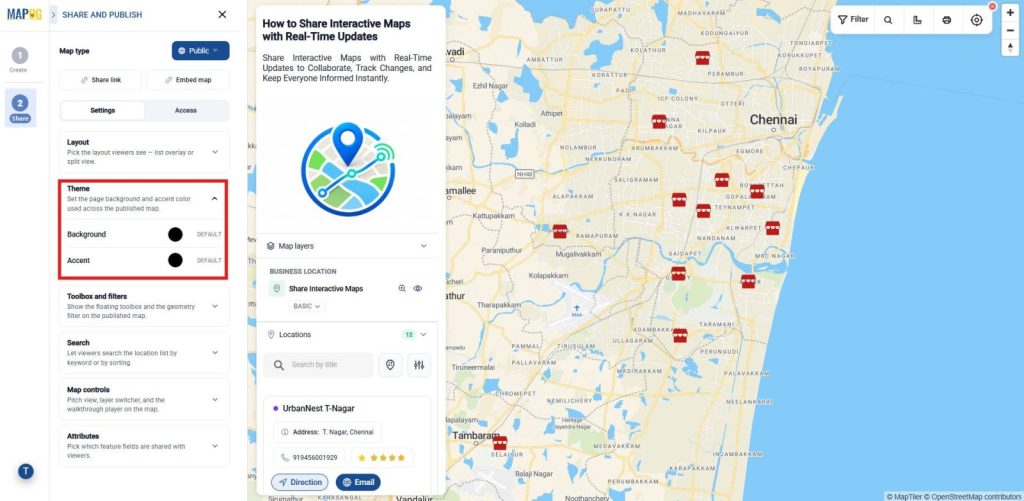
Select a Theme to customize the page background and accent colors.
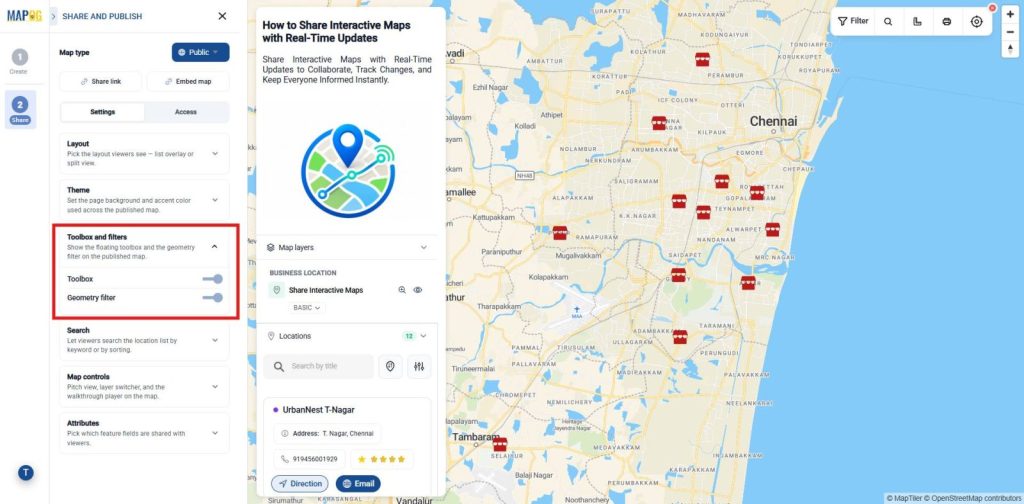
Enable the Toolbox and Filters so users can use geometry filters and the floating toolbox.
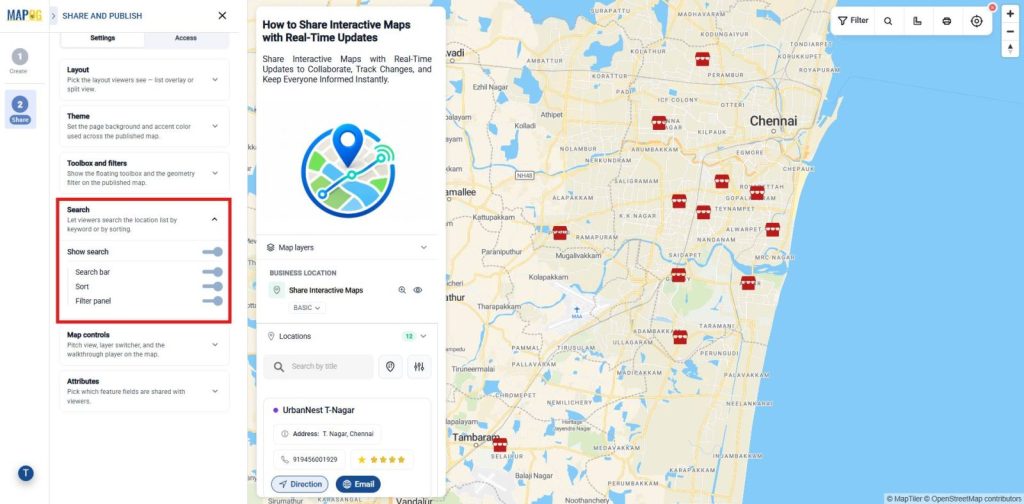
Similarly, Turn on Search to allow viewers to Search bar, Sort and Filter panel quickly .
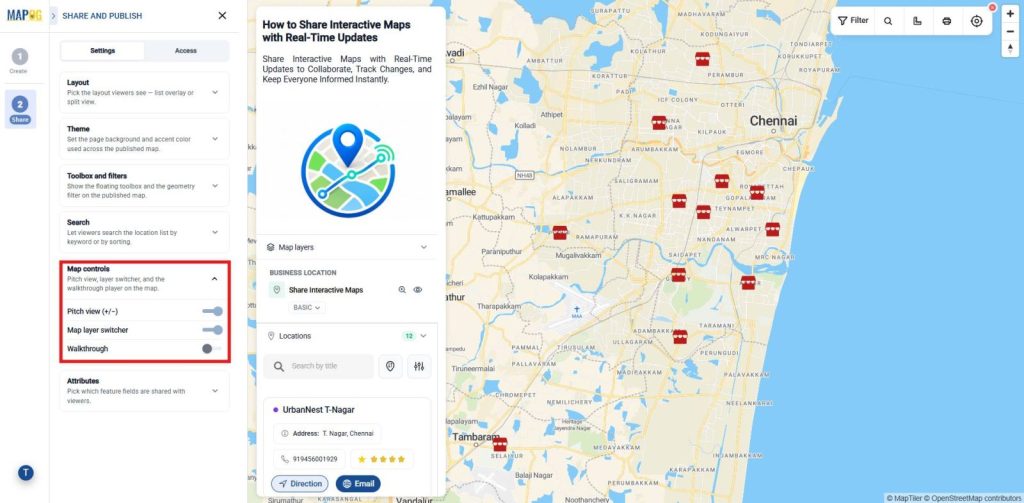
Enable Map Controls such as Pitch View, Layer Switcher, and Walkthrough Player.
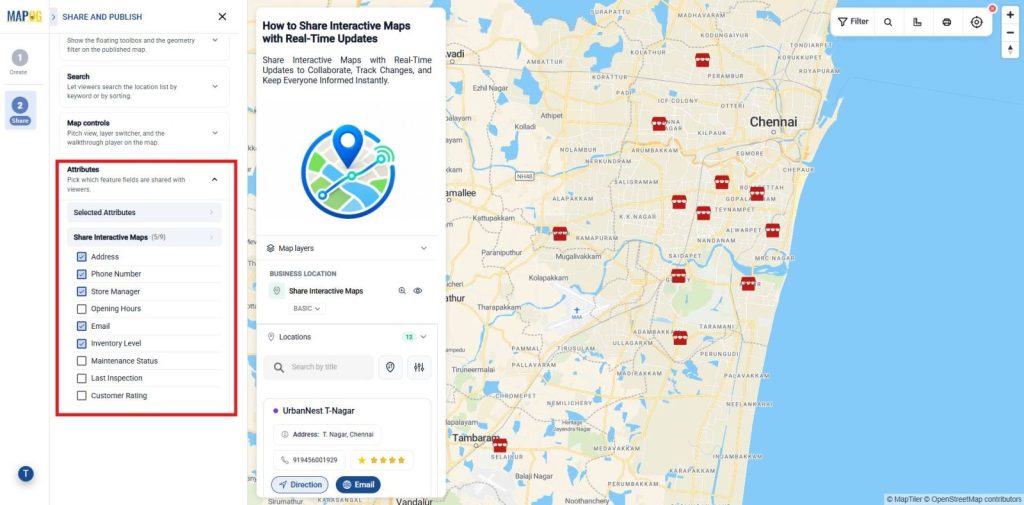
Before that, Choose Attributes to decide which location fields are visible to viewers.
9. Share the Published Map
Subsequently, Configure Access by adding users and assigning View or Edit permissions.
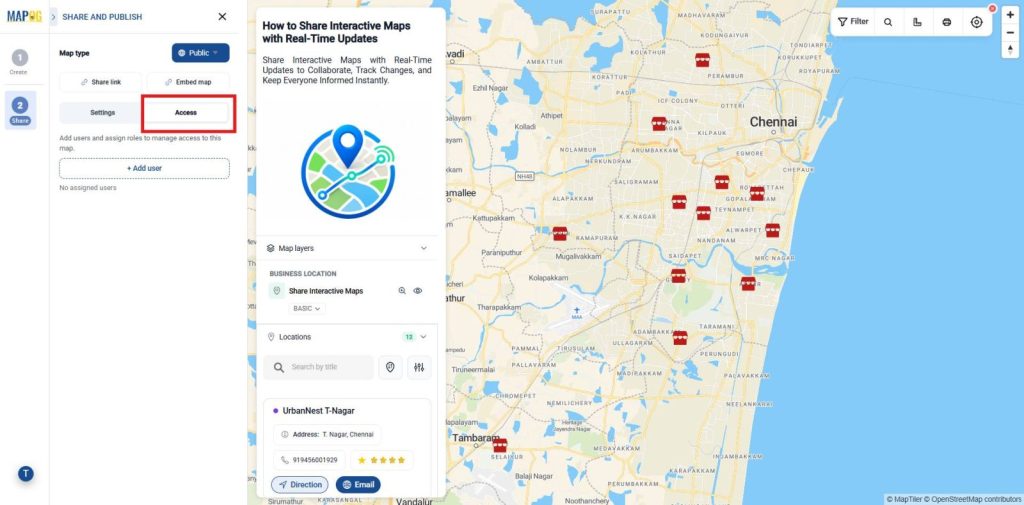
Meanwhile, Use +Add Users to invite members, assign view/edit permissions, and enable public map features like search, filters, sorting, and shared tools.
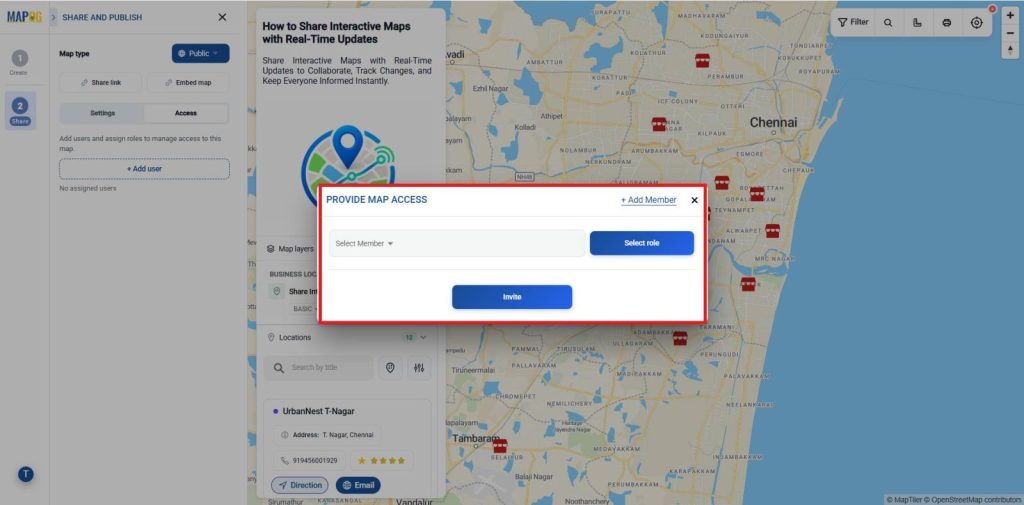
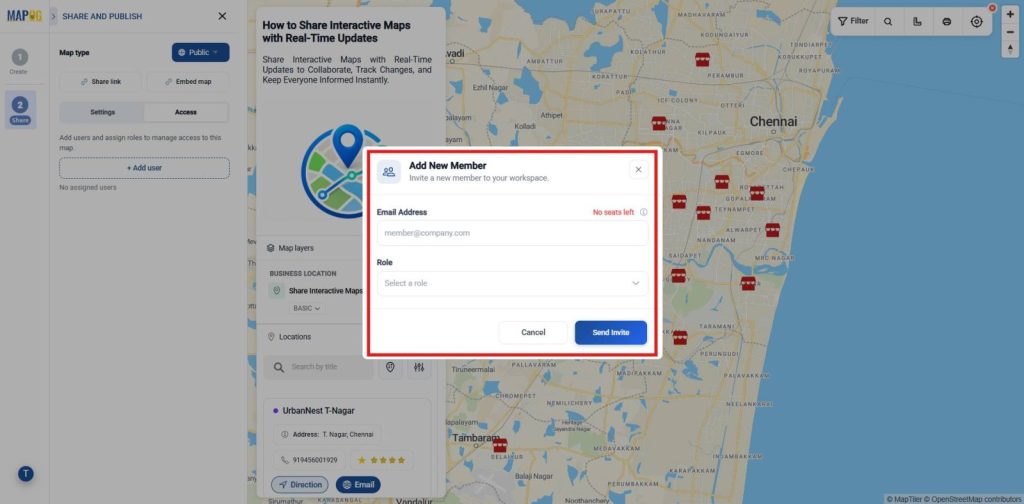
After that, Click +Add Members, enter the member’s email address, assign a role, and send the invitation to grant map access.
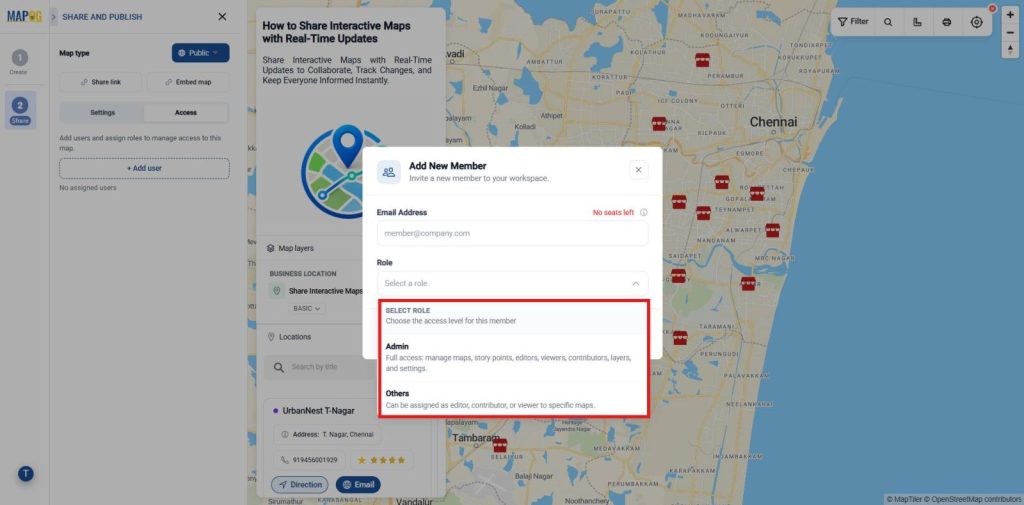
Roles: There are two role options: Admin, who can edit maps and manage content but cannot delete maps or create admins, and Others, who has view-only access to the assigned content.
Next, Provide Map Access: Click +Add Member, enter the user’s email address or select from the existing list and role, and invite them to access the shared map.
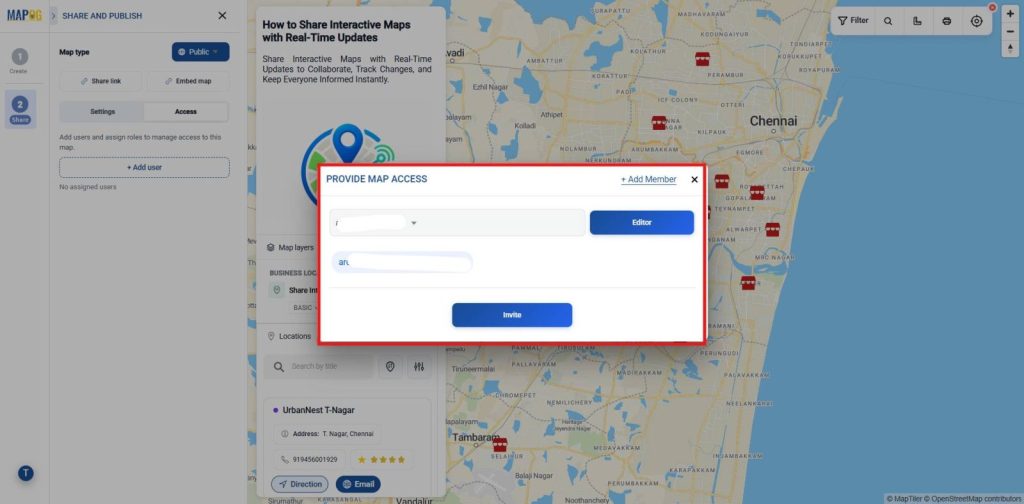
Furthermore, Demonstrate real-time collaboration by making a location update as an Admin. Besides, The changes instantly appear on the Editor’s and Viewer’s shared map without requiring a page refresh, showing live synchronization across all users.
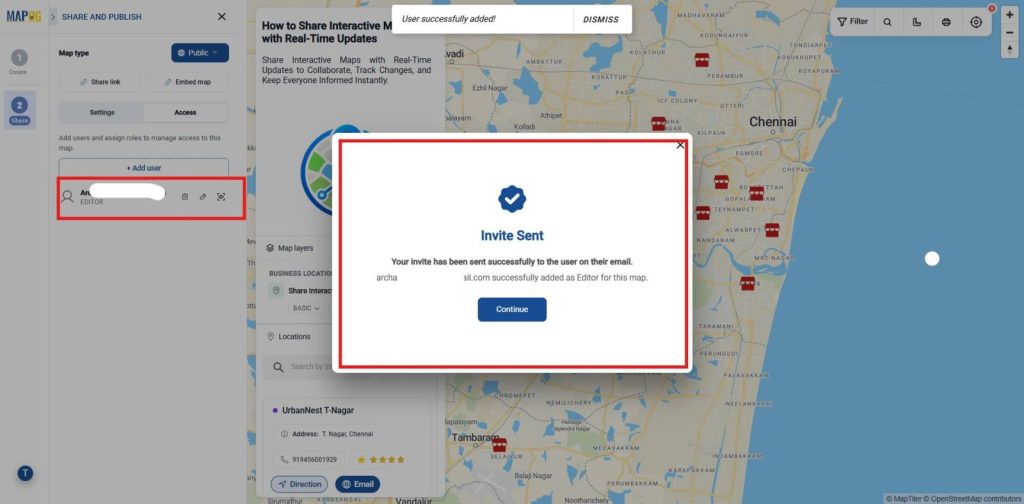
The assigned user will get the link using the mail and once, open the link and work on the map when you are assigned as editor and view it when you are a viewer.You can edit anything and view from all the assigned members.
Industry Use Cases and Benefits
Share interactive maps with real-time updates to improve collaboration across industries such as retail, logistics, utilities, construction, public safety, education, and local government. Additionally, Teams can instantly access the latest location information, coordinate field activities, monitor ongoing operations, and make faster, data-driven decisions from a single shared map.
Conclusion
In conclusion, MAPOG simplifies interactive map sharing by providing a centralized platform for publishing and updating geographic information in real time. Additionally, Teams can collaborate on the same map, share live location updates, and ensure stakeholders always access the most current information improving communication, operational efficiency, and decision-making without requiring advanced GIS expertise.
Explore helpful blogs