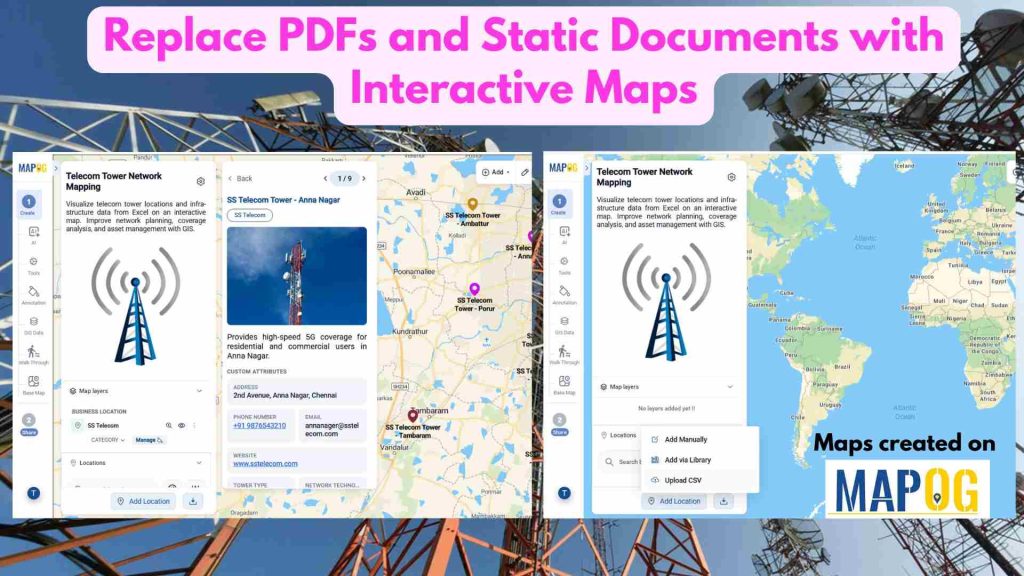
In the telecommunication industry, managing tower locations, network coverage areas, and infrastructure assets through Pdf alone can make it difficult to understand network distribution and service availability. Businesses often deal with scattered telecom data, making it challenging to monitor sites, analyze coverage gaps, and share location insights with teams. With MAPOG, you can Replace PDFs and Static Documents into interactive maps by plotting telecommunication locations and adding detailed infrastructure information. This helps telecom teams visualize network assets, analyze coverage opportunities, and communicate location-based insights more effectively.
Key Concept to Replace PDFs and Static Documents with Interactive Maps
Before mapping, organize your telecommunication data in a PDF file with important fields such as Site Name, Location, Category, Description, Address, Contact Details, Network Type, Tower Height, images, and accurate Latitude/Longitude values. This structured format ensures smooth data management and accurate location plotting. In this example, telecommunication tower locations across Chennai district are used, with attributes such as site name, description, address, network type, coverage details, infrastructure information, and coordinates. Upload the spreadsheet into MAPOG using a predefined template to standardize telecom asset information.
Steps-By-step Process
Step 1: Create and Upload Locations
Open MAPOG, and click on Open Workspace in the Operations & Planning section
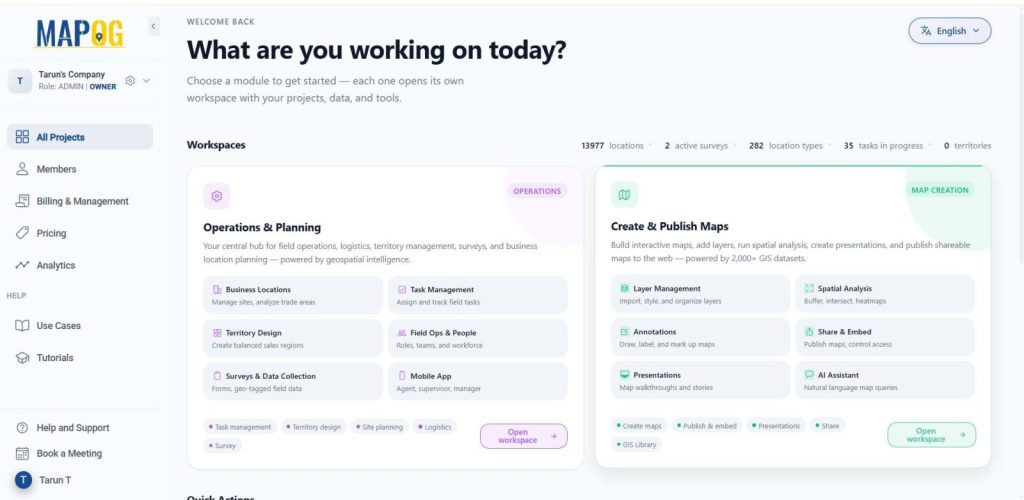
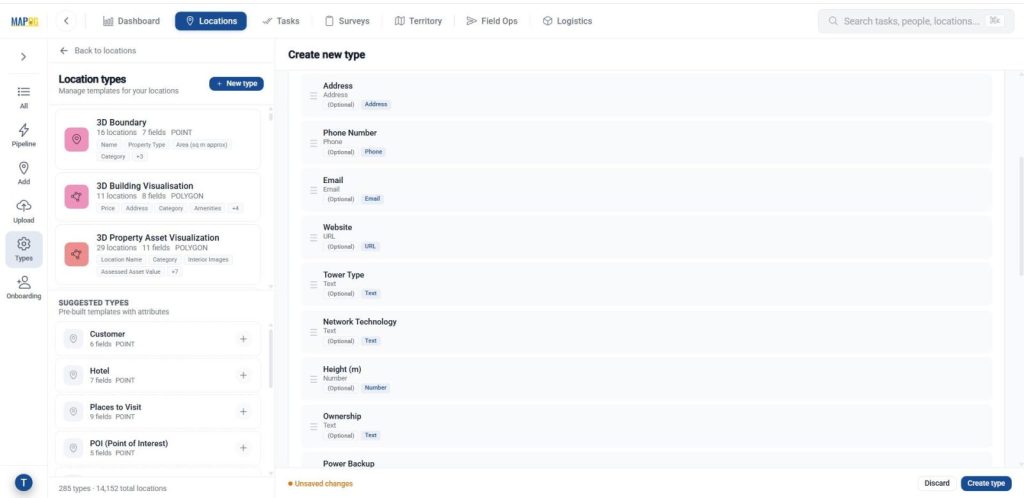
Go to Locations, and click on Add, then select New Location Type to create a new Business Location Template. This ensures consistency and reusability.
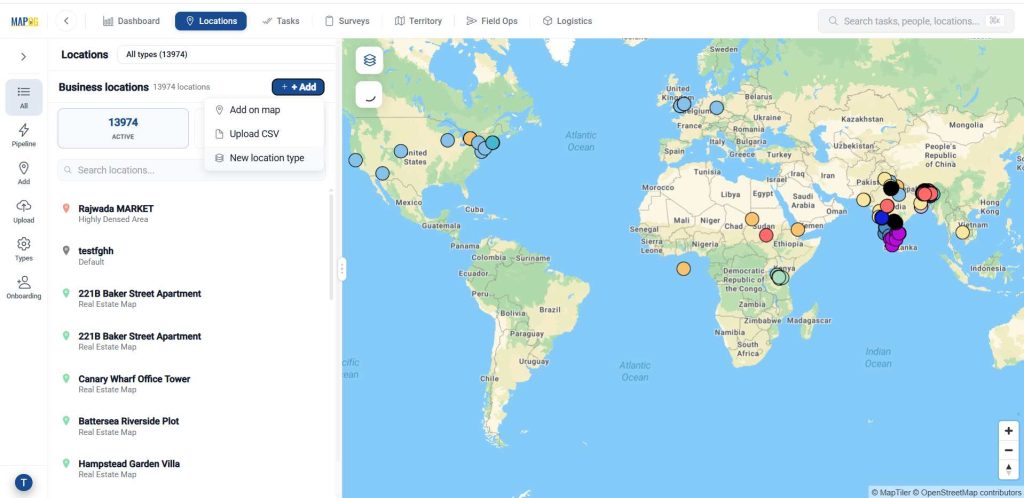
Then, give a name, assign a suitable colour and select geometry type as point.
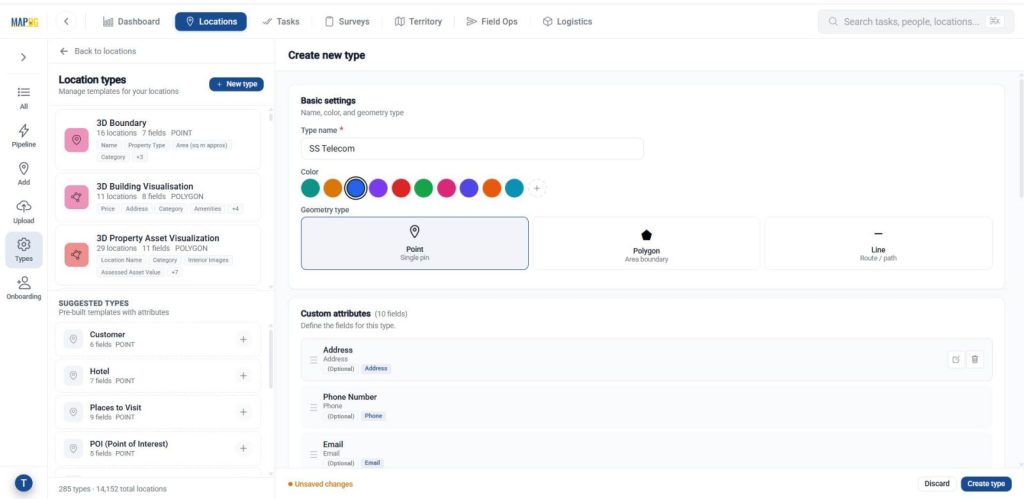
Add attributes that define your point such as address, number, email and website using text, number, dropdown, or multi-select fields based on the information you want to capture. Once configured, then click create type to save the template.
Step 2 : Create a New Map
Come to the dashboard then, Click on Open Workspace in the Create & Publish section — where you can build interactive maps, add layers, run spatial analysis, and publish shareable maps using rich GIS datasets.
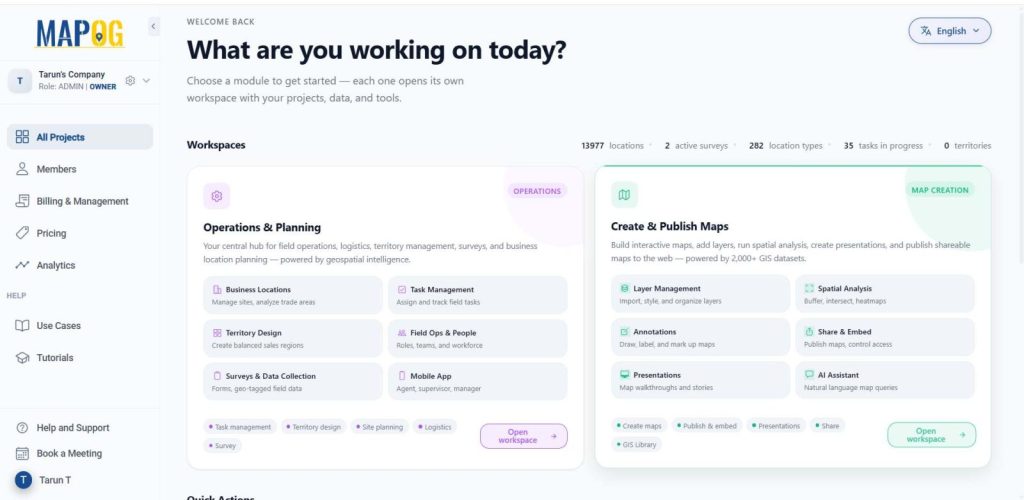
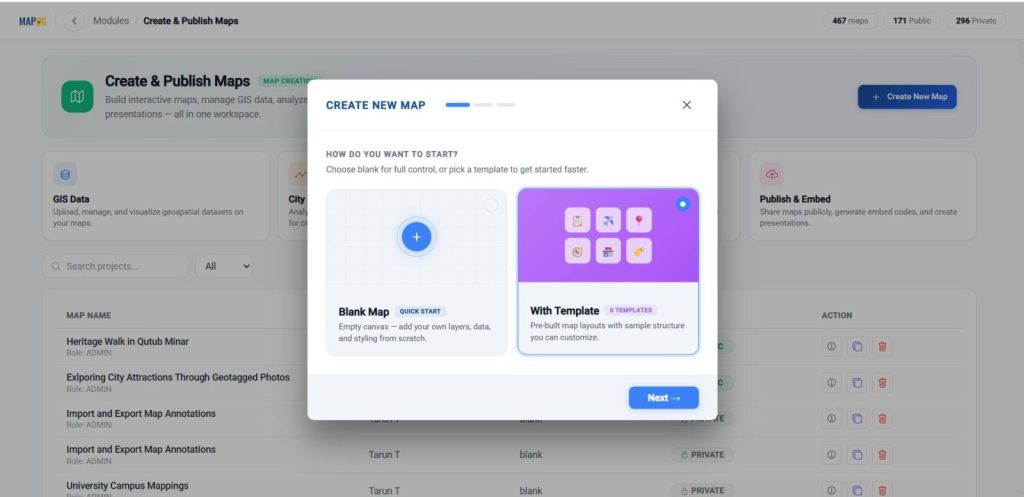
Click on Create New Map – choose Blank Map to start from scratch with your own data and styling, or With Template to use a pre-built layout you can quickly customize. Now click on the “with template” option.
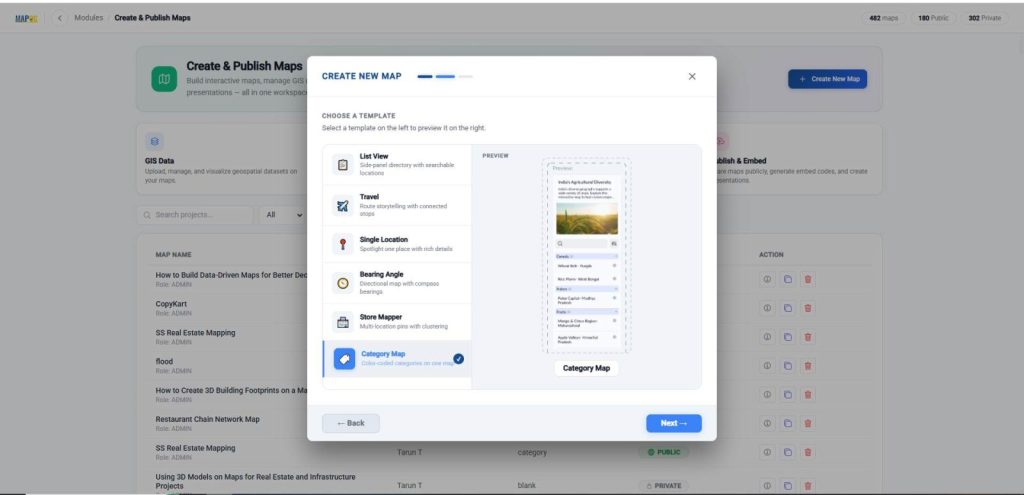
Then select with template options like category map view, and click next.
Then provide a title, description, then click create to initialize your project.
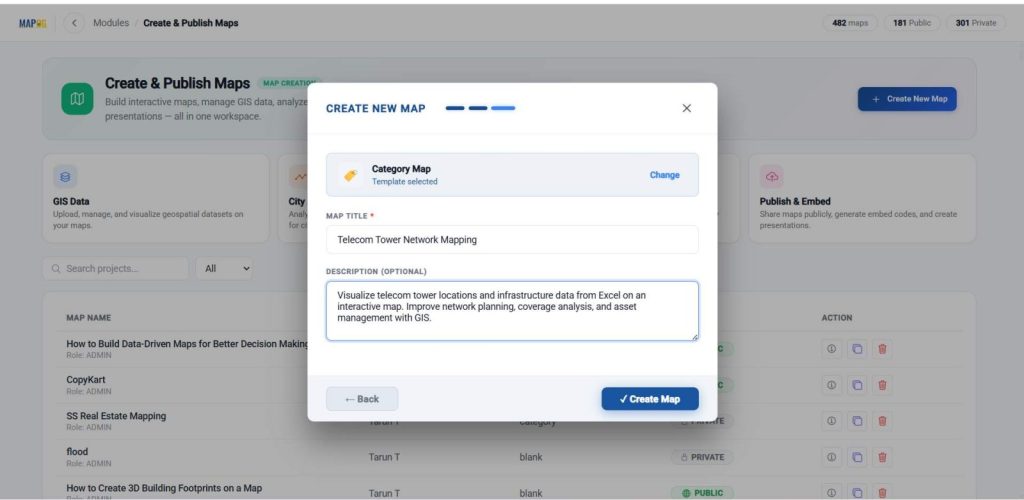
Finally, after coming to the interface, open the settings.
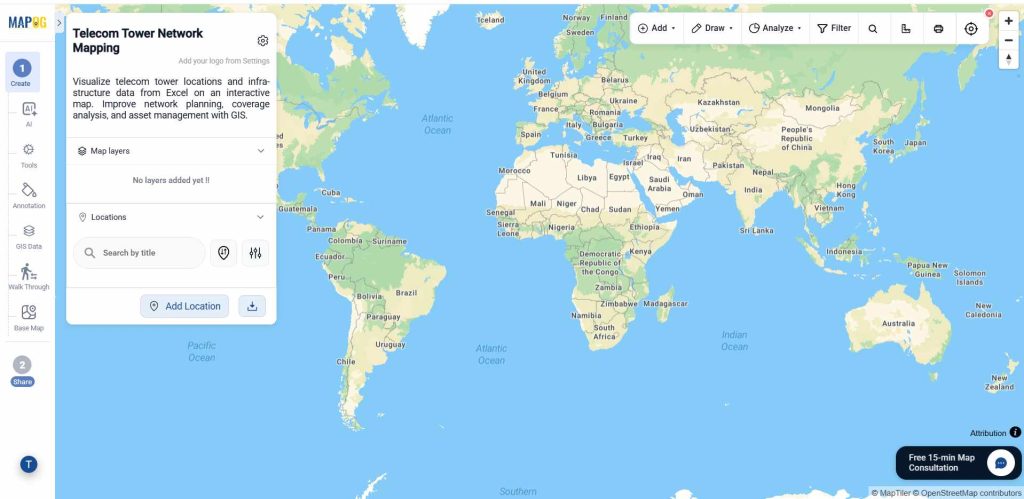
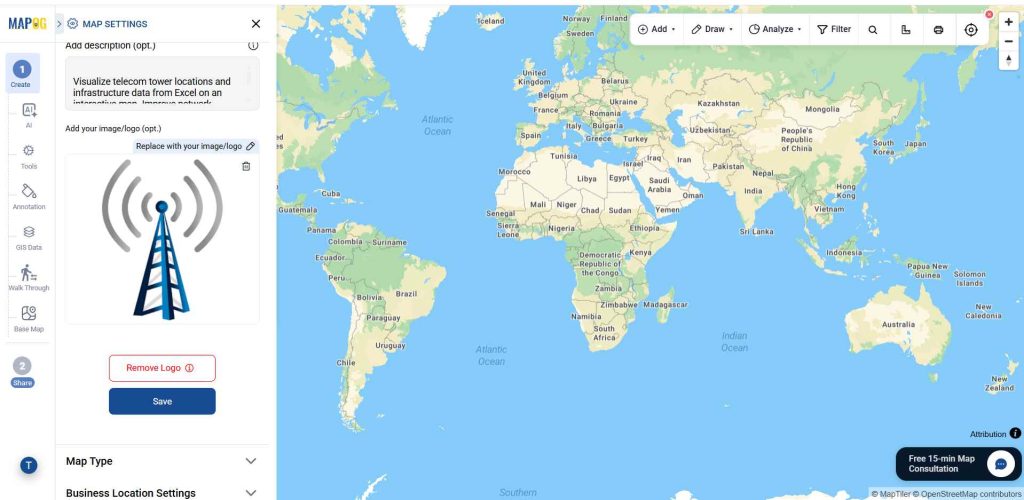
Then, browse & upload your logo, and save your changes.
Step 3 : Add Locations to Your Map
Click add location and choose Upload CSV to import your real estate data. This converts spreadsheet records into interactive map locations with property details.
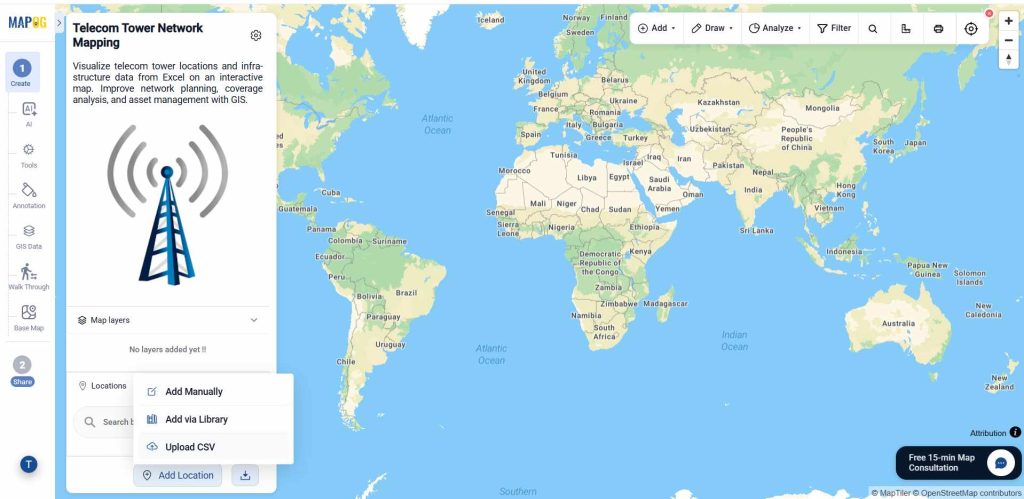
Then, select the created template from the dropdown and upload your CSV/Excel file, then give upload.
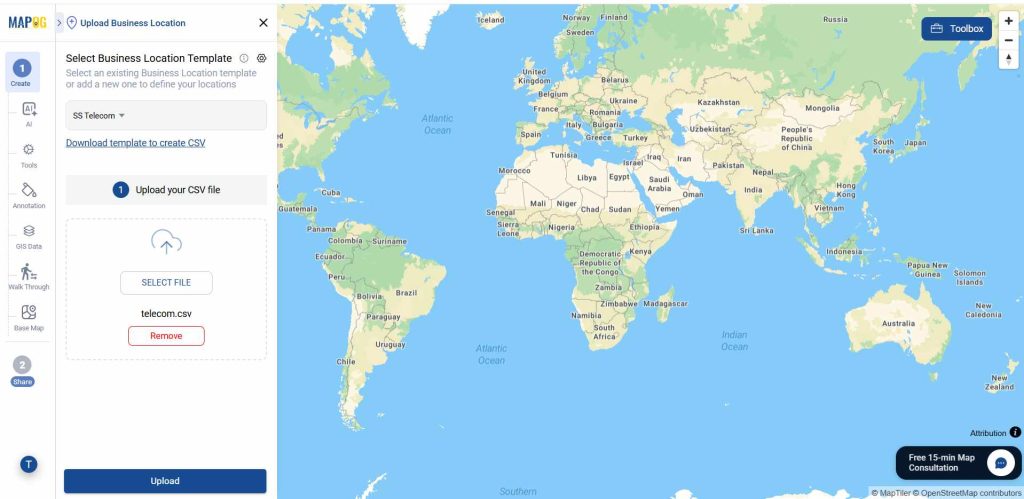
Assign a Unique ID to uniquely identify every location, helping prevent duplicates and enabling easy tracking and updates.
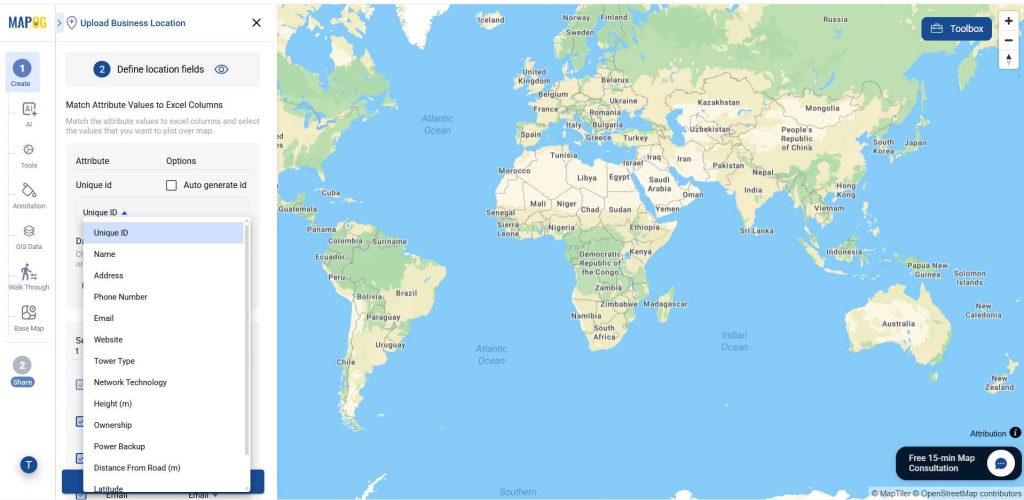
Later match the address, email, website and tower type column with excel attributes. In the select field type give latitude in first column, give longitude in second column, then give submit.
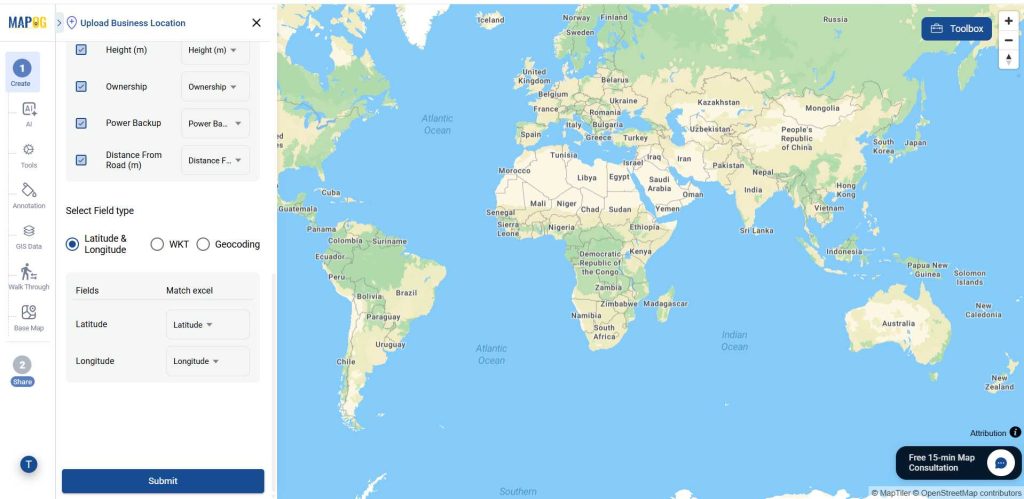
Step 4 : Style and Edit the points
Now click on the edit business location details option.
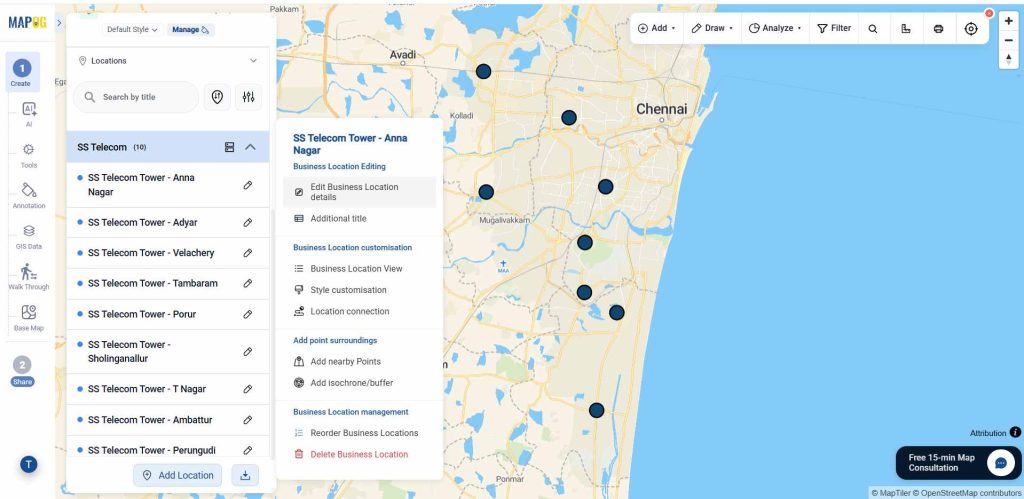
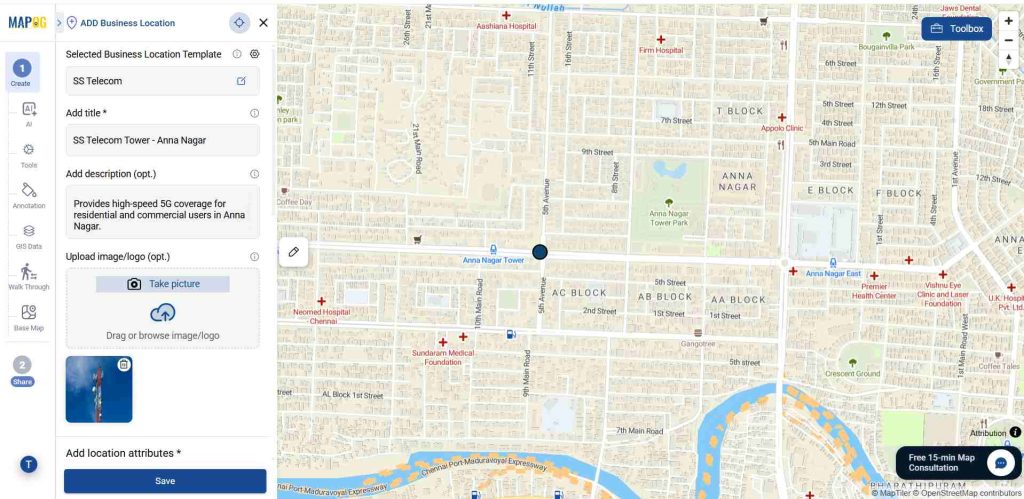
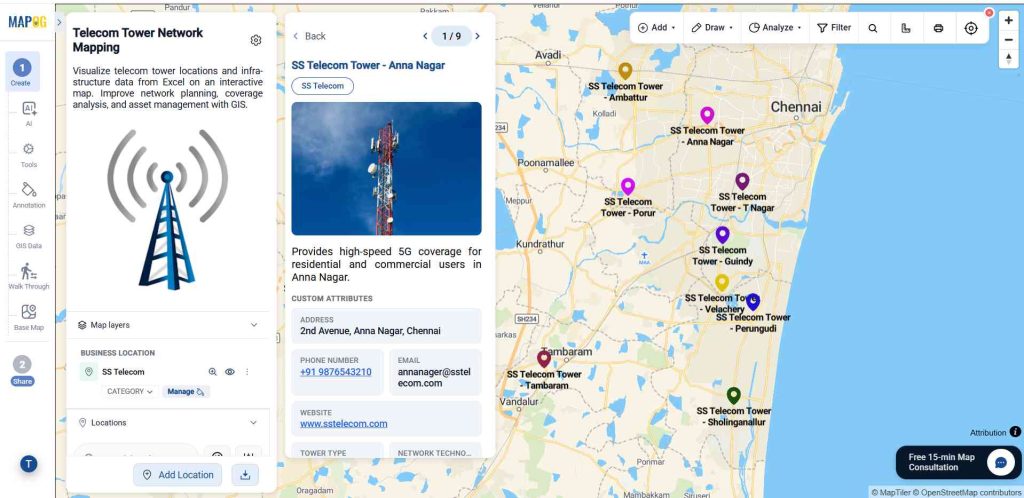
Add description and images and other required details to complete the attributes and follow the same procedure for other points.
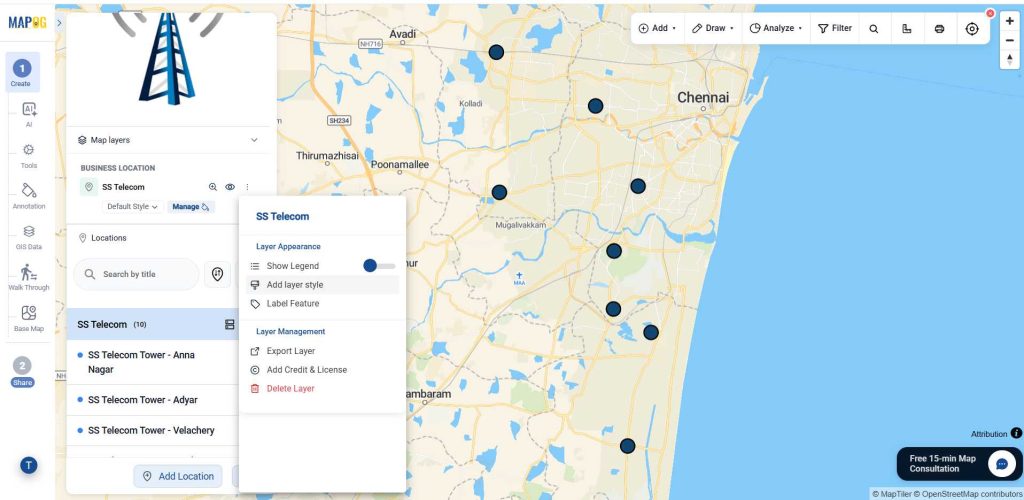
Finally, click Add Layer Style to customize how the point appears.
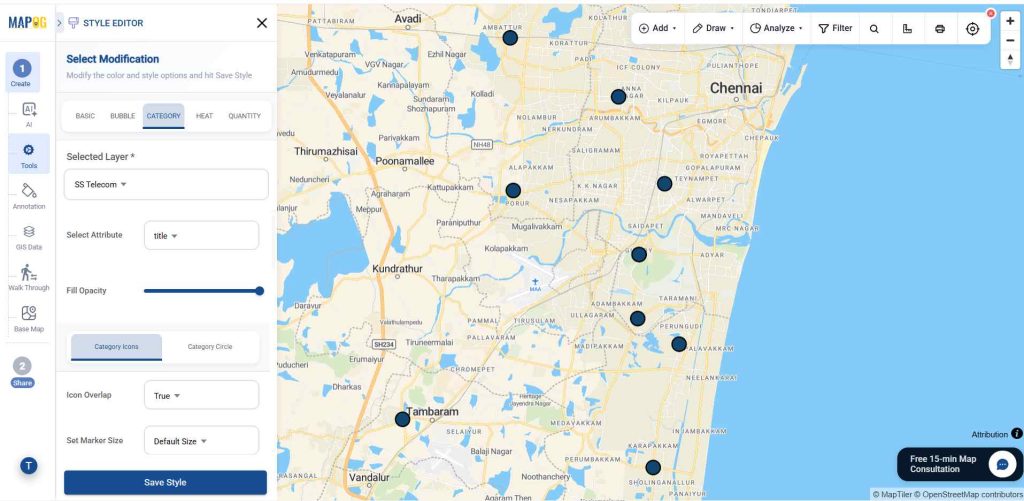
Move to the category section, and select the required attribute in the required layer option.
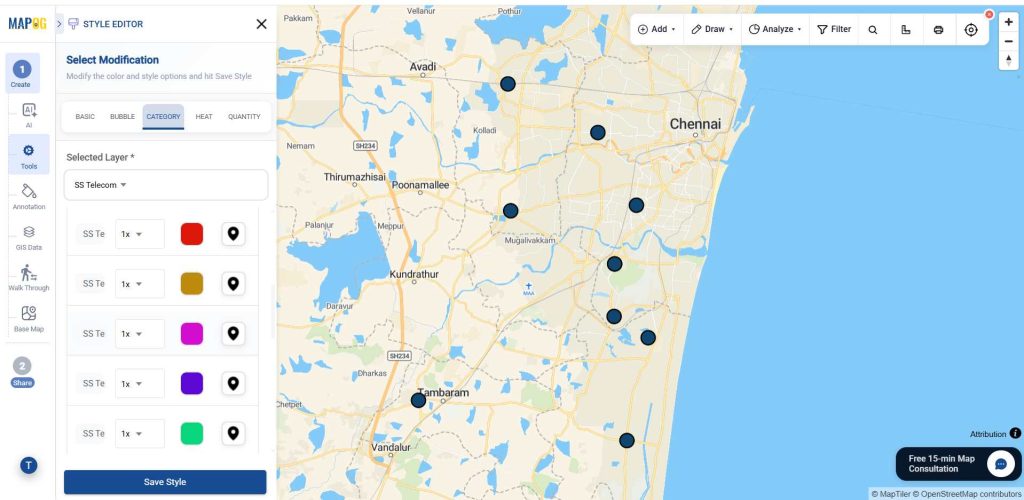
Select an icon and colour to each, and save the style.
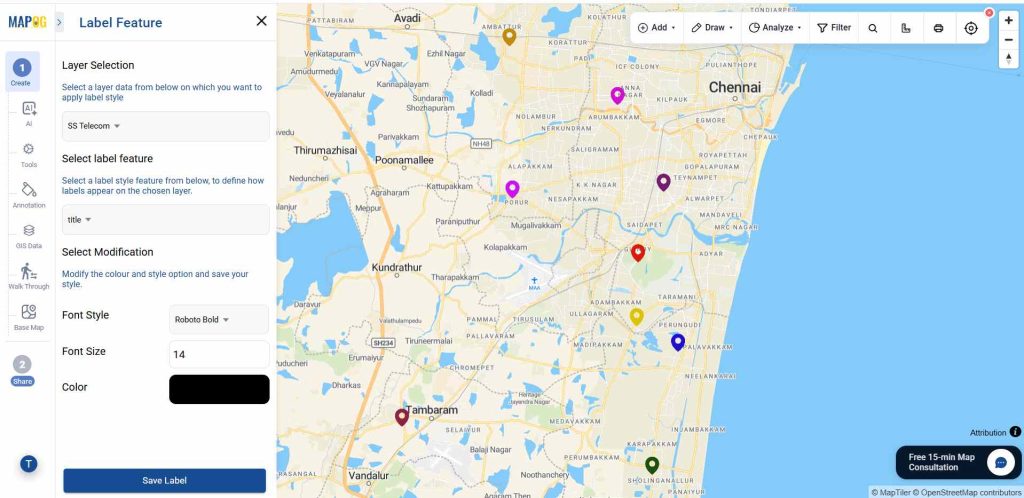
Now, select the label feature option.
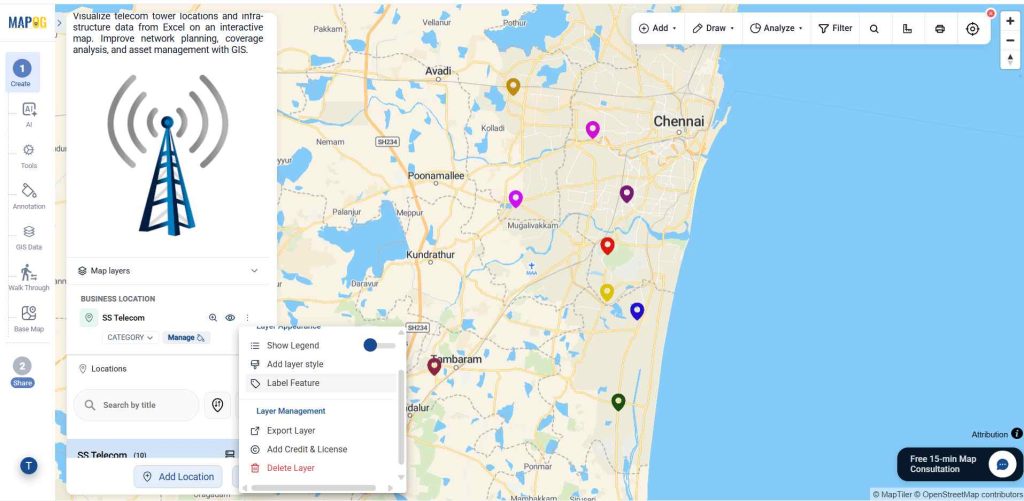
In the select label feature give the layer which you want to label, then select the suitable font and colour, finally give the save label.
4. Filter by filter option:
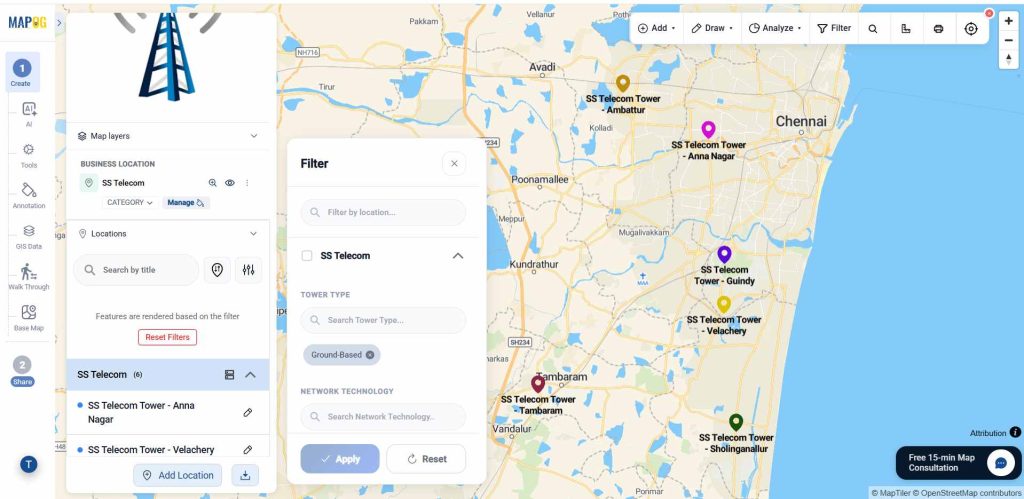
Now go to the filter option, there you can find options such as tower type, network technology and height.
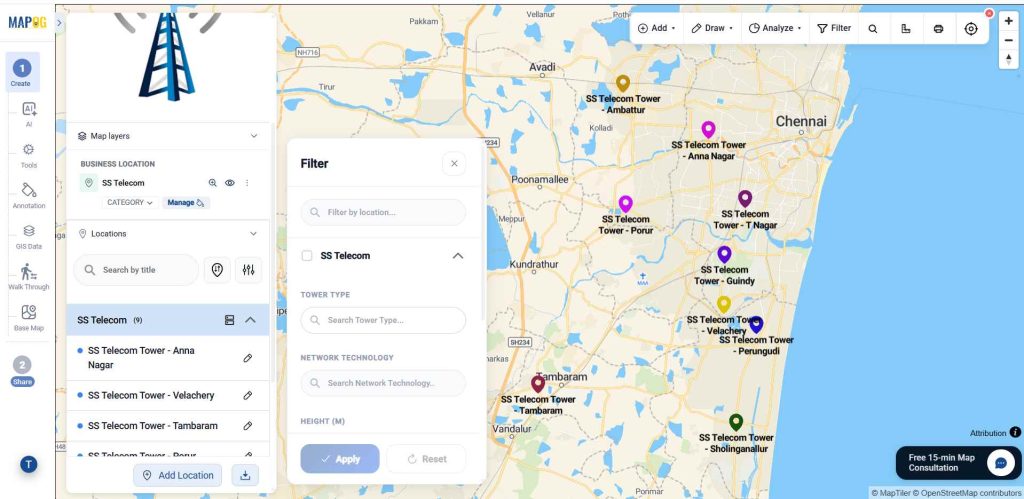
Then select the layer which you want to filter, then type the tower type and apply. Now all the locations come under the expected tower type.
5. Group By Attributes option:
Open group by attributes option. In the property to group attributes, select the option which you want to group.
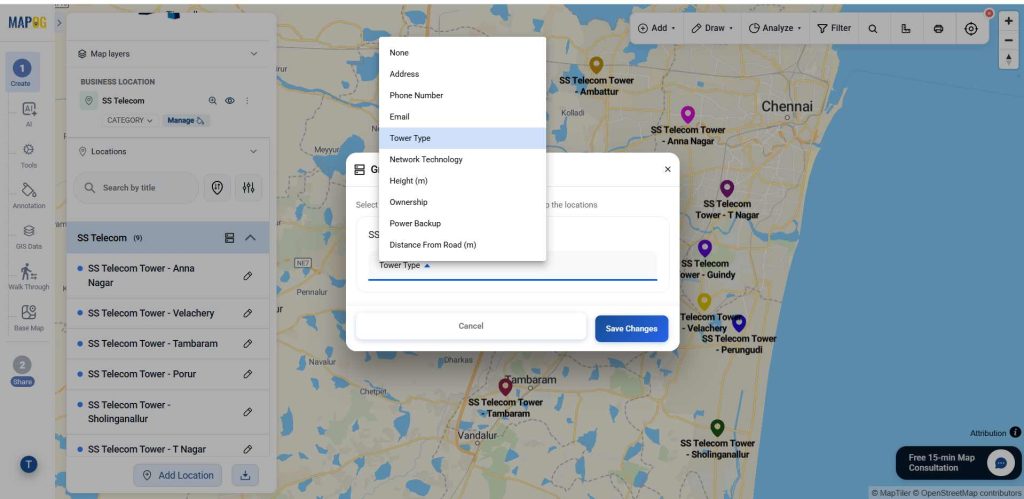
Then, give save changes, now you can see the locations grouped into 3G, 4G and 5G.
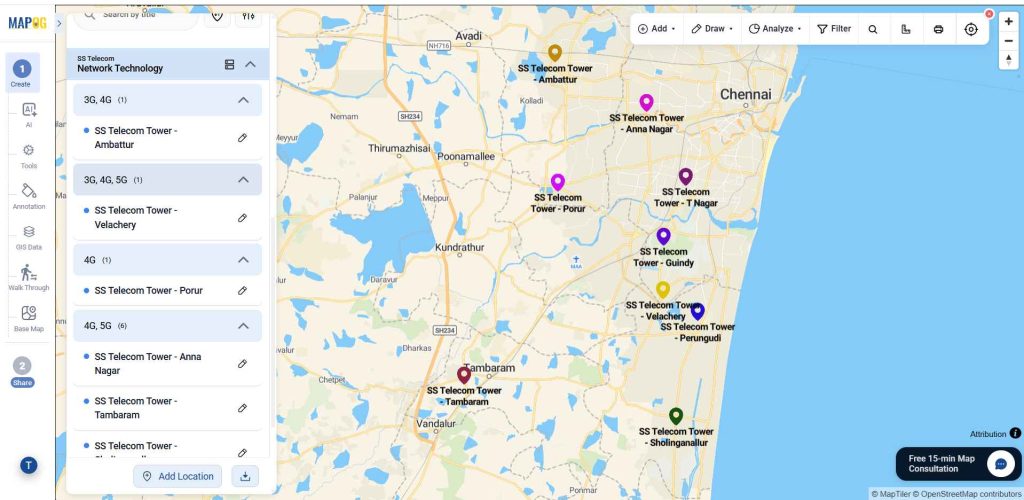
Step 5: Preview & share option
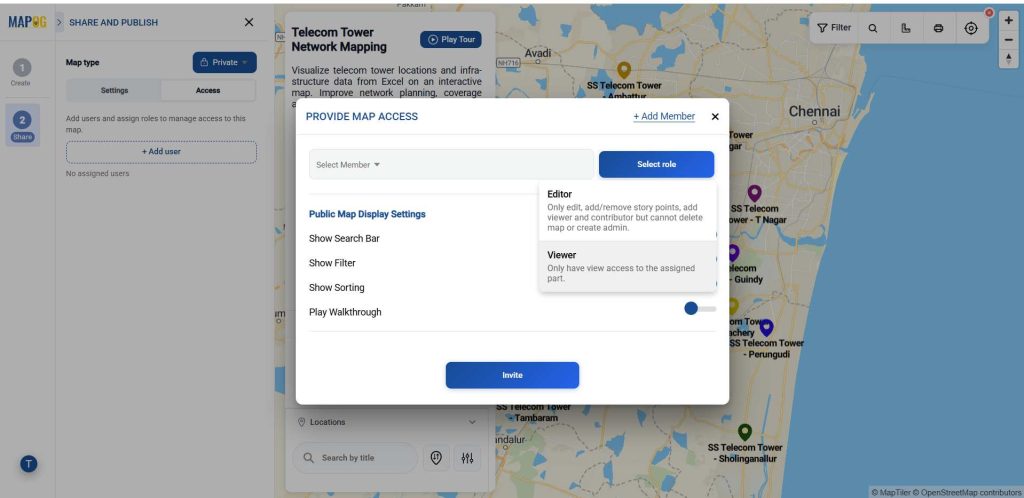
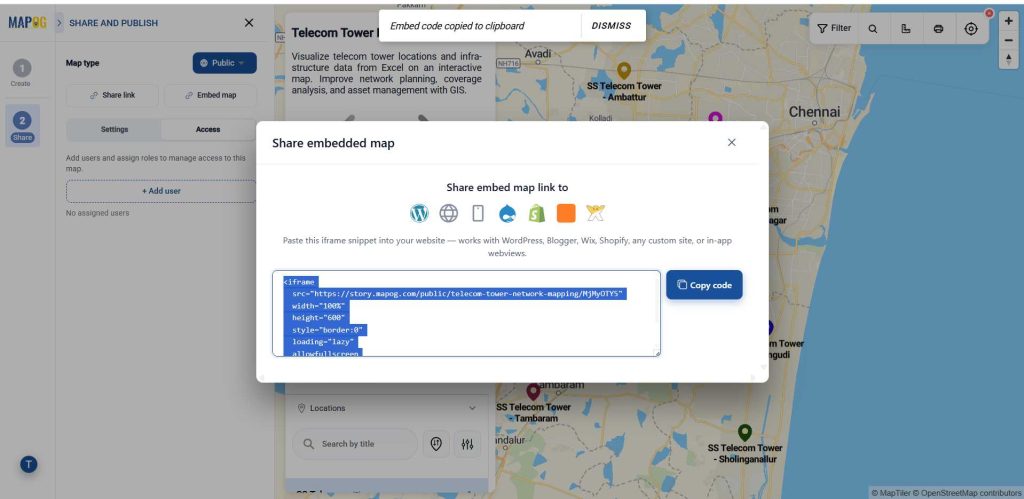
Once your map is ready, go to Preview & Share. Use Add User to invite collaborators and assign roles—Editors can manage content and points (no admin/delete rights), while Viewers have view-only access.
Switch the map from Private to Public to enable sharing. Use the Share Link for quick sharing via email, chat, or social media.
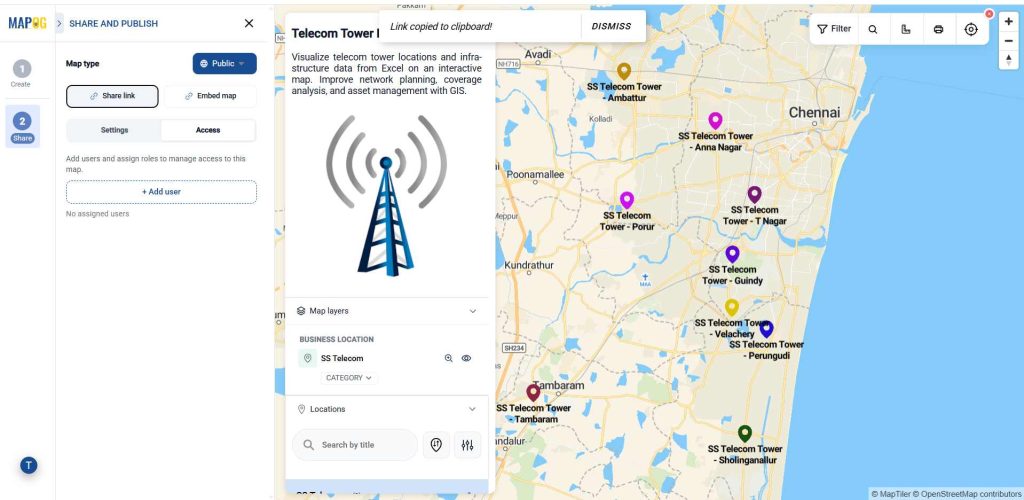
To display your map on a website, select Share Embed Link and use the Embed Map option.
Applications to Replace PDFs and Static Documents with Interactive Maps
Telecommunication organizations can import tower locations, network infrastructure details, and coverage data from PDF or documents files to quickly create interactive maps for planning and analysis. Telecom operators can visualize cell towers, service areas, and network assets while sharing location insights with technical teams and stakeholders. Network providers can map coverage zones, identify connectivity gaps, and plan infrastructure expansion to improve service availability.
Conclusion
Transforming spreadsheet data into interactive maps converts traditional telecommunication records into powerful location-based insights. With MAPOG, telecom businesses can easily convert Pdf data into engaging maps, visualize network infrastructure, and share valuable information with teams and stakeholders. Here are topics related to this topic: