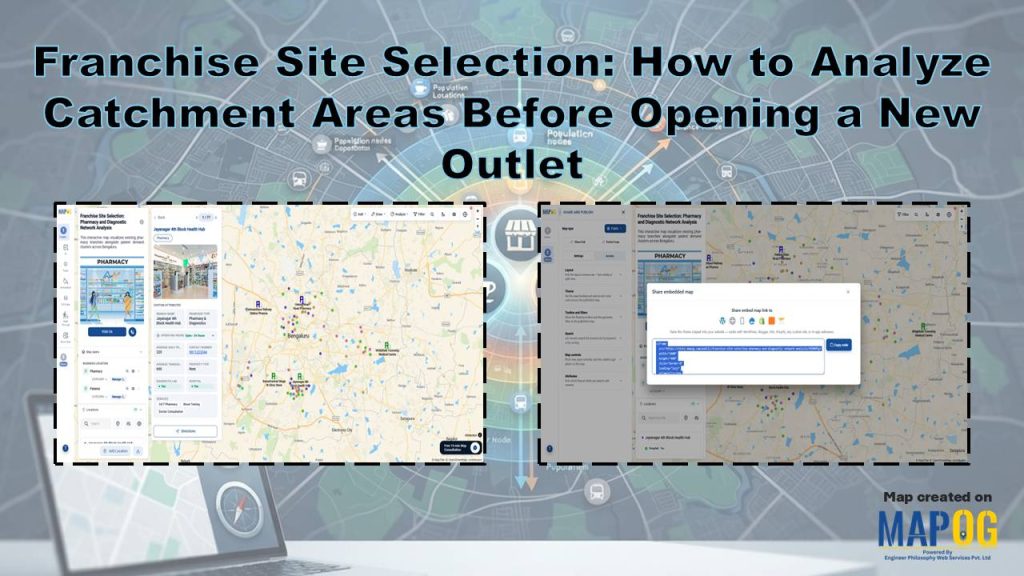
Choosing the right location can determine the success of a pharmacy franchise. Therefore, Franchise Site Selection begins with analyzing catchment areas before opening a new outlet. By evaluating geographic and demographic factors early, pharmacy brands reduce expansion risks and improve investment decisions. Moreover, MAPOG Interactive Map Creation helps businesses visualize population density, nearby healthcare facilities, competing pharmacies, and customer demand on an interactive map.
Key Concept: Franchise Site Selection Analyze Catchment Areas Before Opening a New Outlet
Franchise site selection helps businesses choose the best location for a new pharmacy by analyzing the surrounding catchment area. It considers factors such as population density, nearby hospitals and clinics, competitor pharmacies, customer demand, and accessibility. Interactive maps bring all this information together in one place, making it easier to compare locations, identify underserved areas, and select sites with the highest growth potential.
Step-by-Step Workflow: Franchise Site Selection
1. Create a New Map
First, log in to MAPOG and open the Create and Publish Maps module.
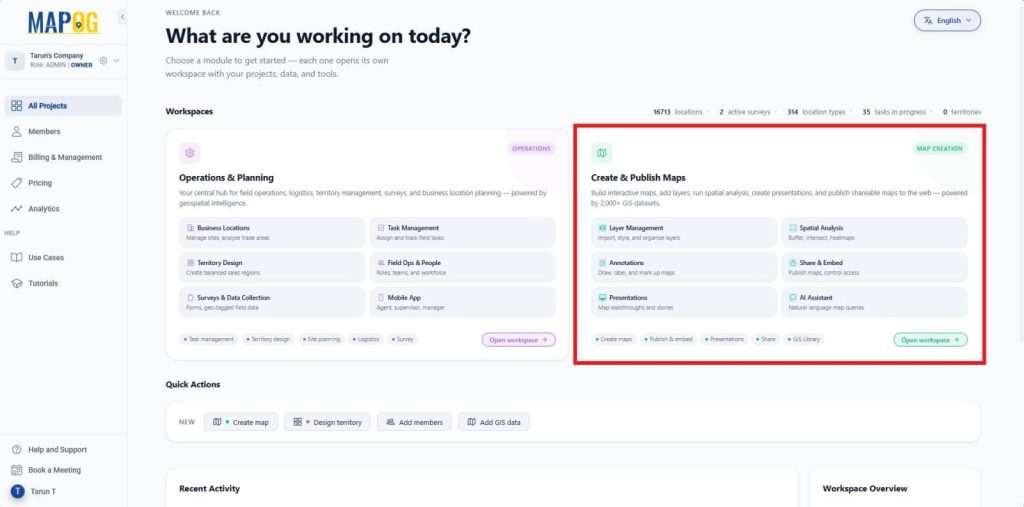
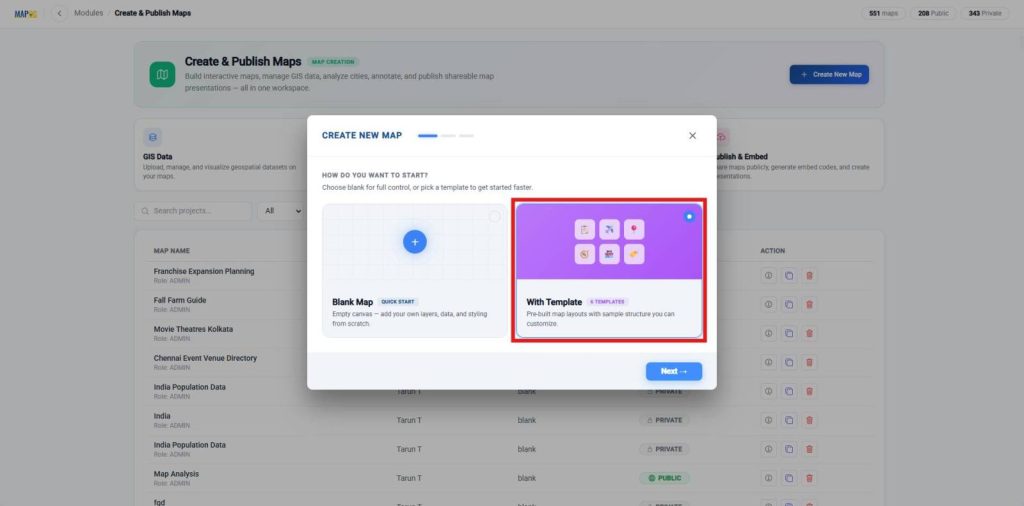
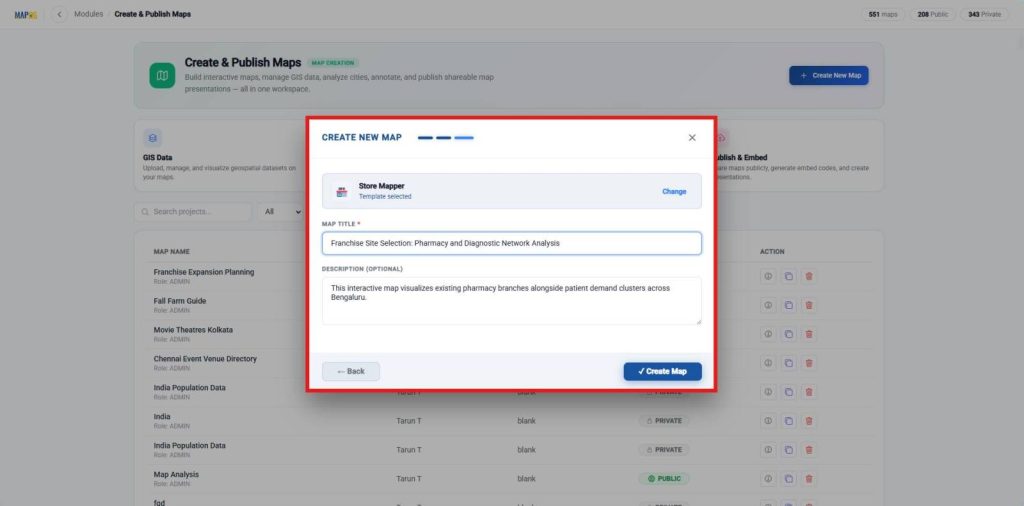
Next, click on the Create New Map button, select the option to create your map with a template.
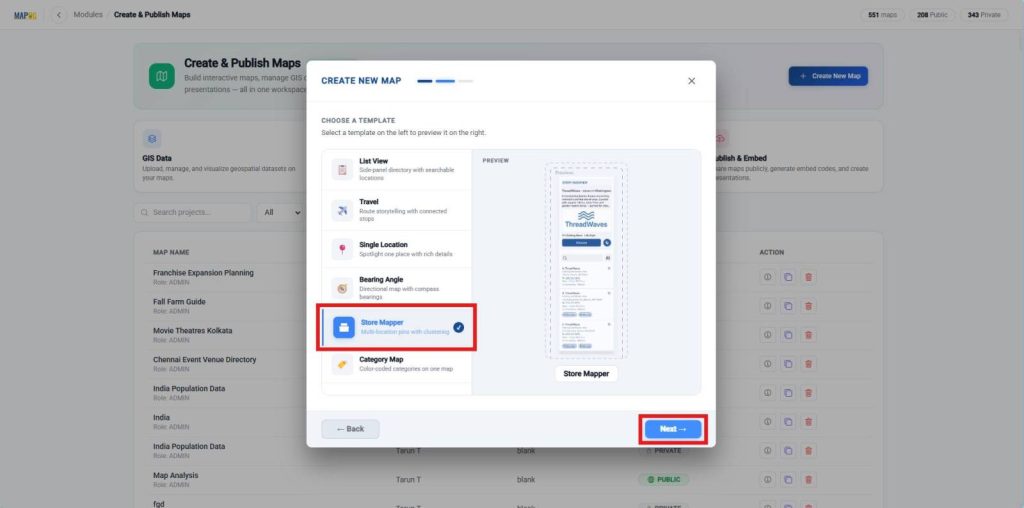
Then select the Store Mapper template for multi-location pins.
After that, enter a suitable map title and description, click Create Map to open the map interface.
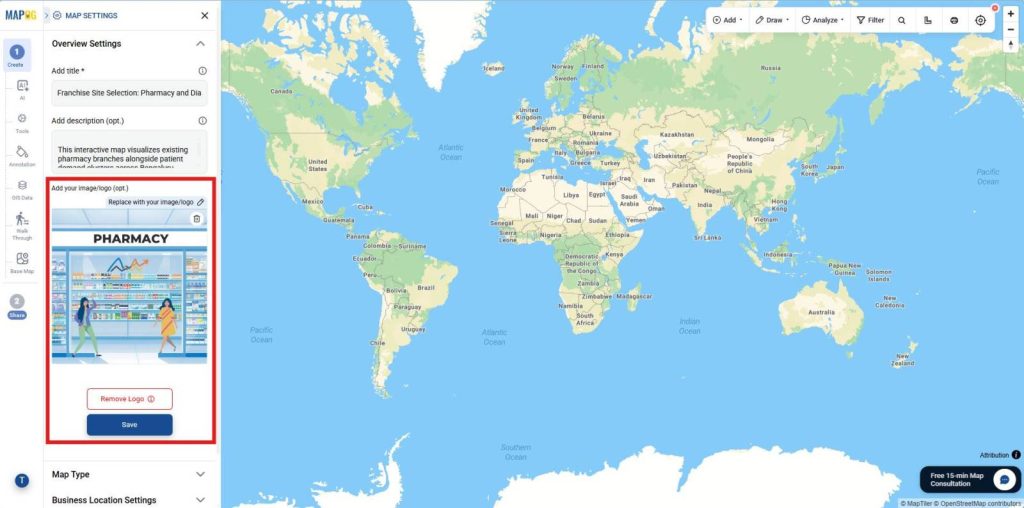
Also, open Map Settings and upload your company logo.
2. Create New Business Location Template
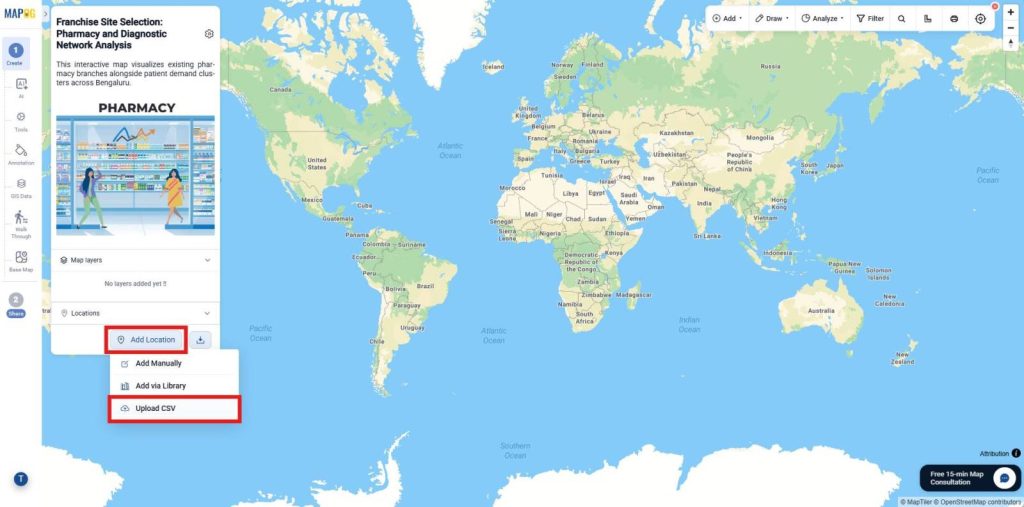
Next, click Add Location and choose Upload CSV.
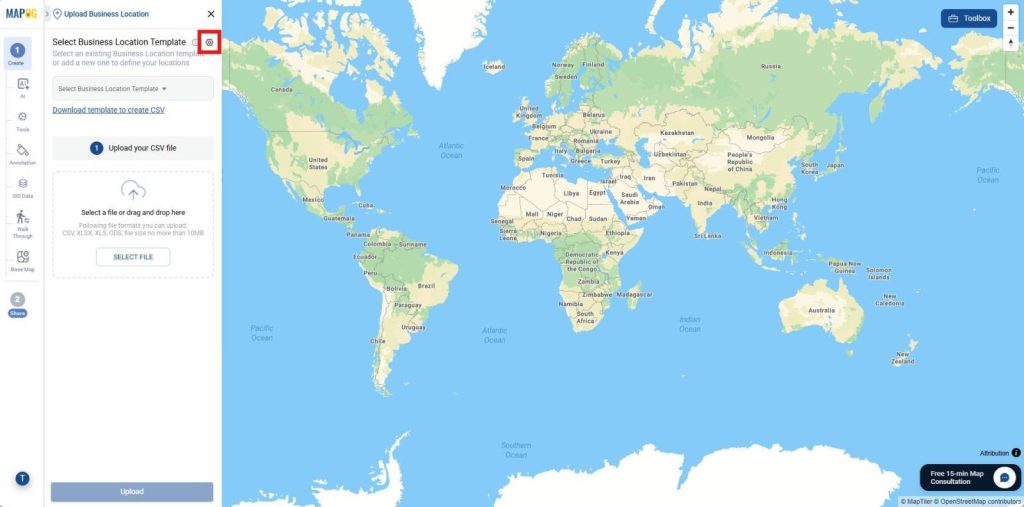
Open the Business Location Settings to configure attribute fields and establish a reusable location type for future imports.
Then, click Create New Type and enter a location type name. Afterward, select Point as the geometry type, also choose color.
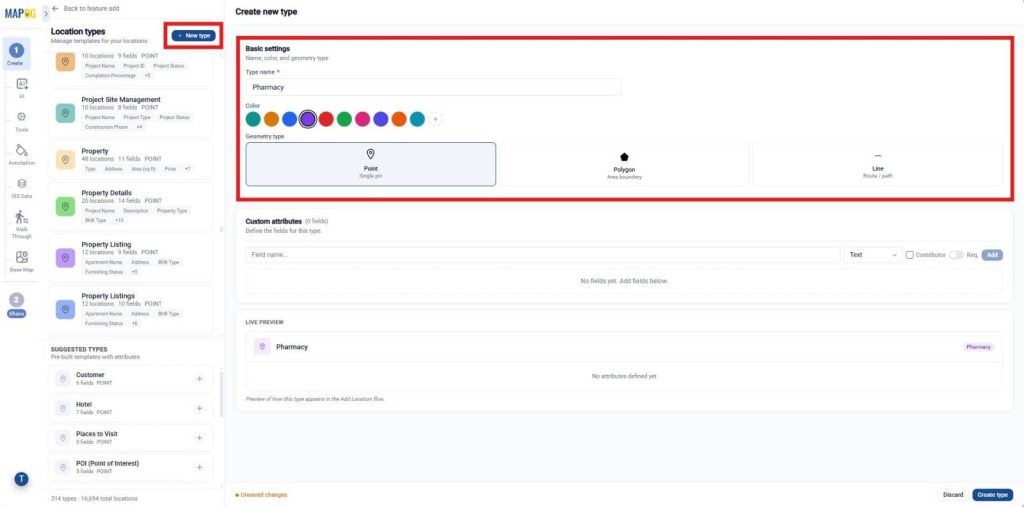
Now, add custom attributes for essential business information such as Franchise Type using select field type, Operating Hours using business hours field type, and a Contact Number attribute using Phone field type. Finally, enable Contributor Editing to allow team members to update and maintain store information whenever needed.
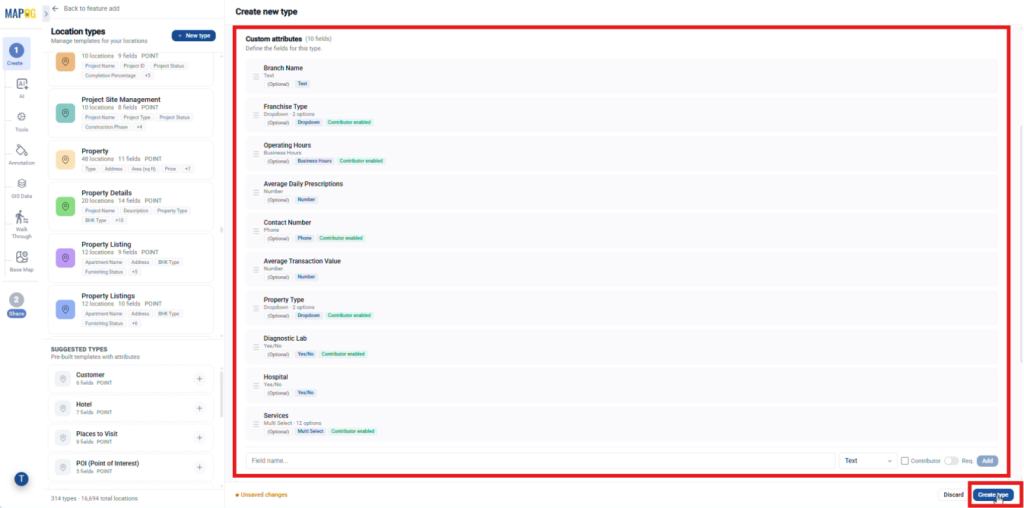
3. Upload and Configure Store Locations
Now, return to Add Location and select the recently created location type from the drop down. Then, browse and select your Excel file and click Upload.
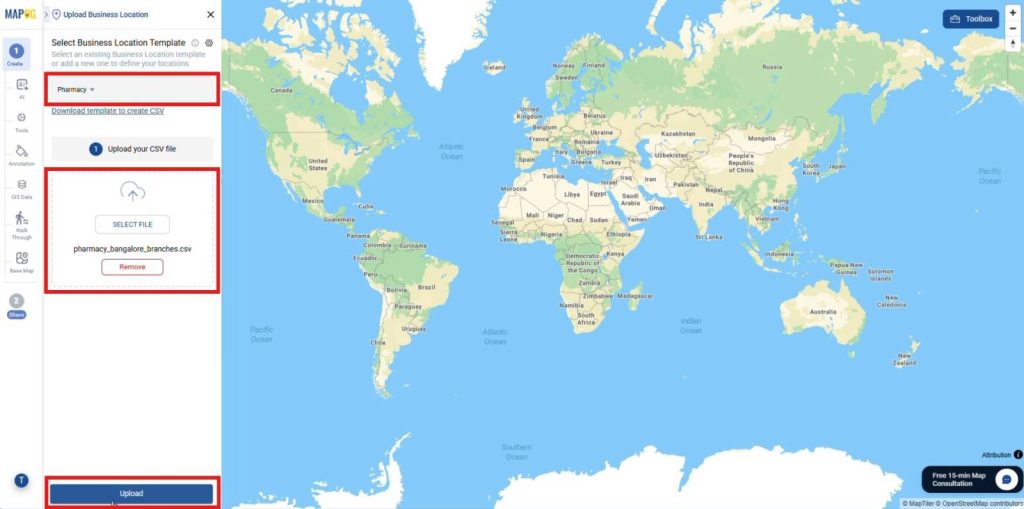
Next, select a unique id column or allow the platform to generate a unique ID automatically.
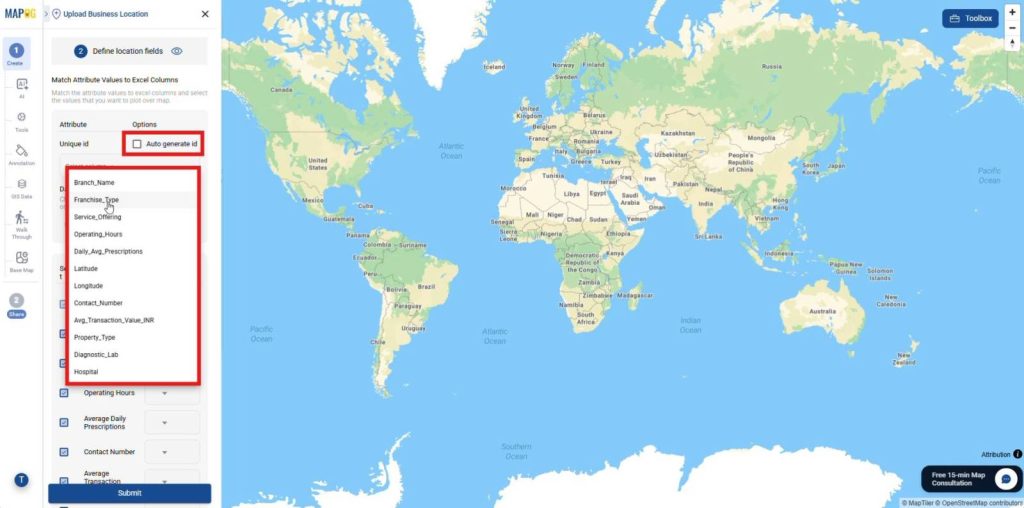
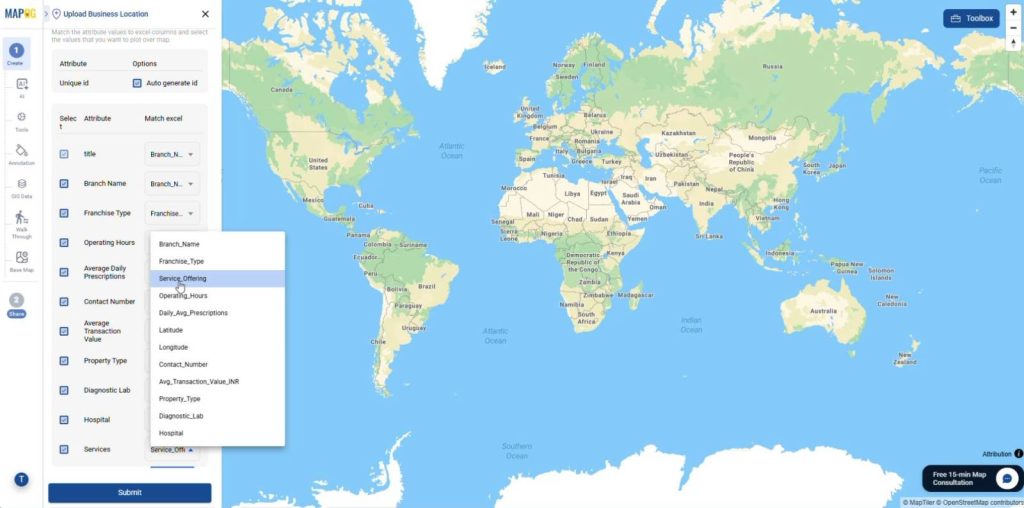
Then, map every spreadsheet column with its corresponding attribute.
Also, ensure that the Latitude and Longitude fields are correctly mapped, so each pharmacy location is plotted accurately on the map.
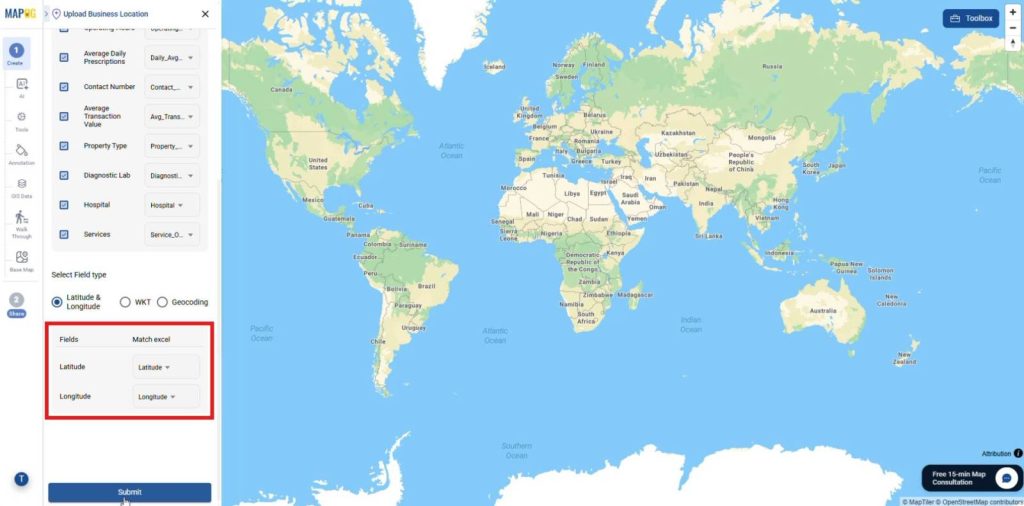
Once all fields have been verified, click Submit to upload and plot the pharmacy locations.
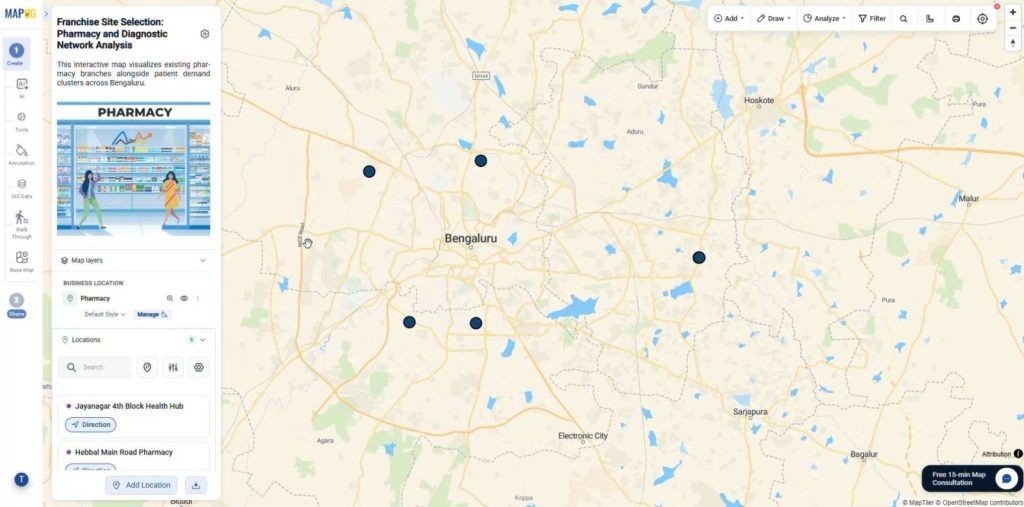
4. Edit Store Details
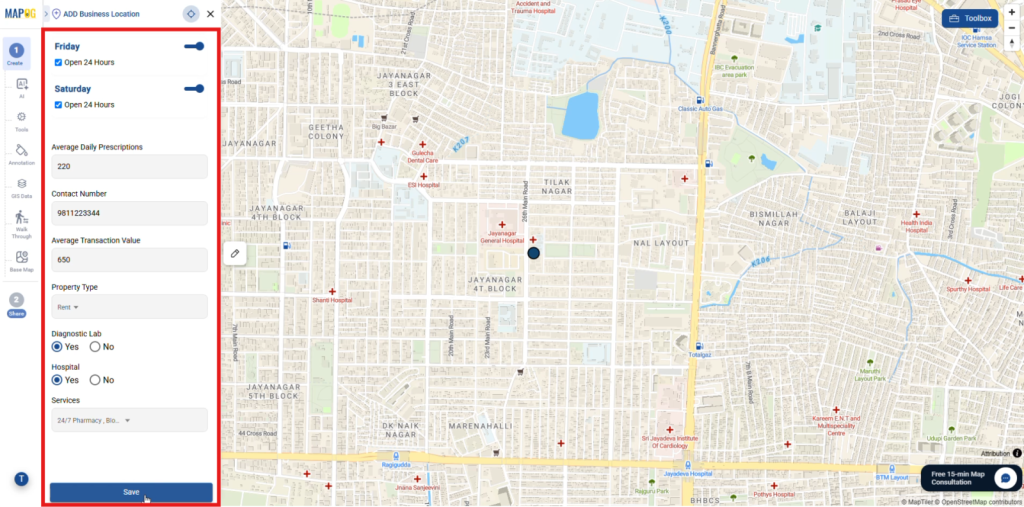
After the upload completes, click the Pencil icon beside any pharmacy location. Then, open the Edit business location details section.
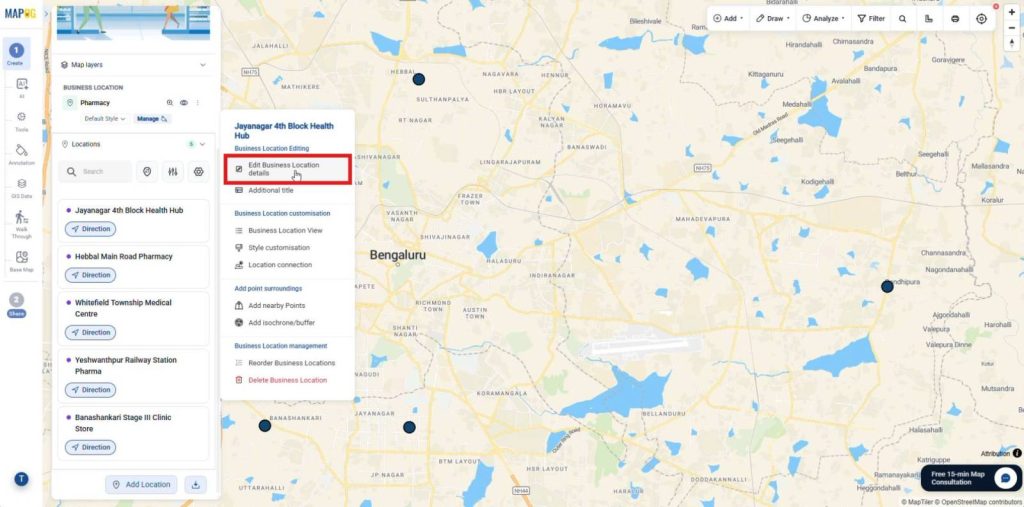
Next, add store descriptions, upload photos, etc or update existing information.
5. Style and Configure Display Properties
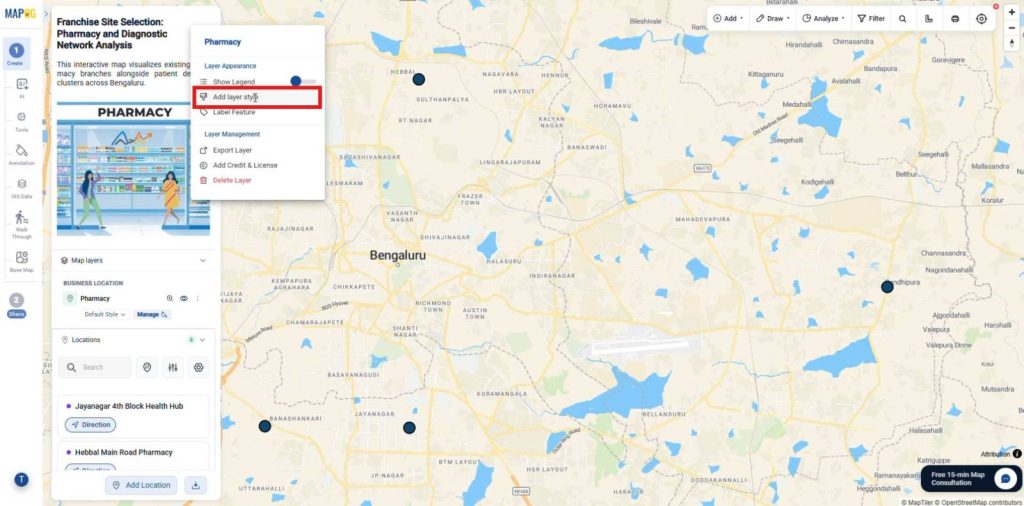
Next, click the Three Dots beside the layer and select Add Layer Style.
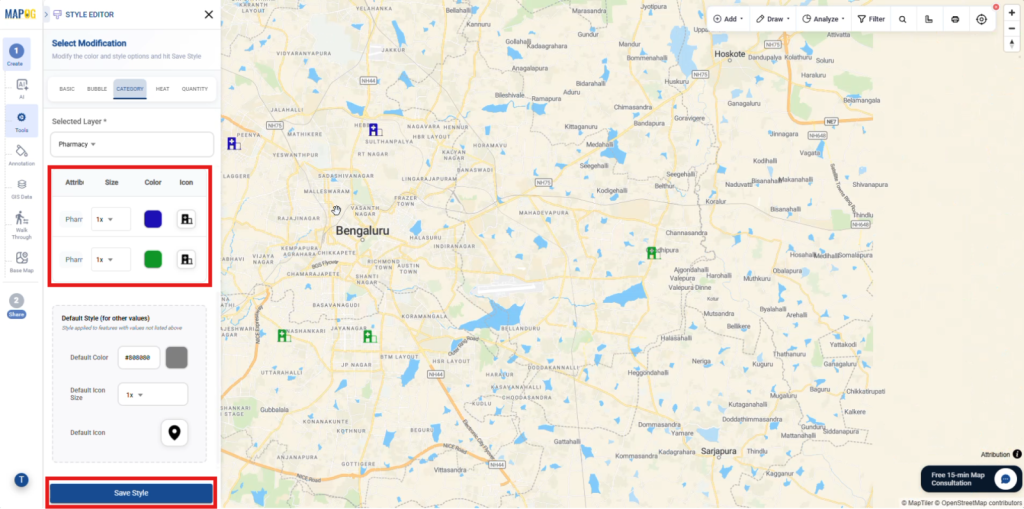
Then, choose category style then select an attribute field like Store Type to categorize by. After that, assign different icons and colors to each category from the category icon section and click Save Style.
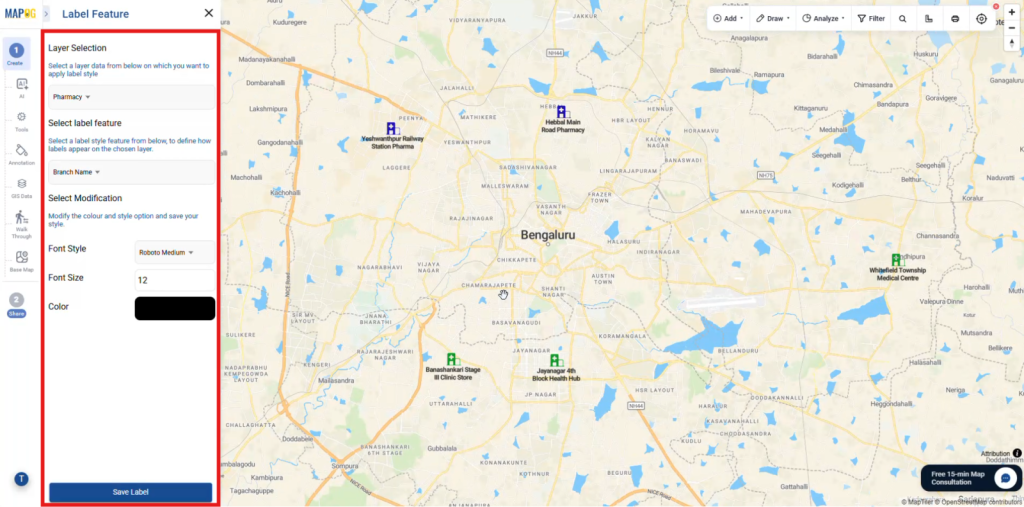
To customize map labels, open Label Feature and select the attribute to display from Select Label Feature. Customize the label by choosing the Font Style, Font Size, and Color, then click Save Label.
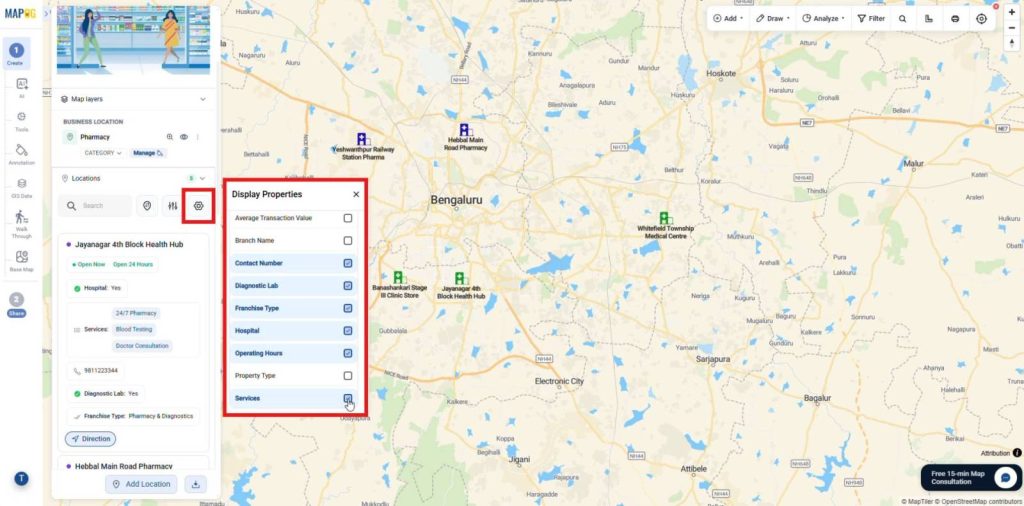
Now, open Display Properties and select fields to display beside each location. As a result, users can view important pharmacy information quickly.
6. Import Patients Data
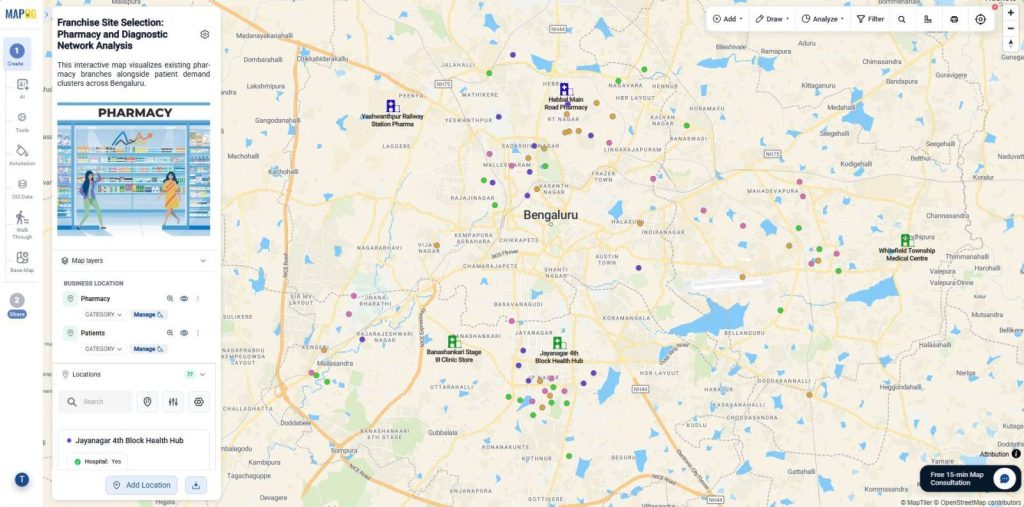
Next, upload your pharmacy demand CSV file using the same process. Consequently, this approach displays both pharmacy branches and patient distribution on one map.
7. Add Action Button
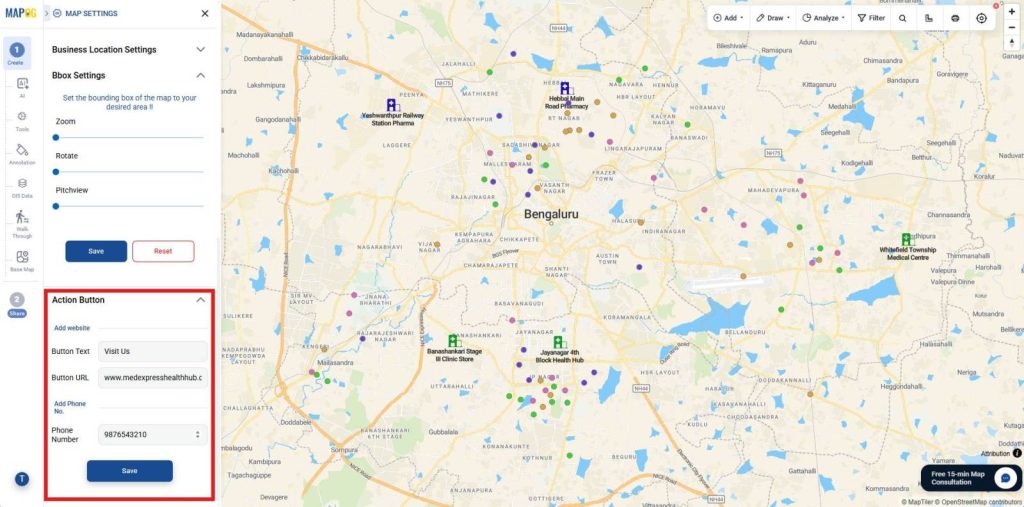
Open Map Settings and navigate to the Action Buttons section. Here, add website links with button text and phone numbers to the map interface.
8. Share and Publish Interactive Maps
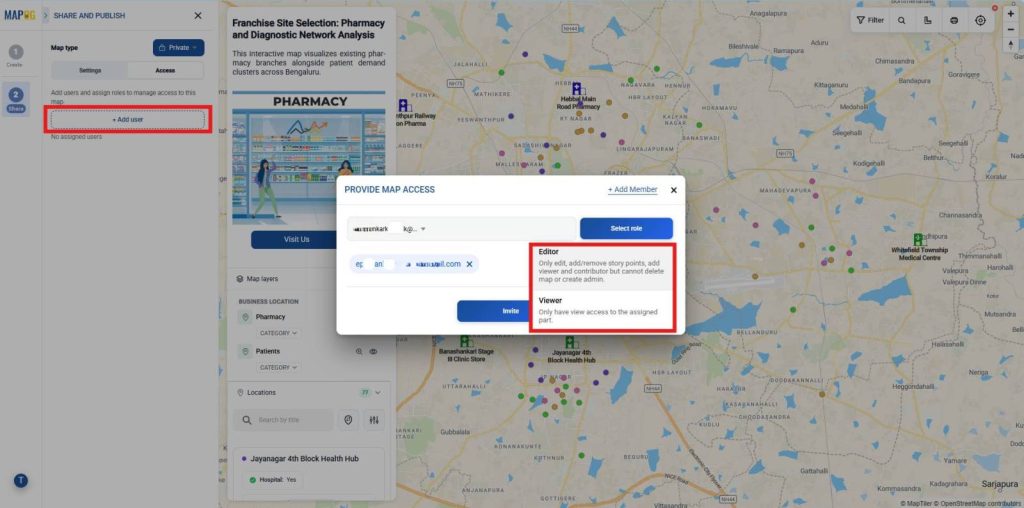
When the map is ready, open the Share and Publish section. Then, select Private Map to restrict public access.
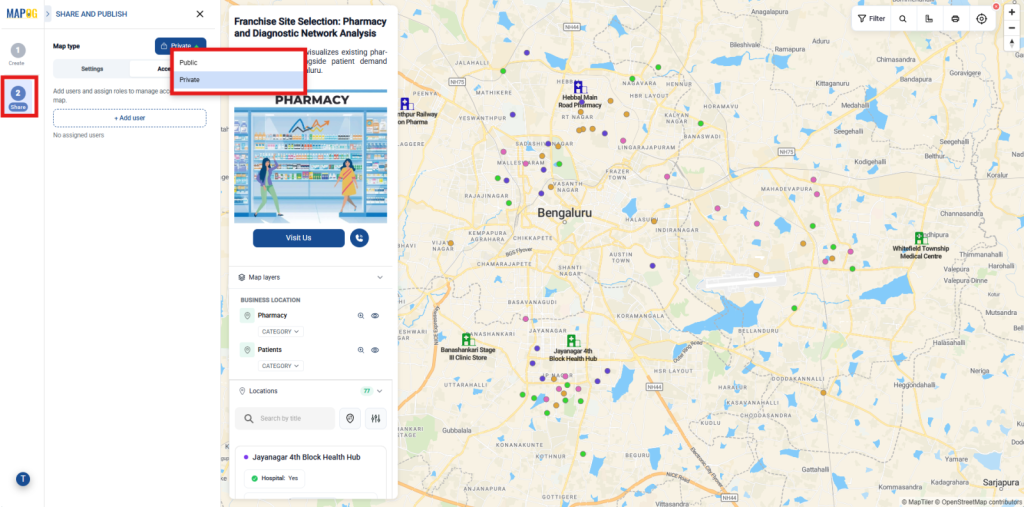
Next, click Add User to provide map access. select members from the list and assign the appropriate role, including Editor, or Viewer. Finally, click Invite.
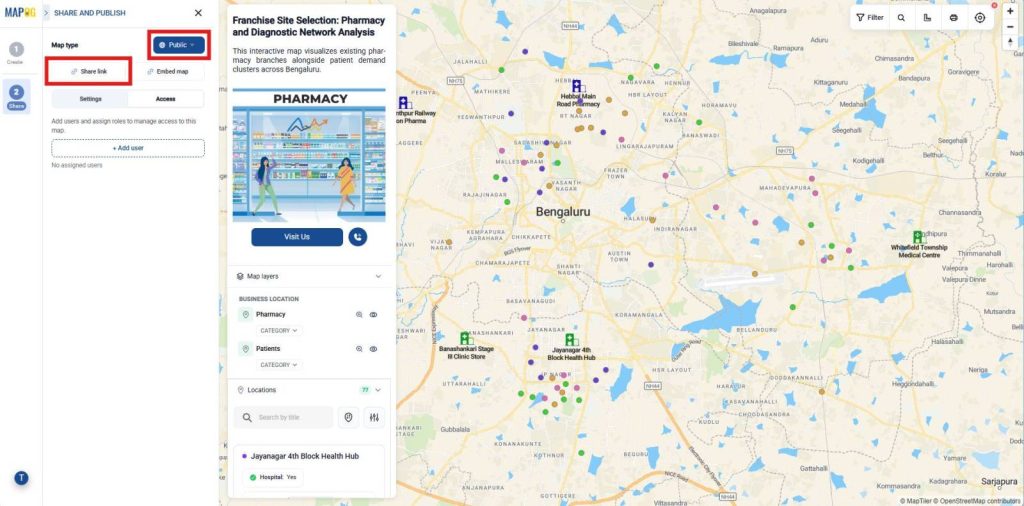
Afterward, select Public Map to share your map publicly. Next, click Share Link to generate a public URL.
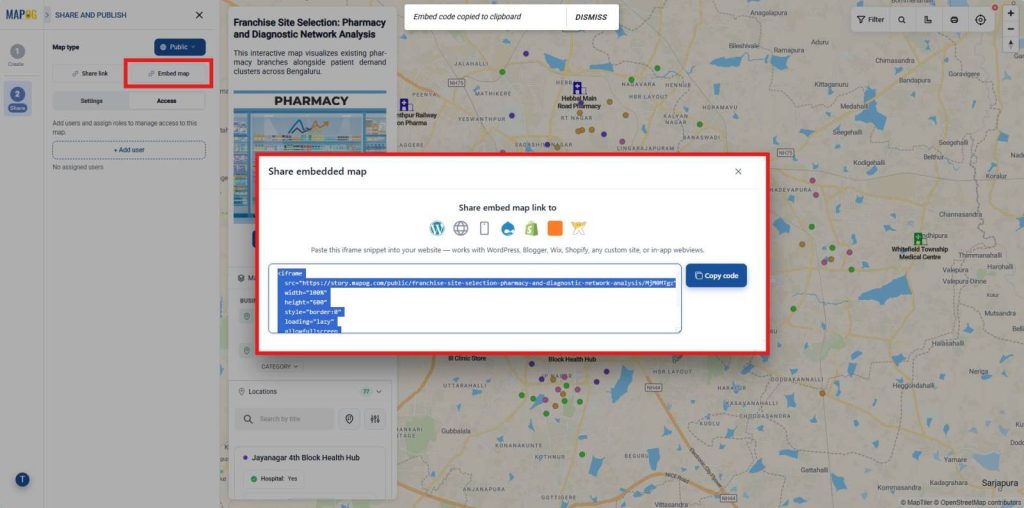
To embed the map on your website, click Embed Map to generate the embed code. Copy the generated code and paste it into your website, blog, or web application where you want the map to appear.
Industries and Domains Benefitting from Franchise Site Selection Map
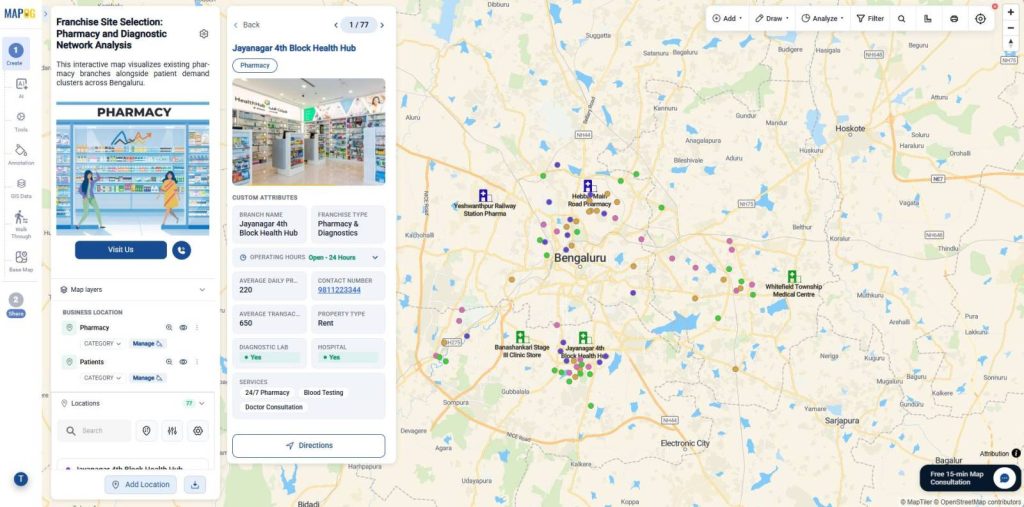
Several industries gain measurable value from this approach. Quick-service restaurants use catchment analysis to identify high foot-traffic zones and boost daily sales. Similarly, retail chains rely on it to expand into promising city clusters without overlapping existing stores. Healthcare and diagnostic franchises benefit by targeting residential density, ensuring easy patient access.
Conclusion
Ultimately, Franchise Site Selection becomes more effective when pharmacy businesses analyze catchment areas before opening a new outlet. Moreover, MAPOG Interactive Map Creation converts complex geographic and demographic data into clear visual insights. At the same time, CSV/Excel to Map integration accelerates site analysis by transforming spreadsheets into interactive maps.