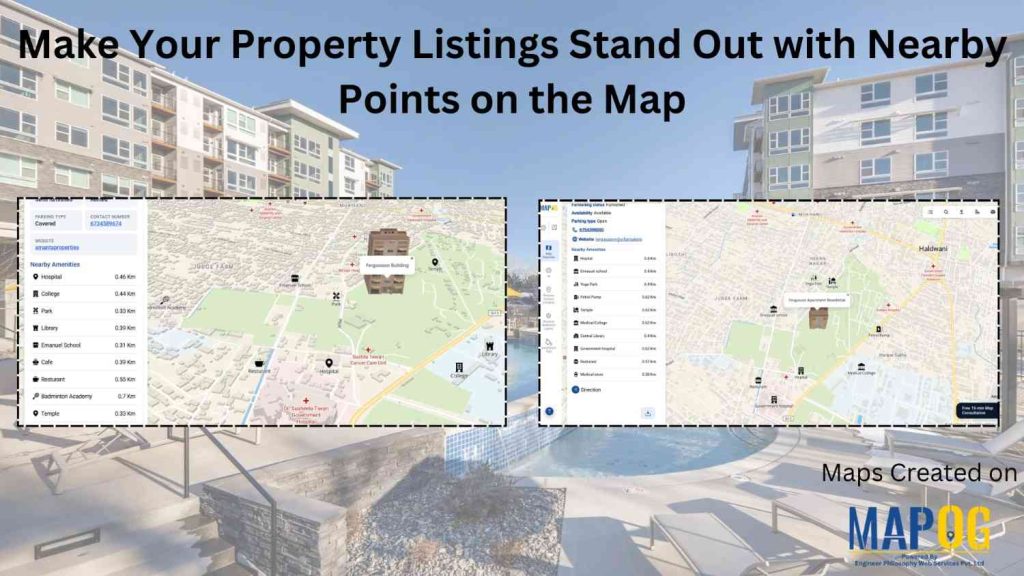
In real estate, property listings are often shared through images, spreadsheets, or basic portals. However, these methods only show partial information. While buyers can see the property, they rarely understand the surroundings. As a result, they spend extra time searching for nearby schools, buildings , and connectivity.
With MAPOG , you can turn simple property data into an interactive map that highlights not only the property but also everything around it. One common problem with traditional listings is that they lack 3D building visualization, making it hard for buyers to truly understand the structure, layout, and surroundings. With MAPOG’s 3D model integration, you can showcase buildings in a more realistic way, giving buyers a clearer perspective. This way, buyers get a complete view in one place, making decisions faster and easier.
Why Nearby Points Matter in Property Listings
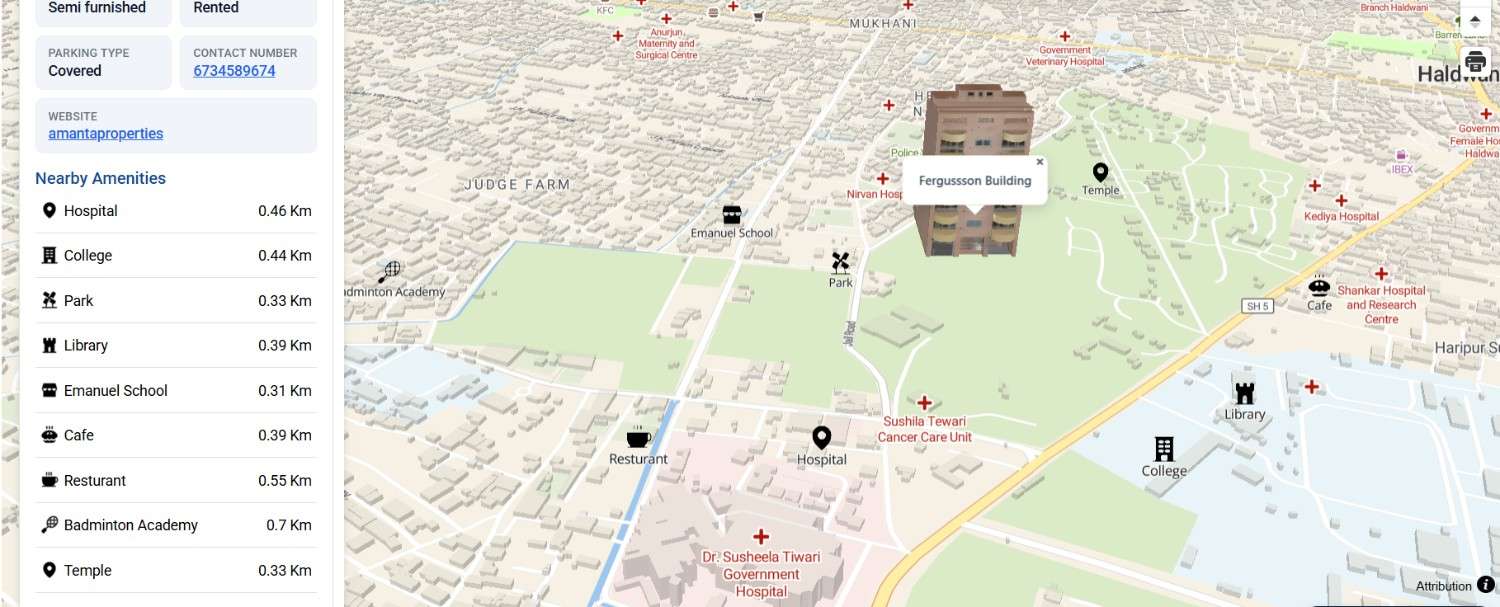
A property alone doesn’t tell the full story. Instead, its location and surroundings play a major role in decision-making. By adding nearby points to your map, you answer all these questions instantly. Moreover, you reduce the need for multiple searches. As a result, your listing becomes more informative and visually engaging, especially with the addition of 3D building views that help users better understand the property. It builds trust by offering a more realistic perspective and keeps users engaged for longer.
Steps to Create a Property Listings Map with Nearby Points
1. Create a New Map
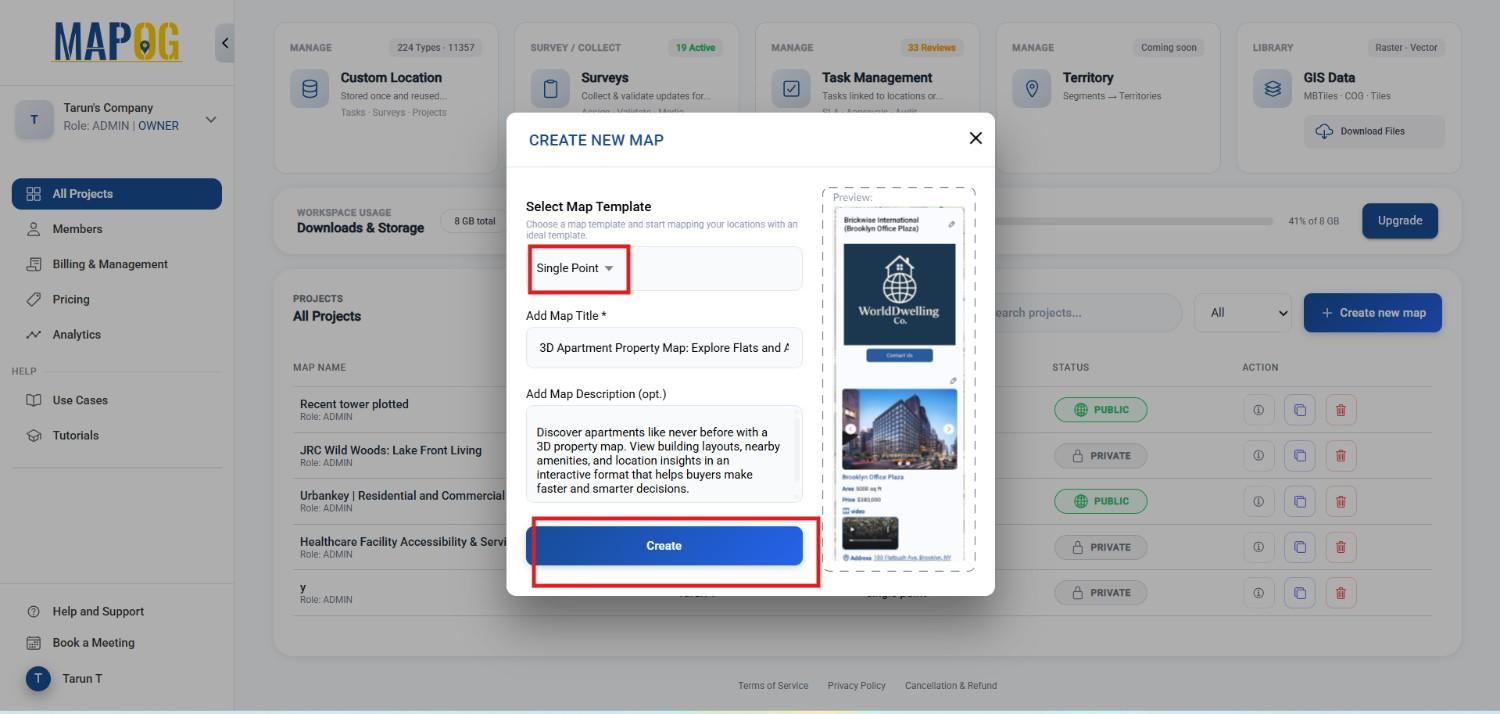
To begin, open MAPOG and click on Create New Map.
Then, choose the Single Point template since you are focusing on one property. Next, add a clear title and a short description. This helps users understand your map at a glance. After that, click Create to start your project.
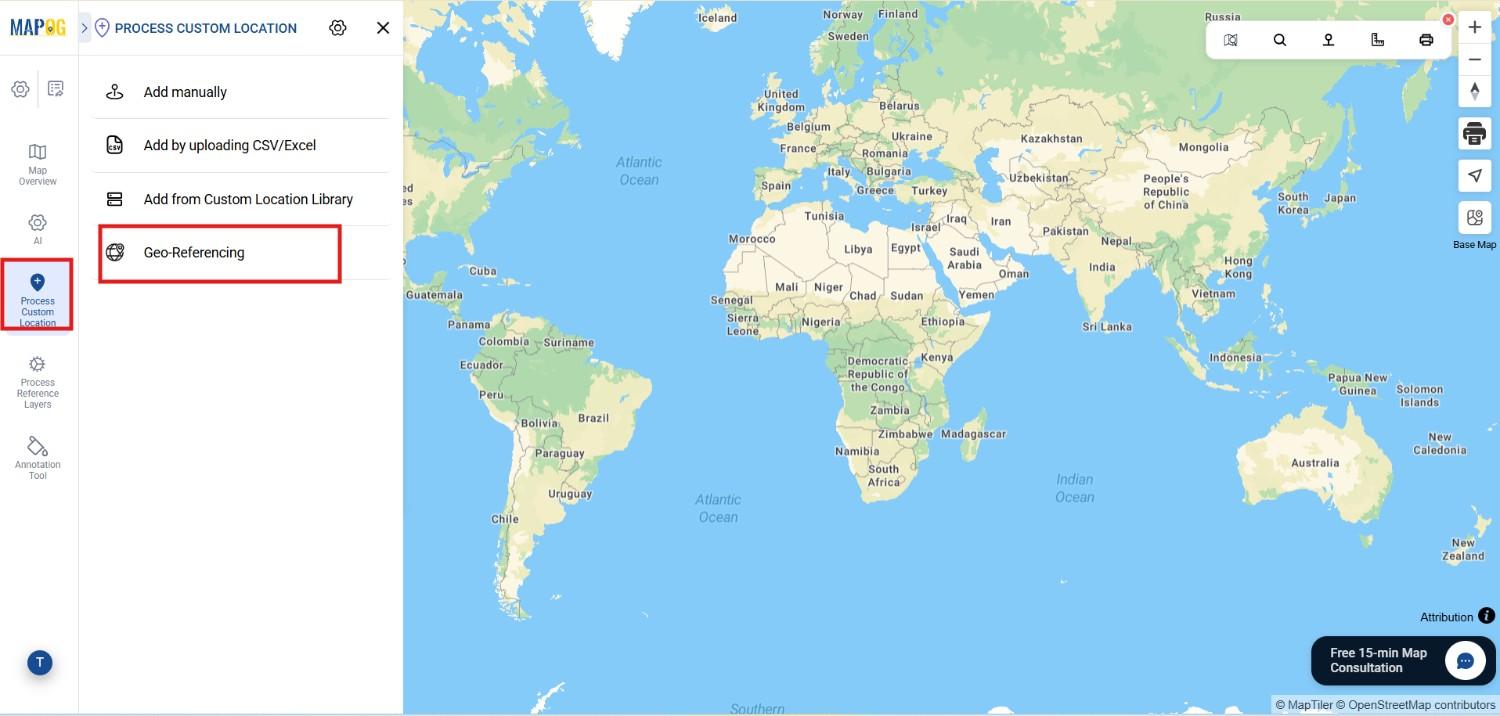
2. Add and Position Your 3D Property Model
Once your map is ready, move to the Process Custom Location and select Georeferencing option to connect your property with real-world coordinates.
After that, go to the 3D Model option and upload your property model or visual file .
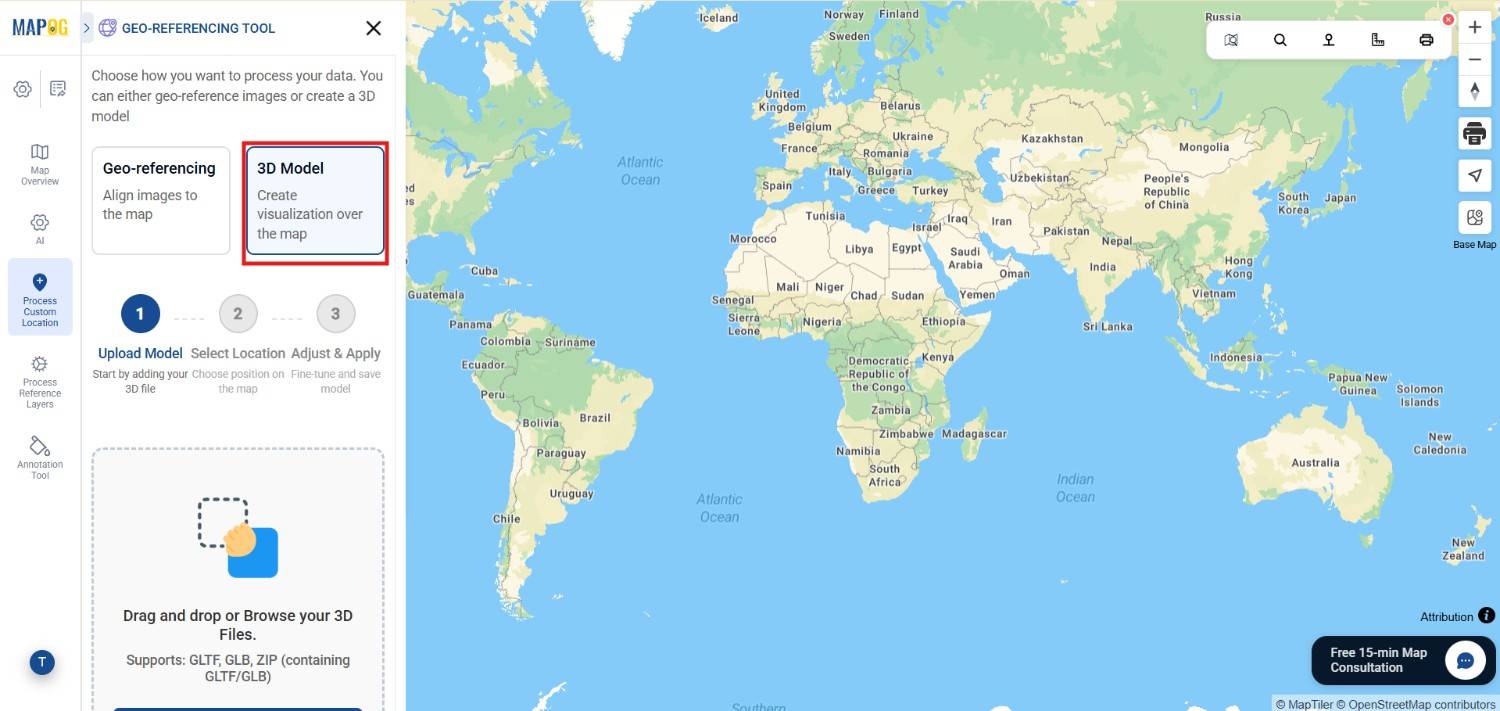
The file should be in GTB or Zip format , once uploaded click on Next.
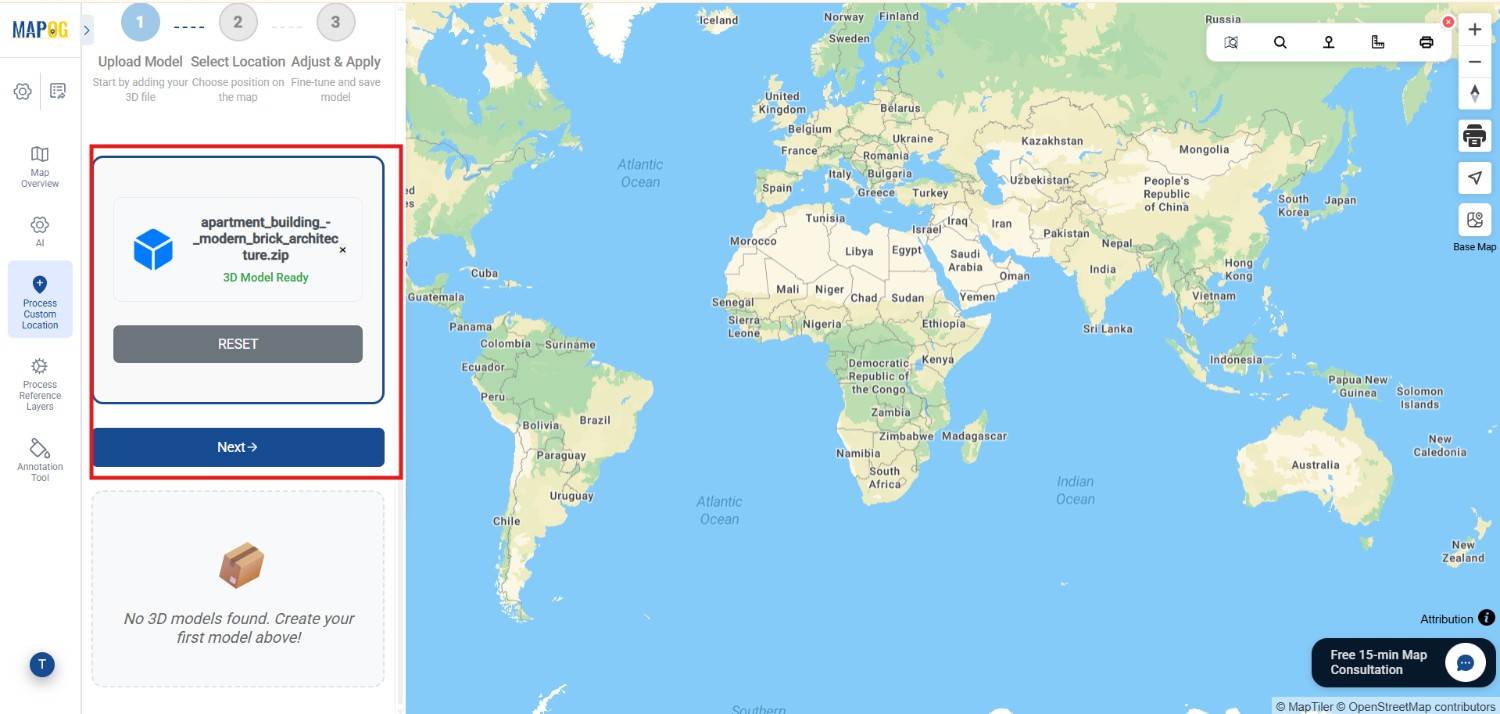
You can then use the search tool to find your location by name or you can also search any location by coordinates.
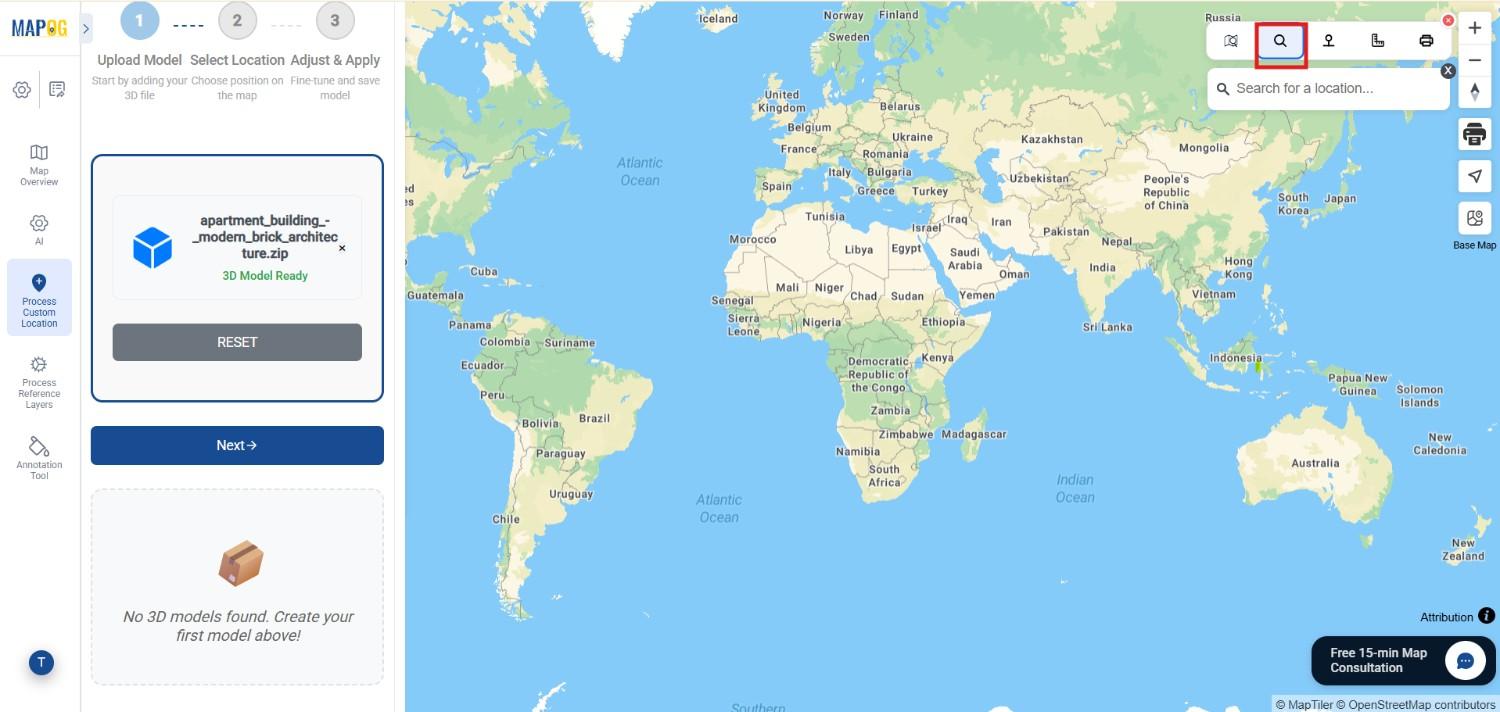
When the correct location appears, place your property on the map by clicking Start Selection.
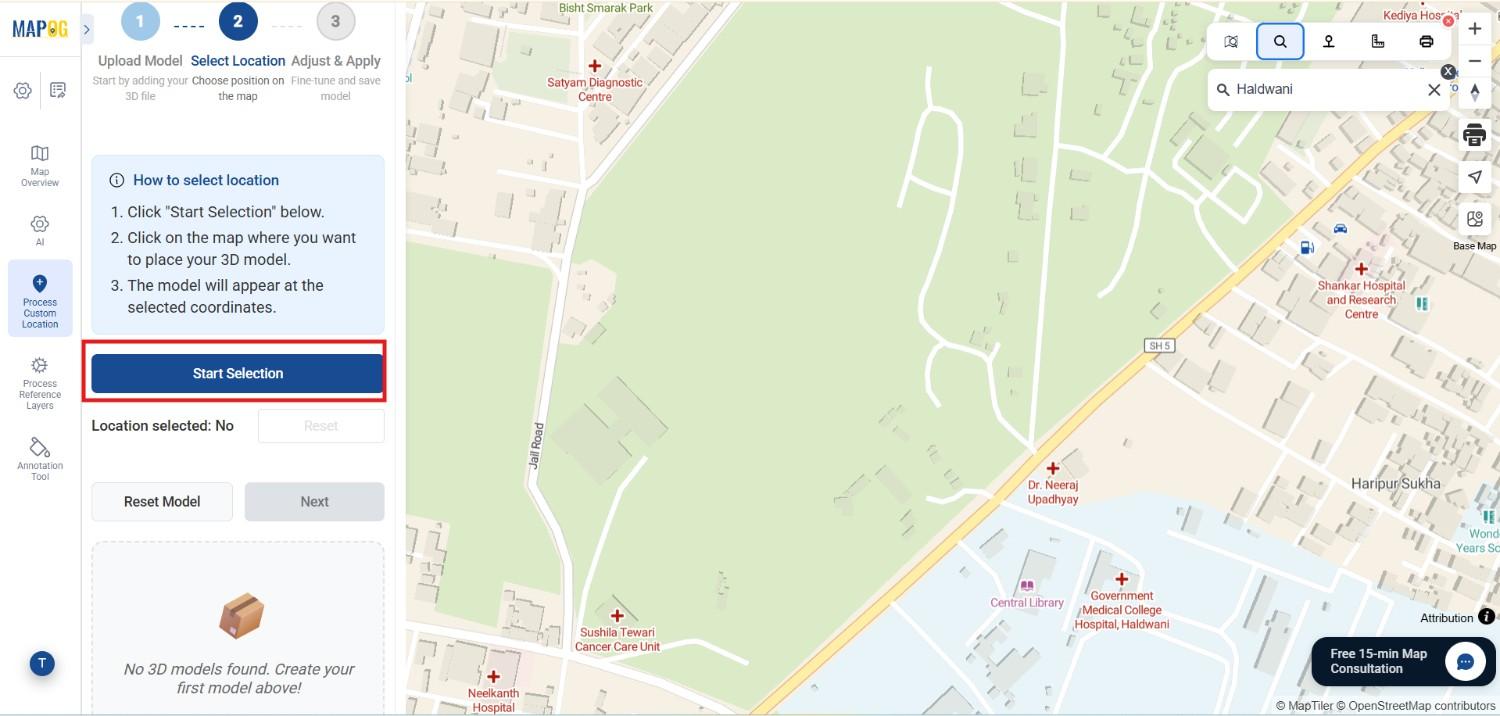
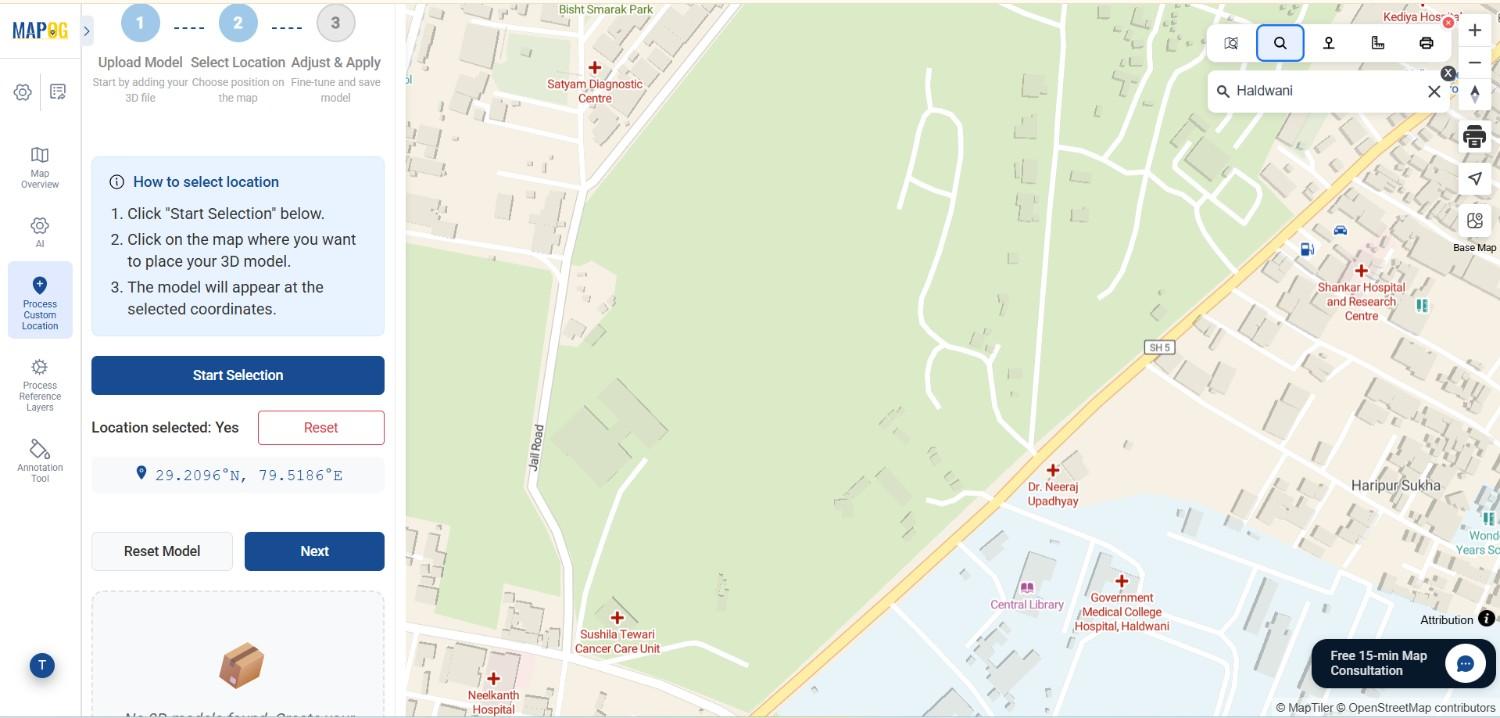
Just after selection The latitude and longitude will automatically appear, ensuring accuracy. However if the location isn’t correct, reset and place it again. Once finalized, click Next and your 3D model will appear on the map.
You can use Zoom to model to find your property if not visible .And If needed, you can adjust its size by adjusting scale
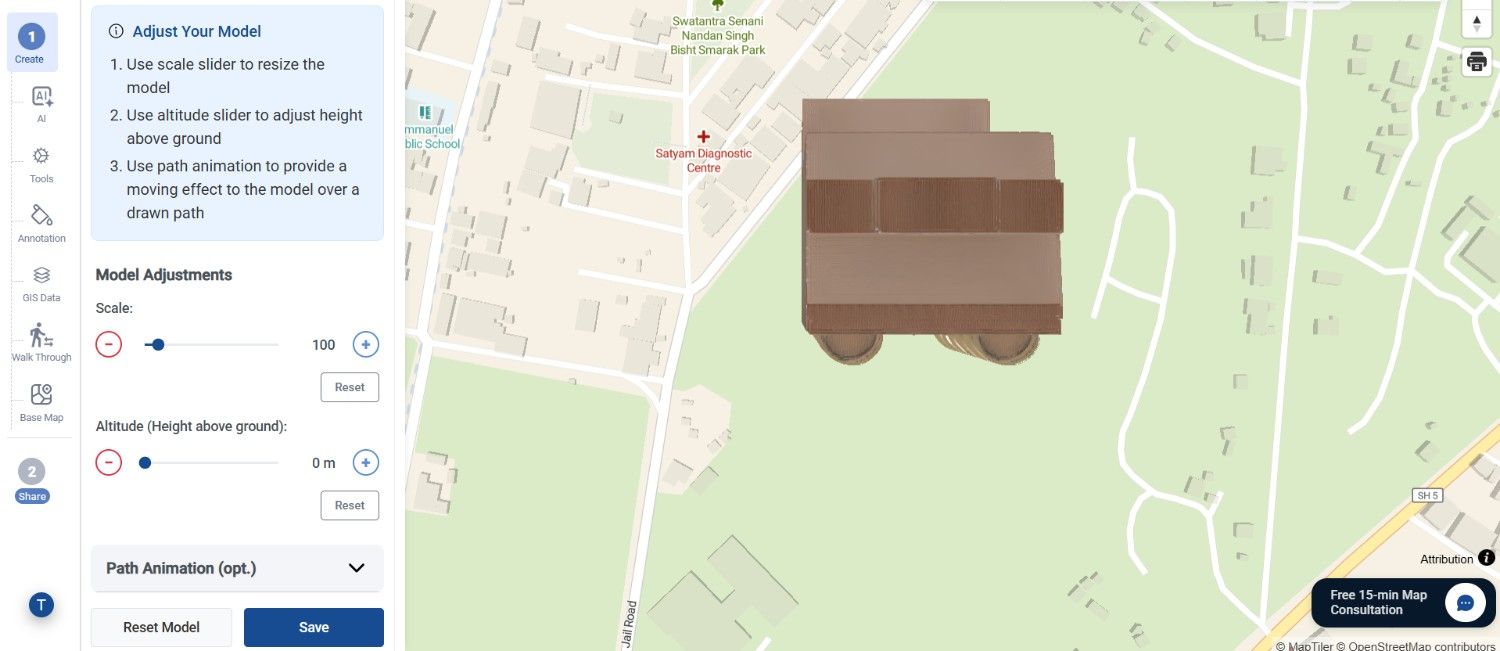
and use Altitude depending on whether the property is an apartment or flat and at what height from the ground . Finally, save
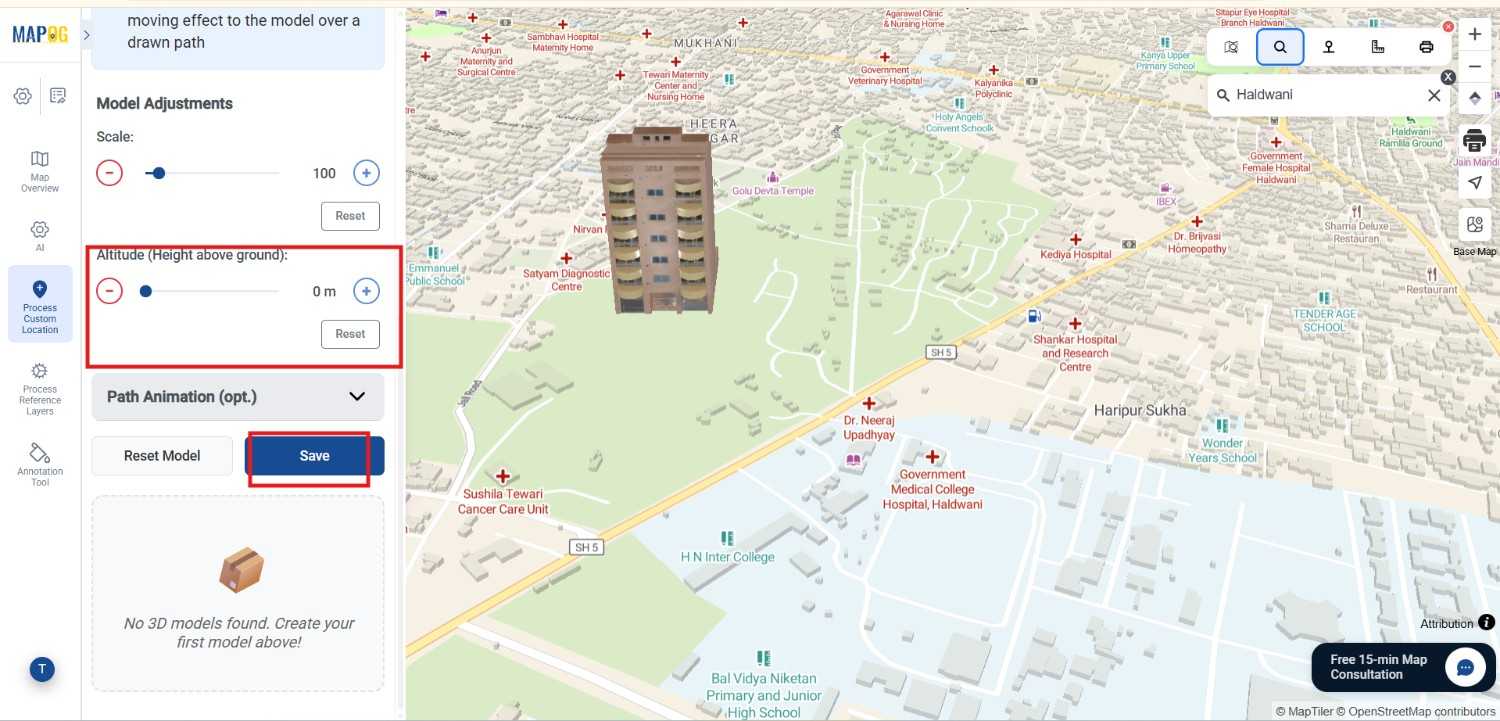
3. Add Property Details and Area
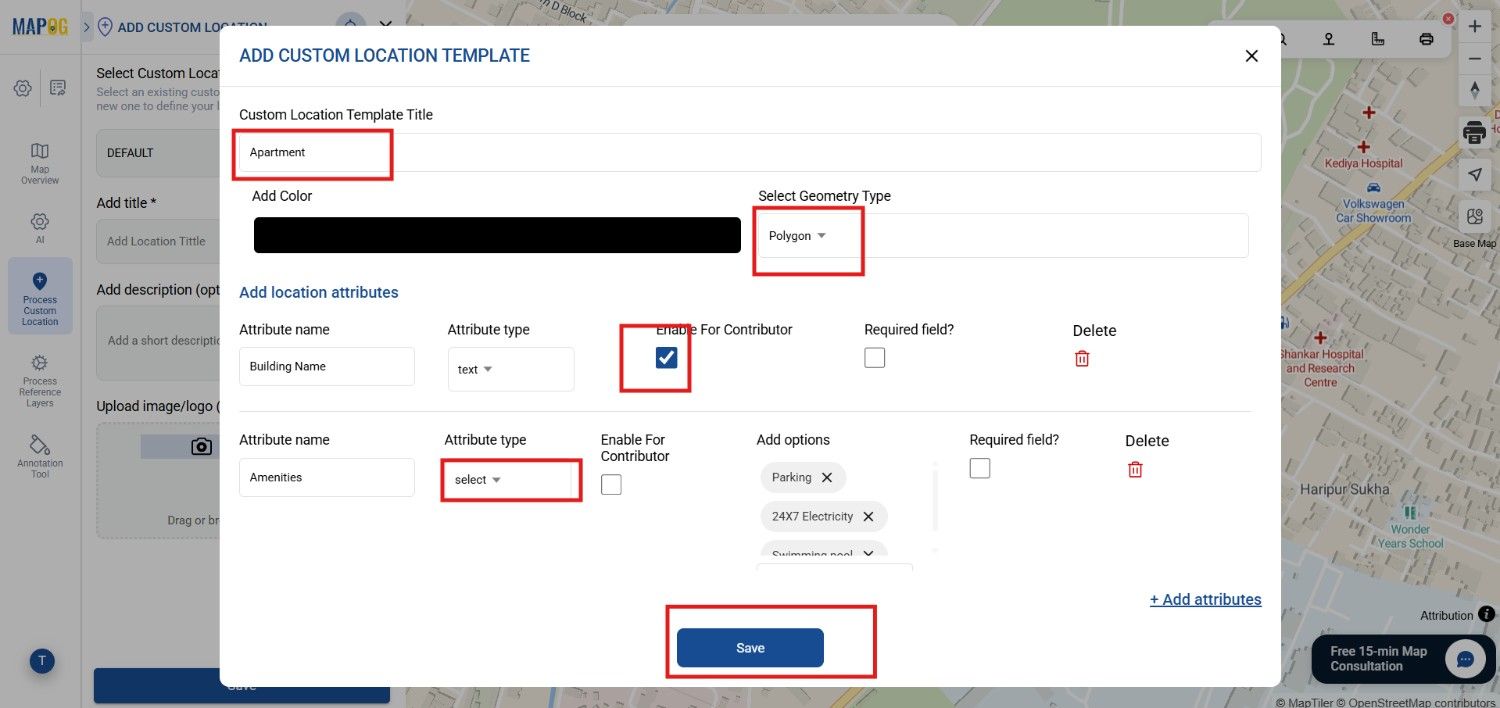
Now, create a custom template by going Add Custom Location .
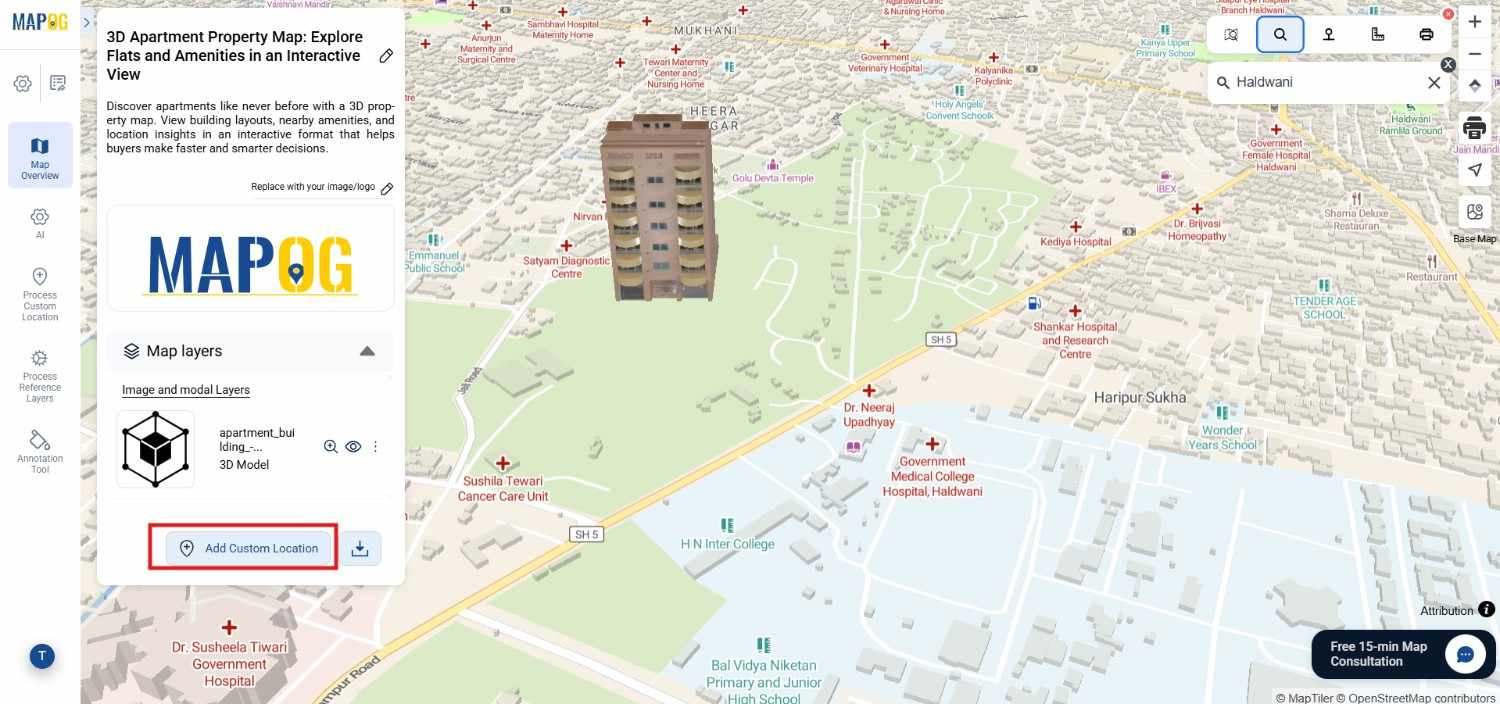
Then, click the settings icon of the custom location template and select Add More Custom Location Template.
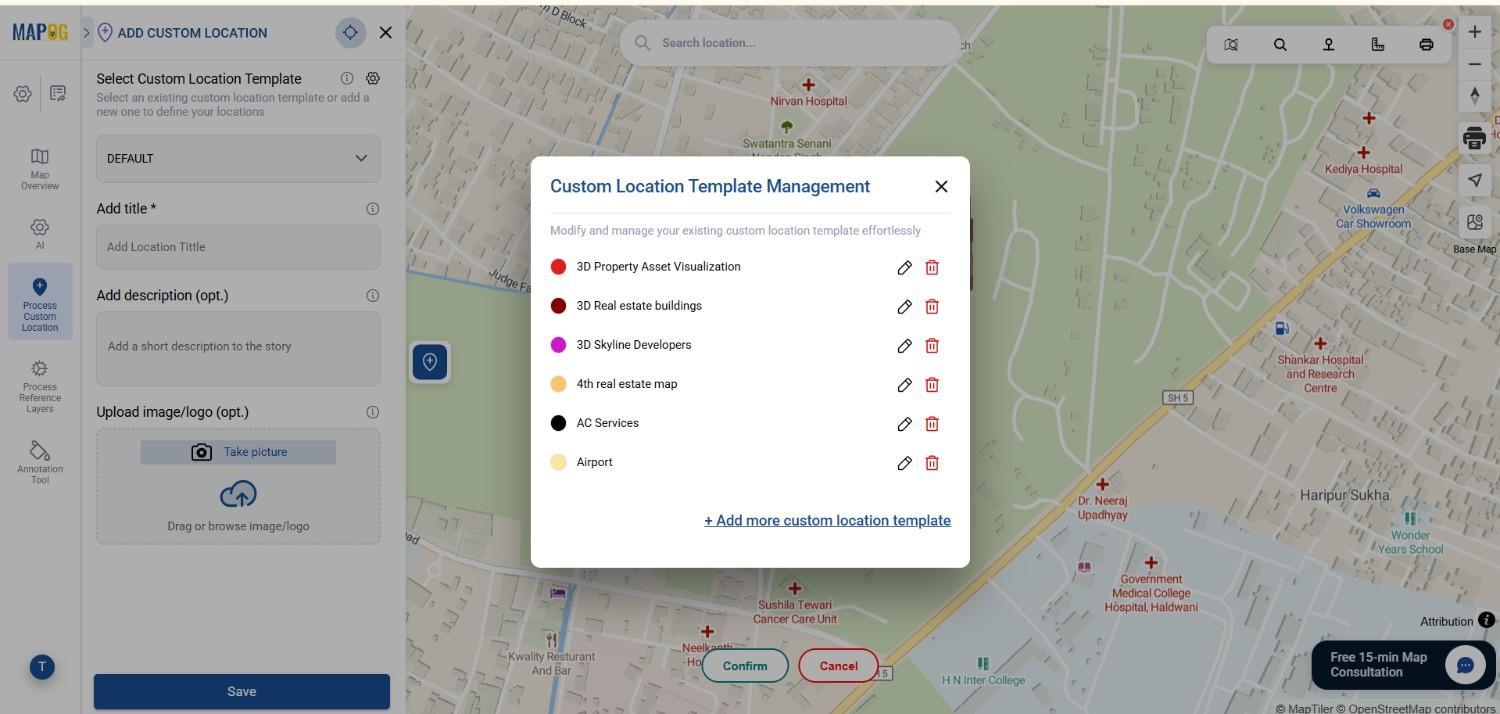
Now Name the template . Then, choose polygon as the geometry type to represent the property area. click add attributes to define important fields such as Building name , amenities etc . You can choose different attribute type like text for building name and select or multiselect for amenities and furnishing status. Also, enable contributor access so that team members can update or adjust details later. Once done Click Save .
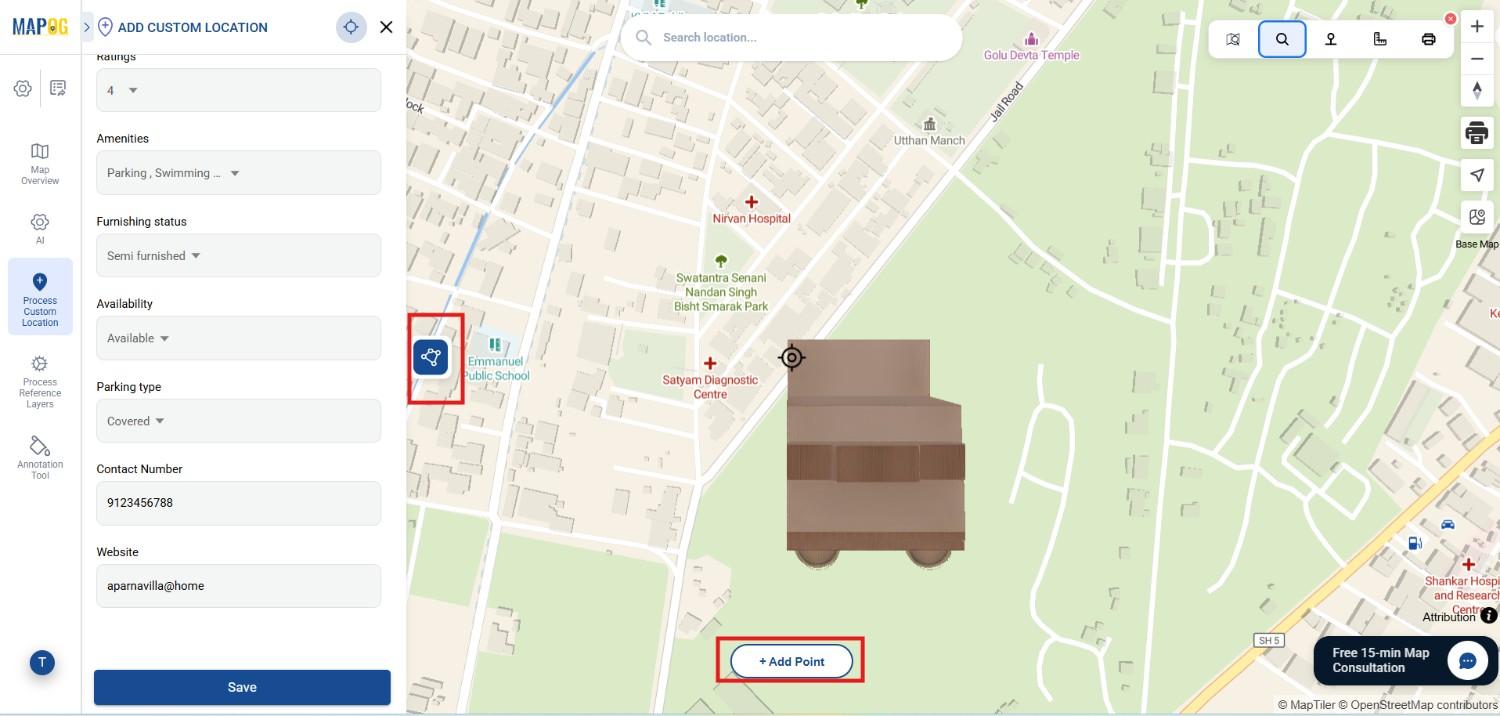
Choose the template from drop down and Name it, add a short description, upload images, and fill in all the attributes. This step ensures that users get complete information directly from the map.Then Click polygon tool to draw polygon and click Add points to add points.
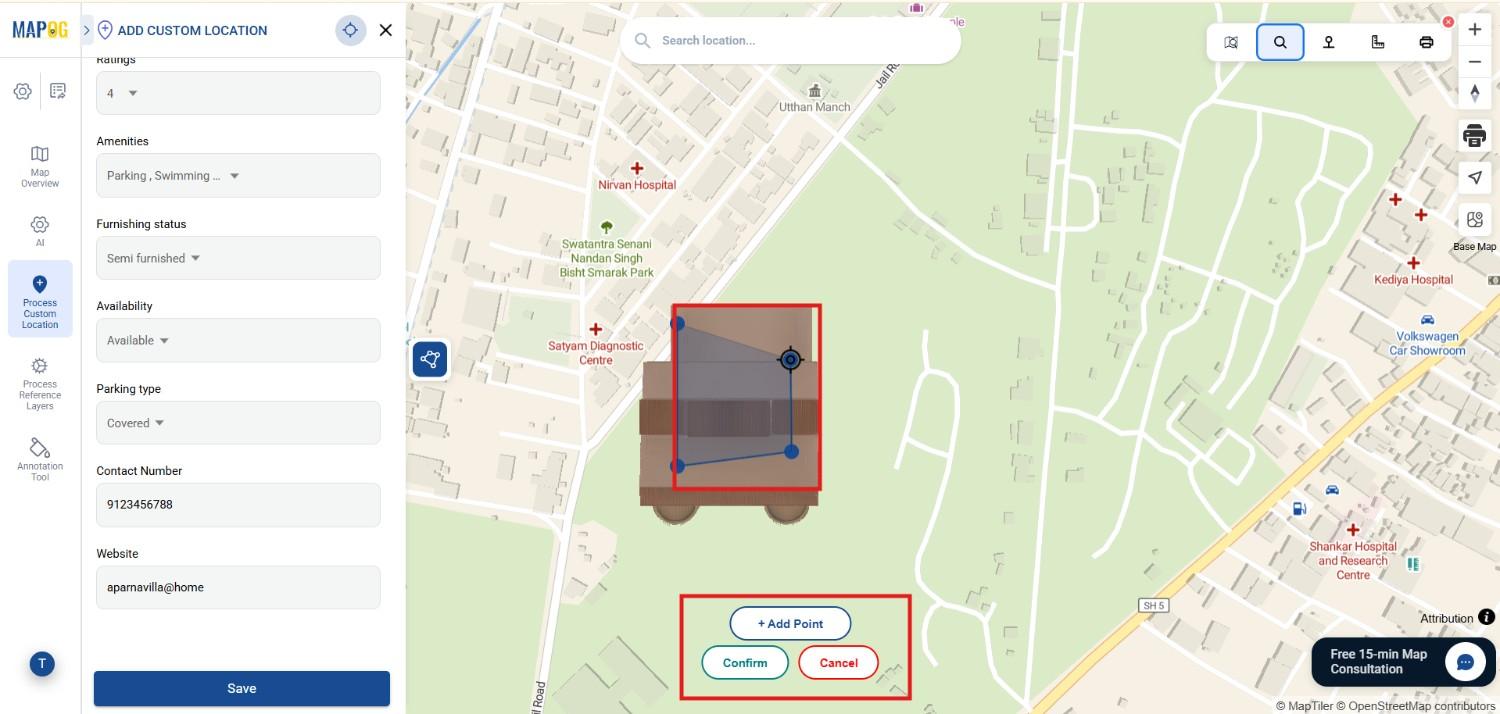
Draw the boundary by marking multiple points around the property corners and click confirm to save it. Lastly save the location.
4. Add Nearby Points to Highlight Location Value
Next, Click on the Pencil icon option to add nearby locations.
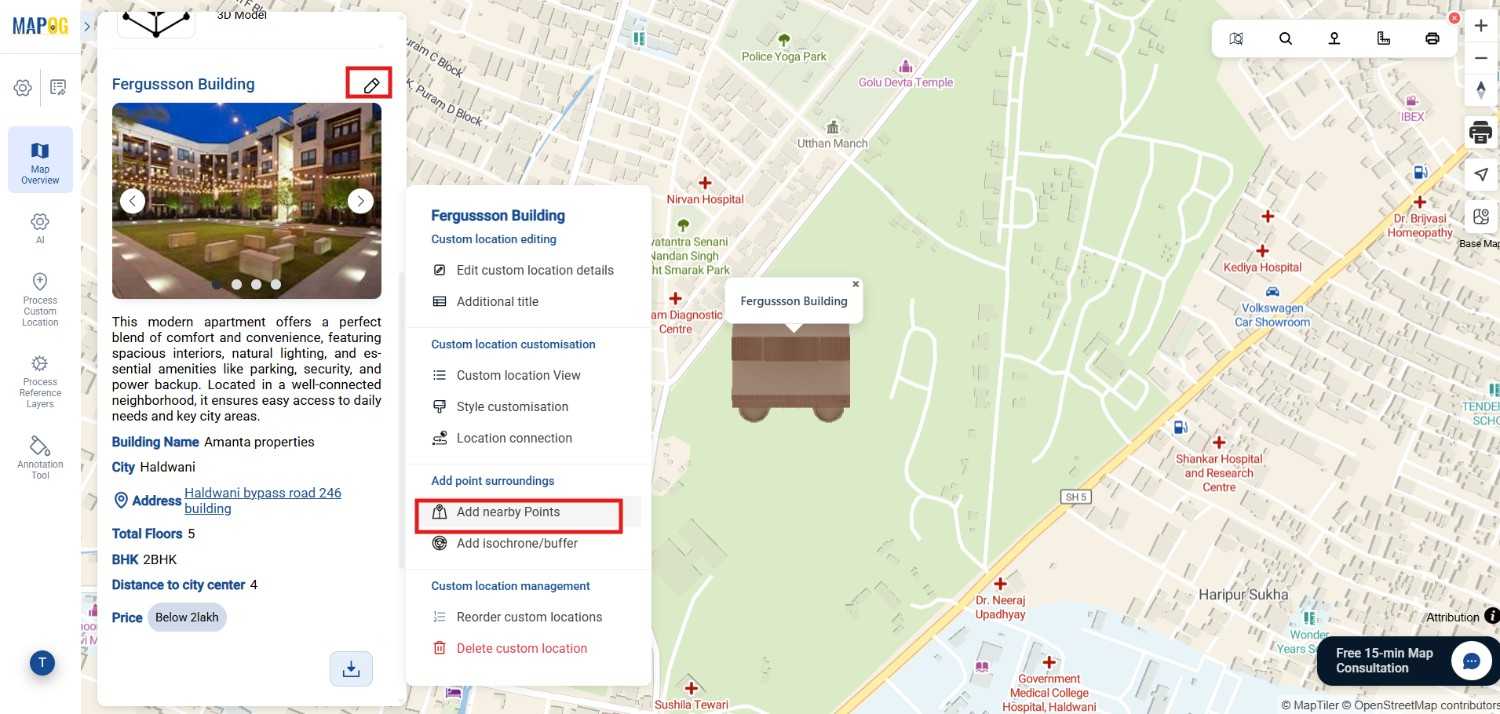
You can either search for places or manually mark them on the map.
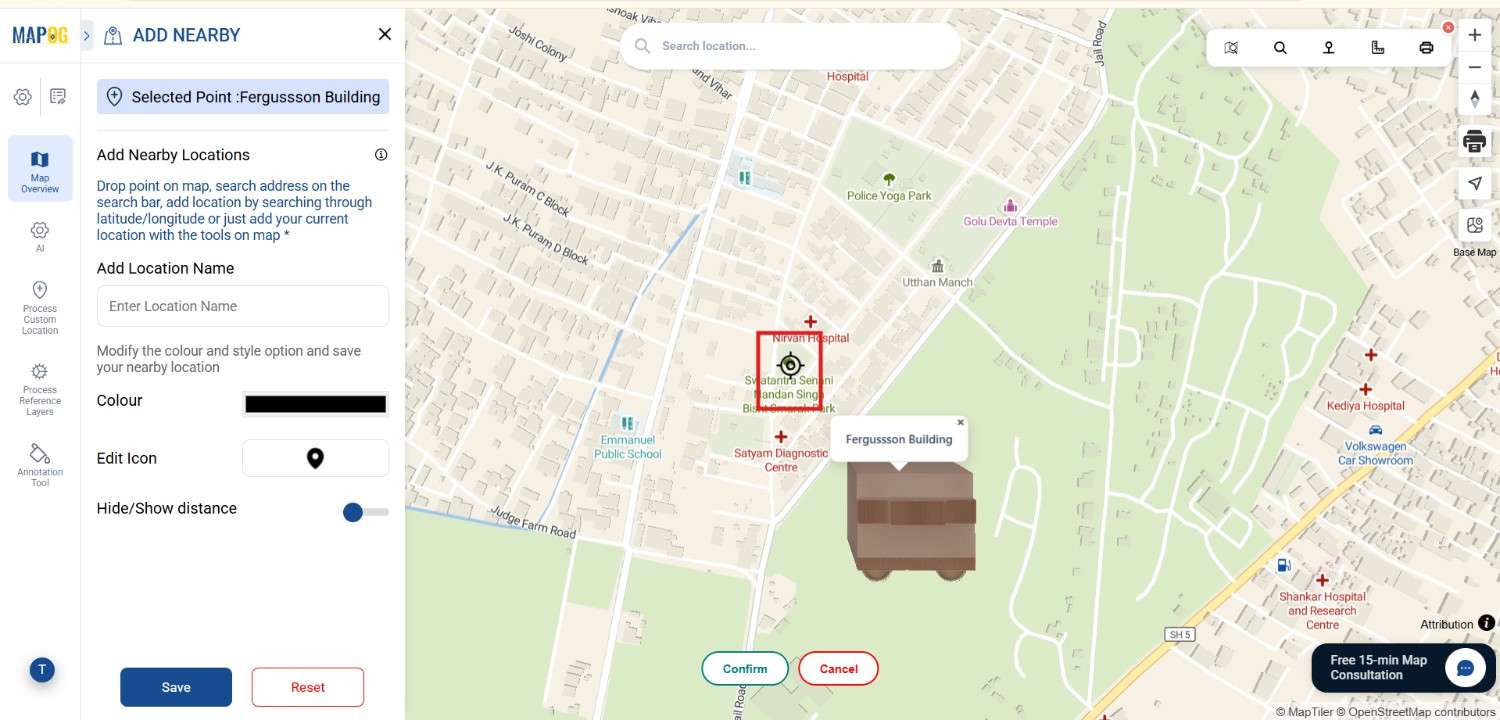
For instance, you can include:
- Schools
- Hospitals
Assign names, different icons and colors to keep the map visually clear.
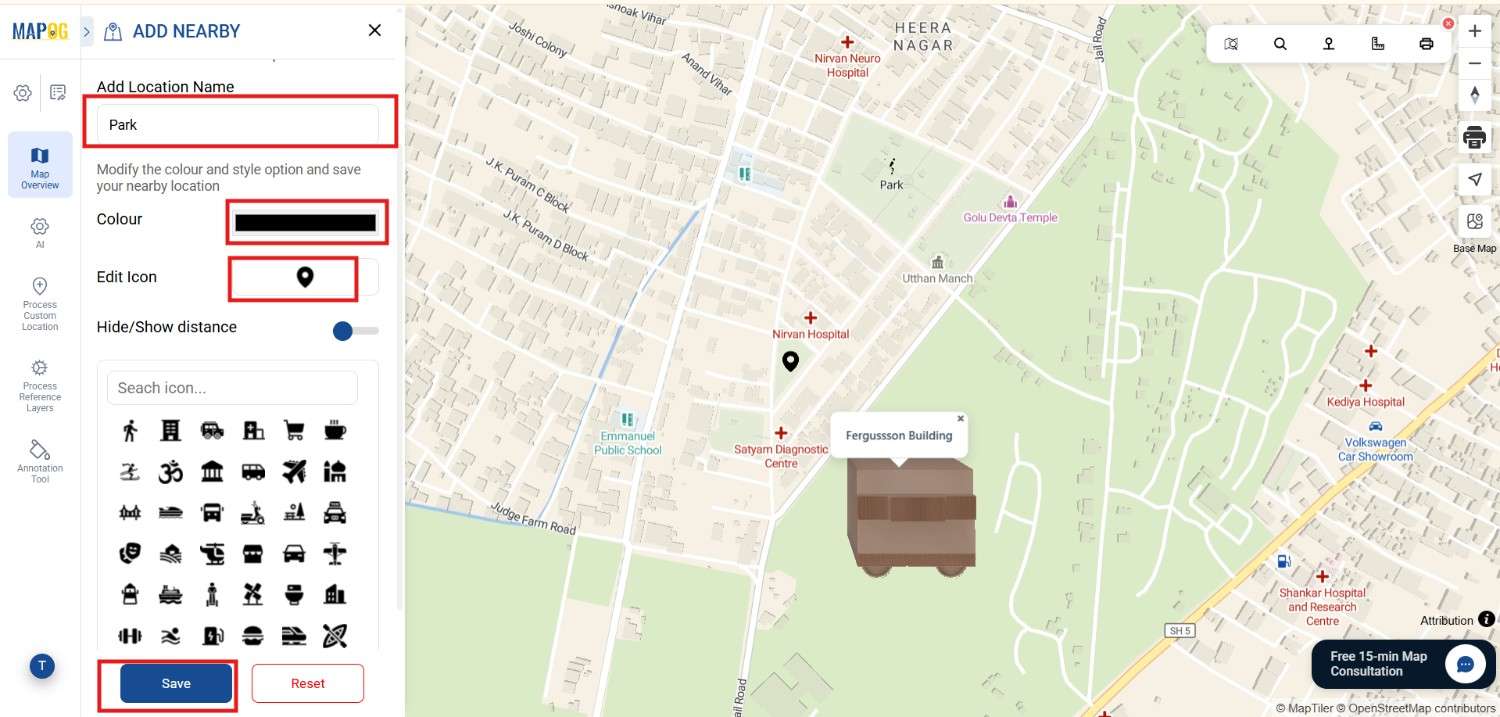
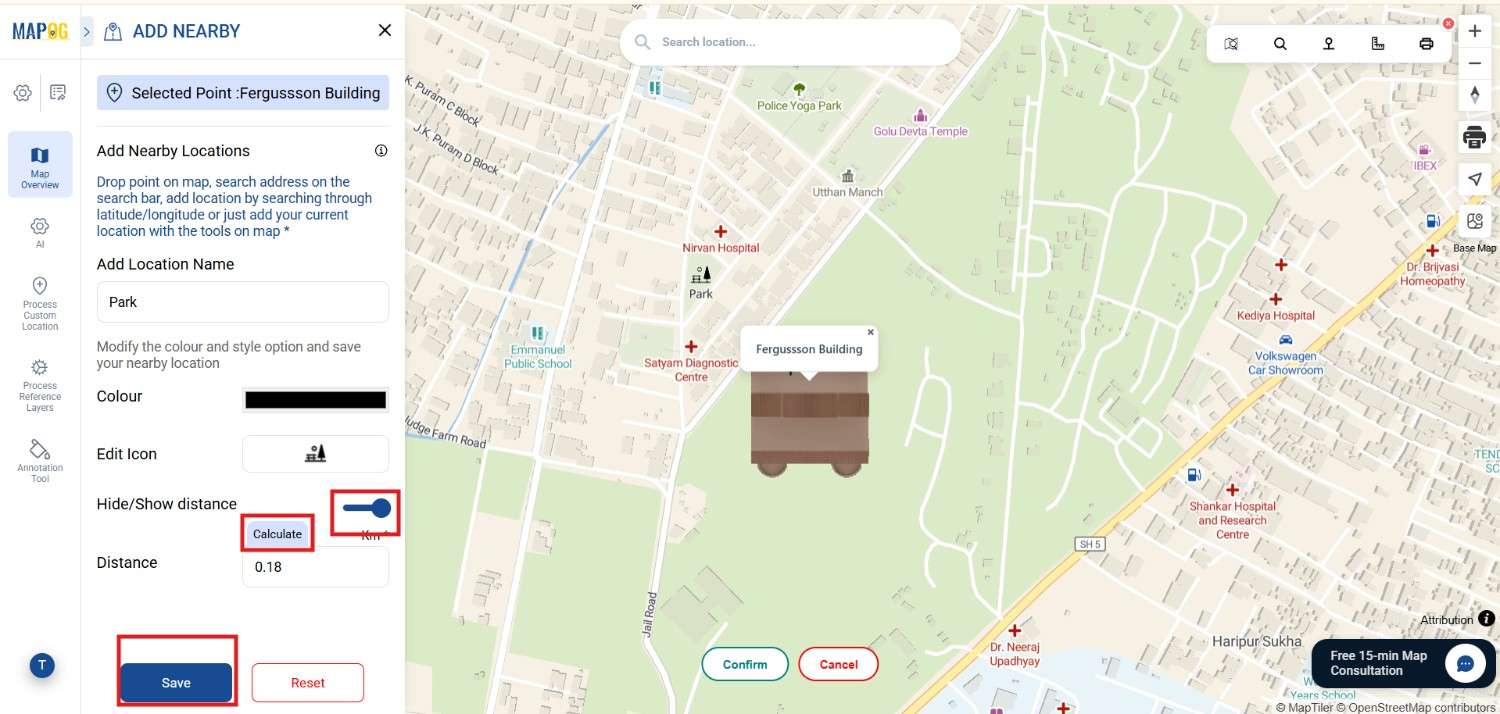
Enable distance calculation so users can instantly see how far each place is from the property.
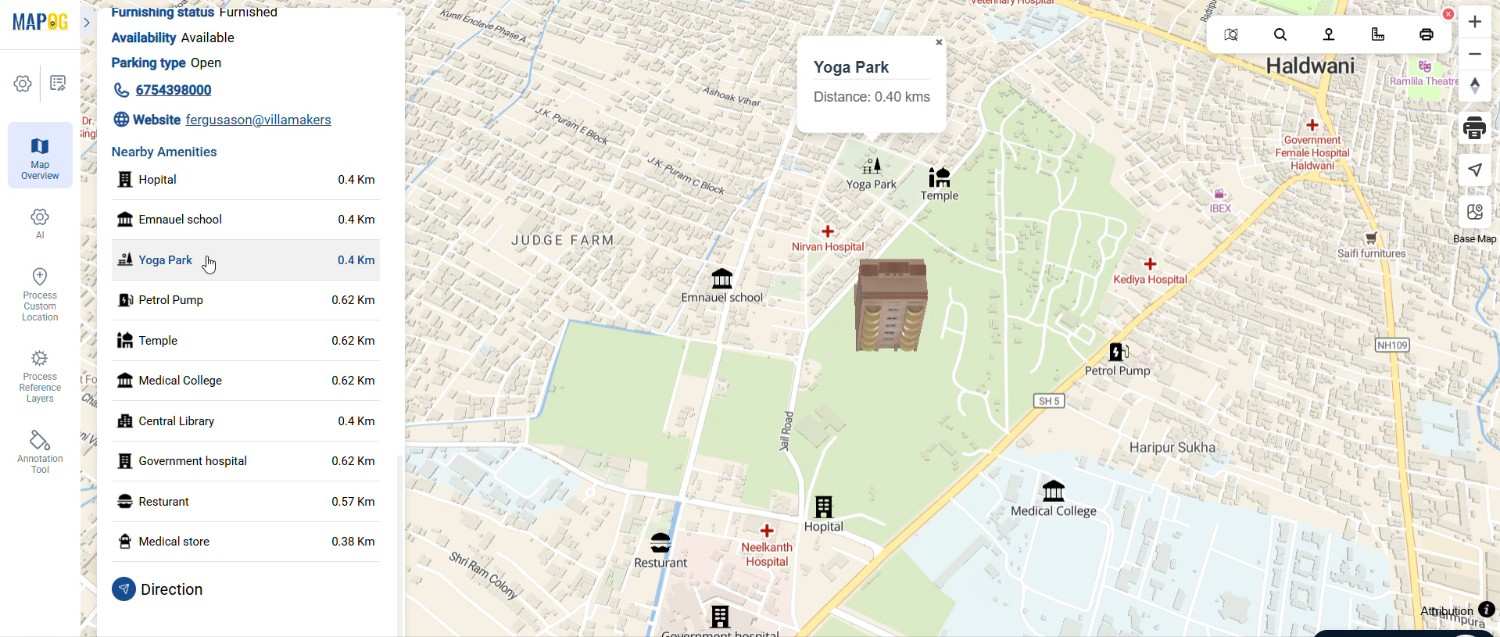
You can add as may amenities on the map.
5. Preview and Share Your Map
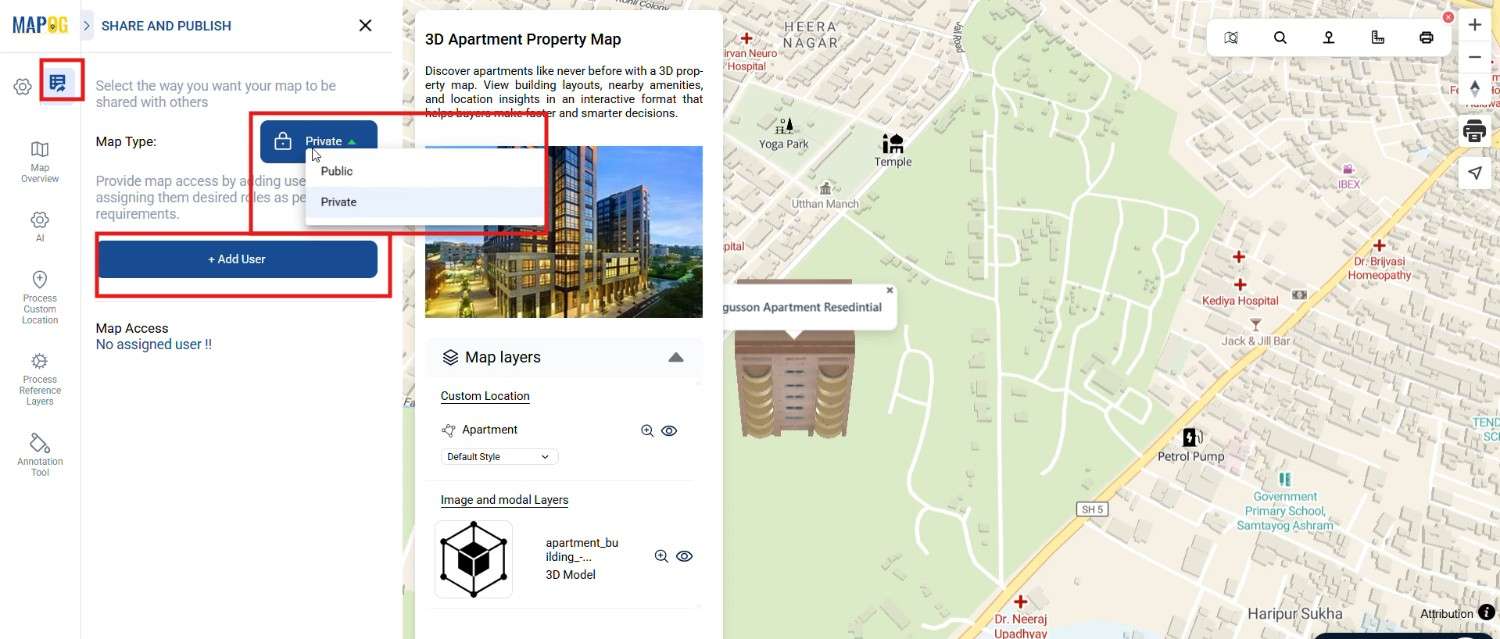
Once your map is ready, use the Preview and Share option to review how the data appears. choose Map type whether Private or Public.
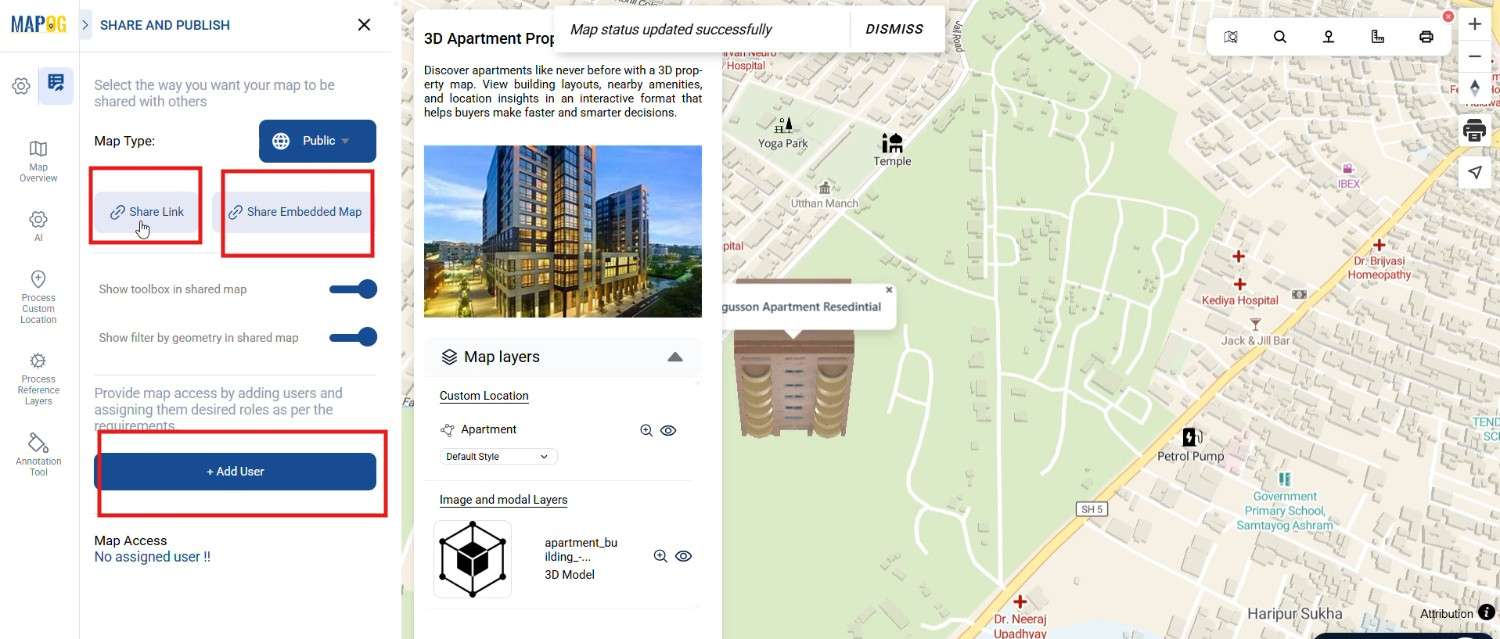
After making it public, Click Share link to share the map link by copying it or Use a shareable embedded map to display live, location-based business data directly on websites or dashboards, enabling teams and clients to view and interact with real-time insights without switching platforms. Click on Add user then add team members to add users to the map and work together.
Benefits of Using Nearby Points
- First, it improves listing clarity by showing complete location details.
- Second, it saves time for buyers
- Additionally, it increases engagement
Conclusion
In today’s competitive market, simply listing a property is not enough. Buyers expect more clarity, and accessibility. Therefore, adding nearby points to your Property Listings map makes a significant difference. It transforms a basic listing into a complete location experience. With MAPOG , you can present properties in a more interactive and meaningful way.
Exploring Our Previous Blogs
- GIS in Infrastructure Development and Road Network Analysis
- Role of GIS In Irrigation Planning and Water Resource Management