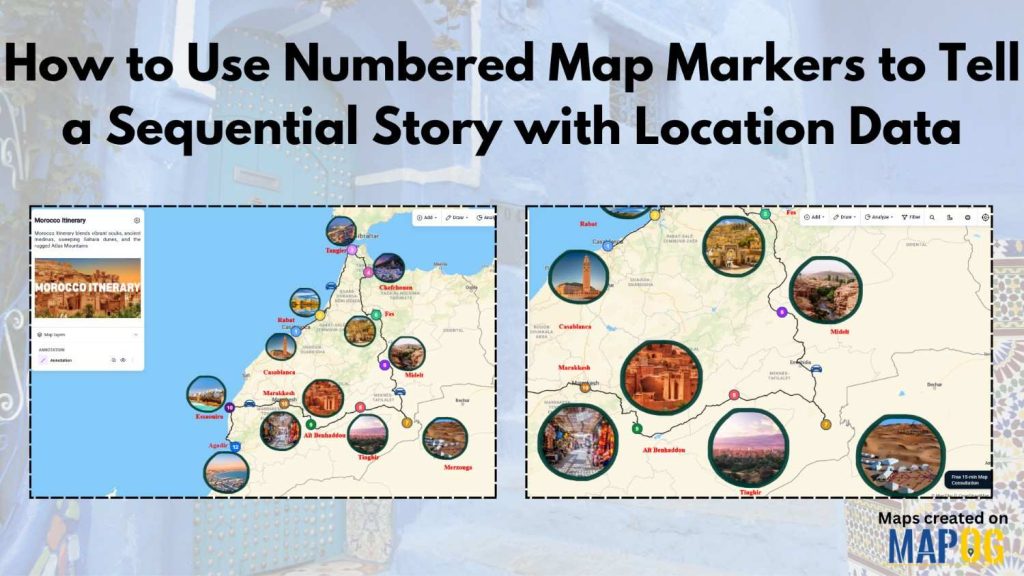
Many travel planners, educators, bloggers, and businesses struggle to present location data in a clear order. As a result, we often miss important details and stories become difficult to follow. However, Numbered Map Markers make information easier to understand. Moreover, MAPOG help users create visual stories with maps through features such as the Annotation tool. Therefore, we can present destinations, events, or day-wise itineraries in a much more engaging way.
Key Concepts of Numbered Map Markers
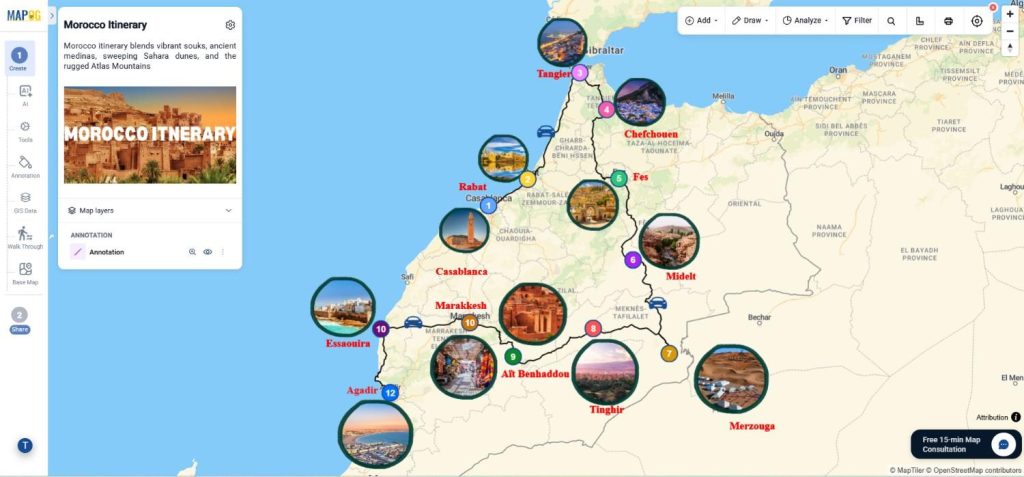
Map Markers are used to display locations in sequence. Consequently, viewers can understand the flow of a journey or project without confusion. Furthermore, you can add different colors, labels, and routes to improve readability.
For example, we can easily display a five-day mountain trip with markers numbered from 1 to 5. Meanwhile, connecting routes and photos can provide additional context. Because of this, travel blogs, tourism projects, and educational maps become more interactive.
Creating Numbered Map Markers with MAPOG
Step 1: Setting Up Map Markers
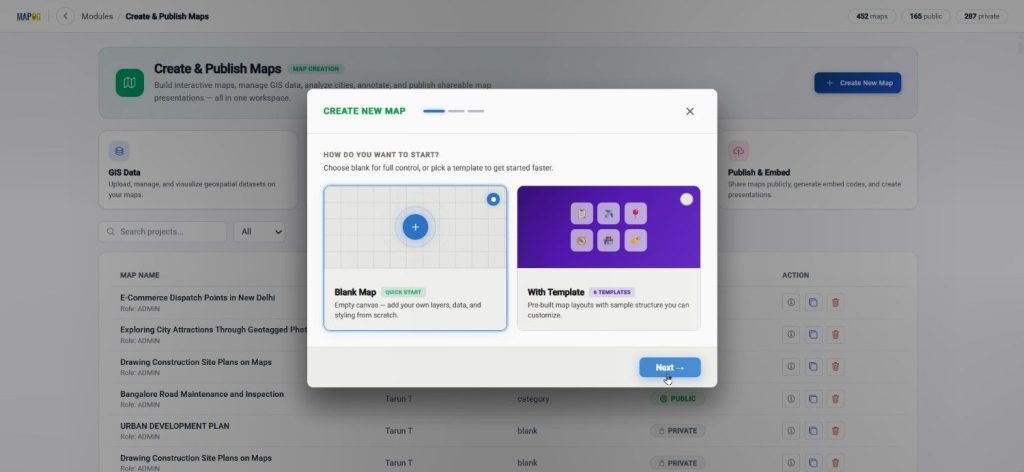
First, go to MAPOG and click Create & Publish Map. Next, create a new map from the blank option.
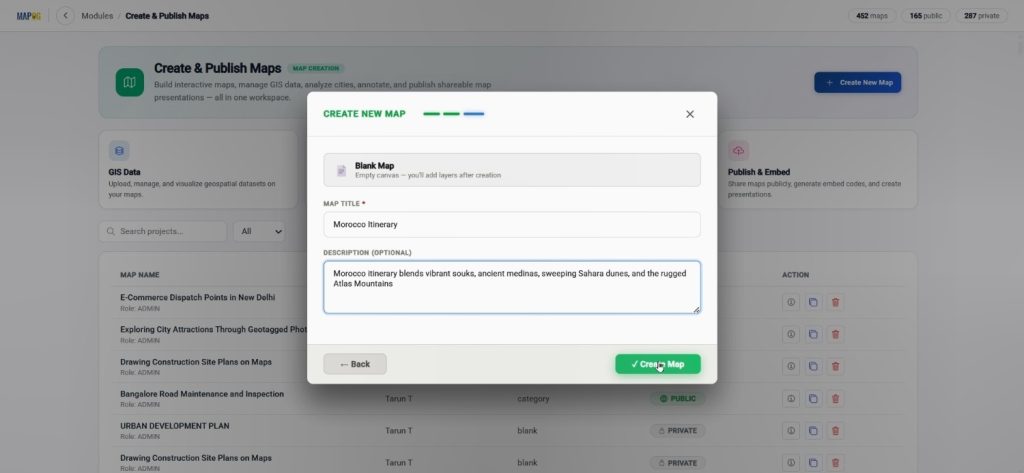
Afterward, enter the title and description and save the project.
Once the map interface opens, visit Map Settings and upload a logo for branding purposes.
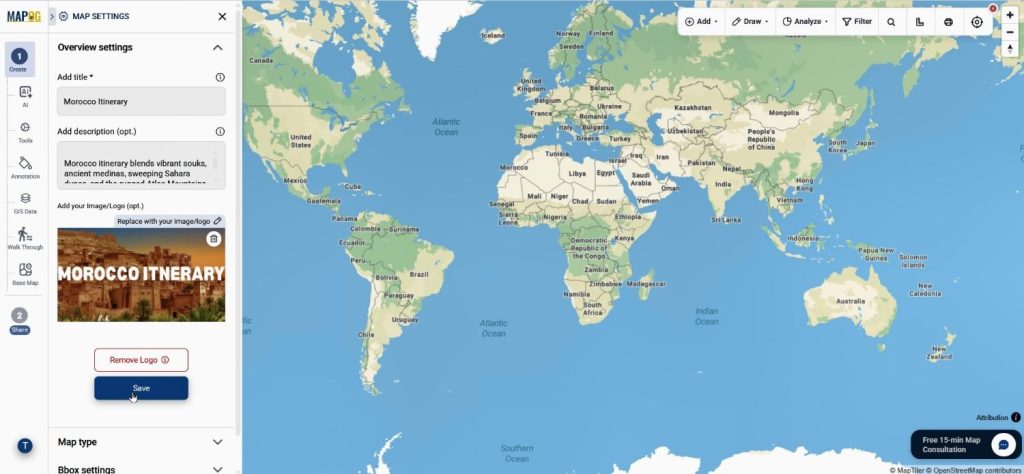
Step 2: Adding Numbered Map Markers with Annotation
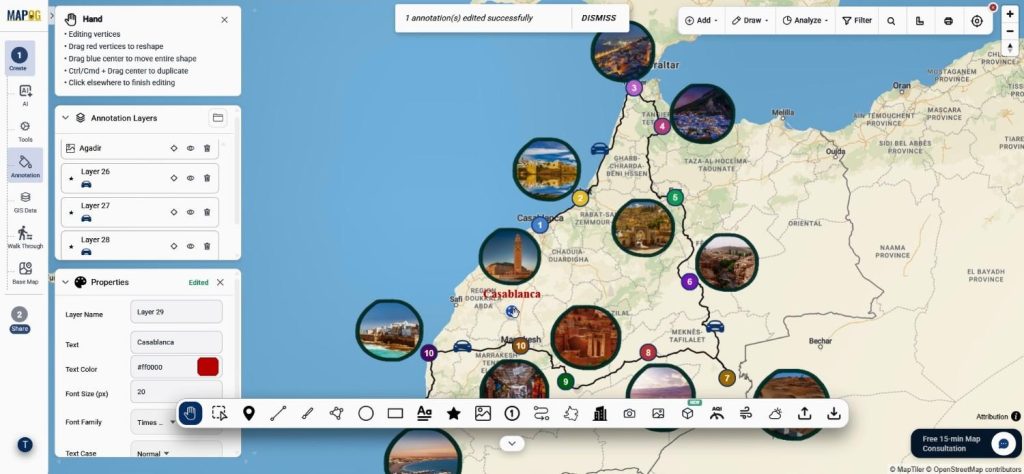
Now, open the MAPOG Annotation tool. Then, search for the first location through the Search tool.
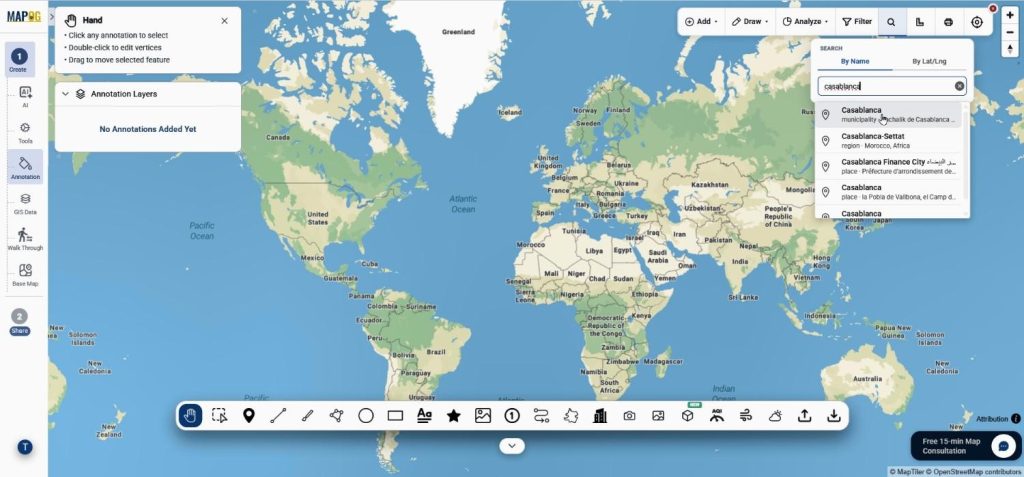
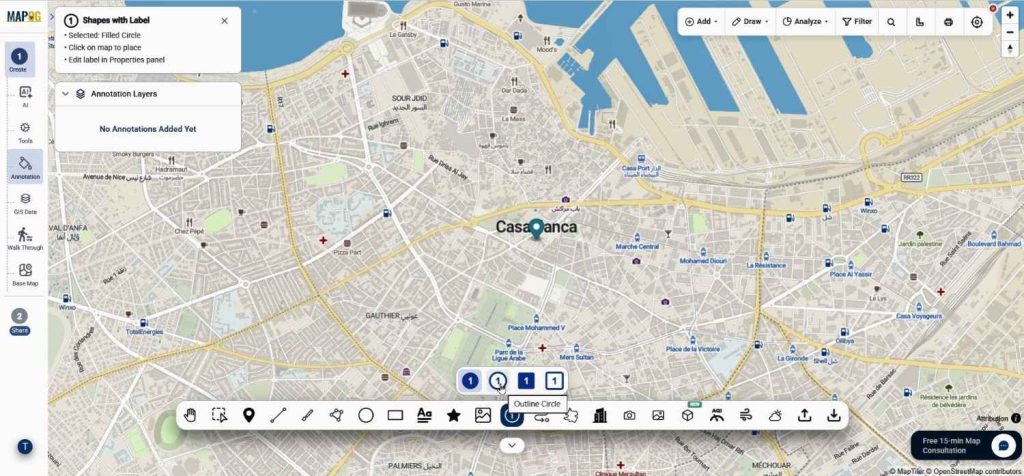
Afterward, choose the shape with label option, which works perfectly as Numbered Map Markers.
Add day wise title there. with edit properties we can edit the number, color, border opacity, and title.
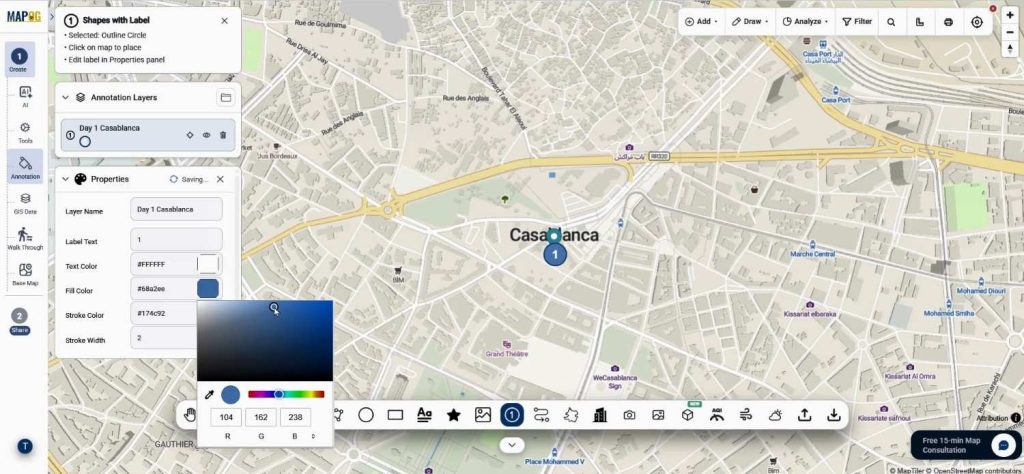
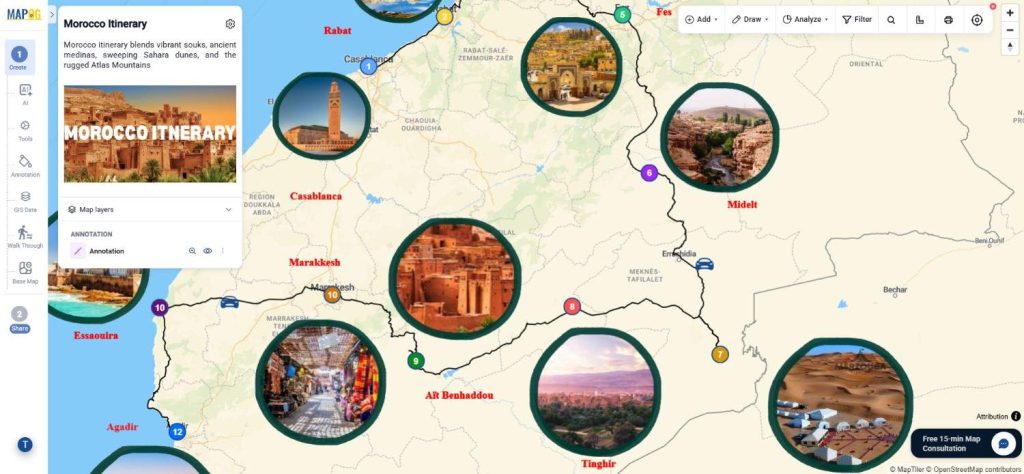
Likewise, add every destination day by day so that the story remains organized. For example, Day 1 could start with any sea side, while Day 2 might continue toward hilly region. Therefore, the journey becomes easier to follow.
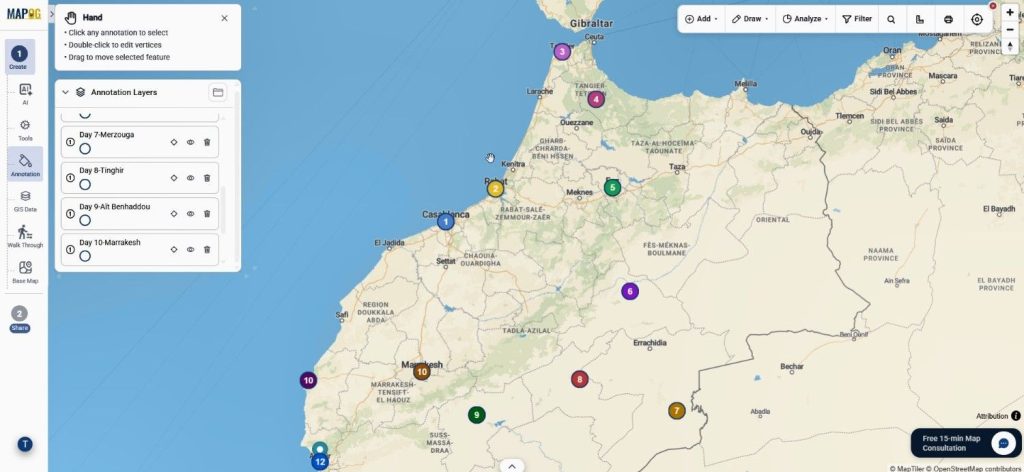
Step 3: Connect Numbered Map Markers with Routes
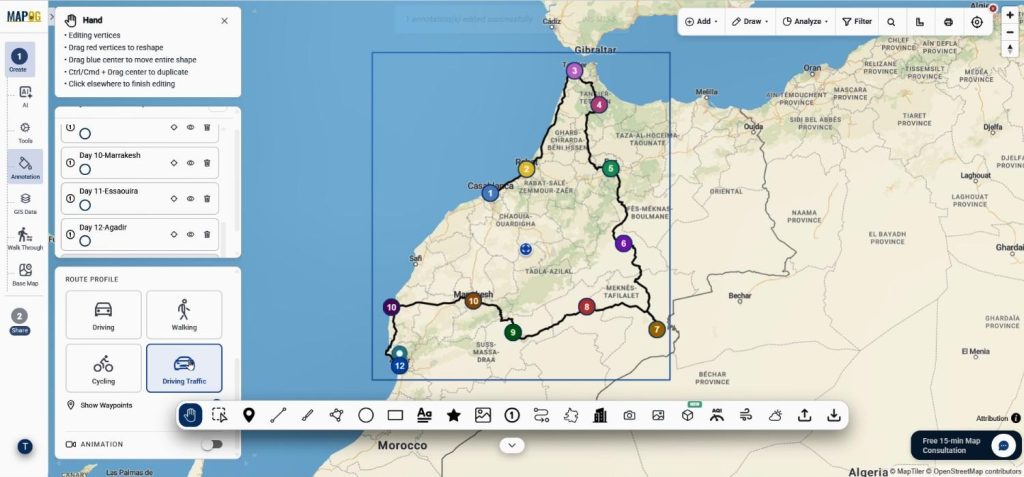
After placing the markers, move to the route tool. Subsequently, select each destination one by one.
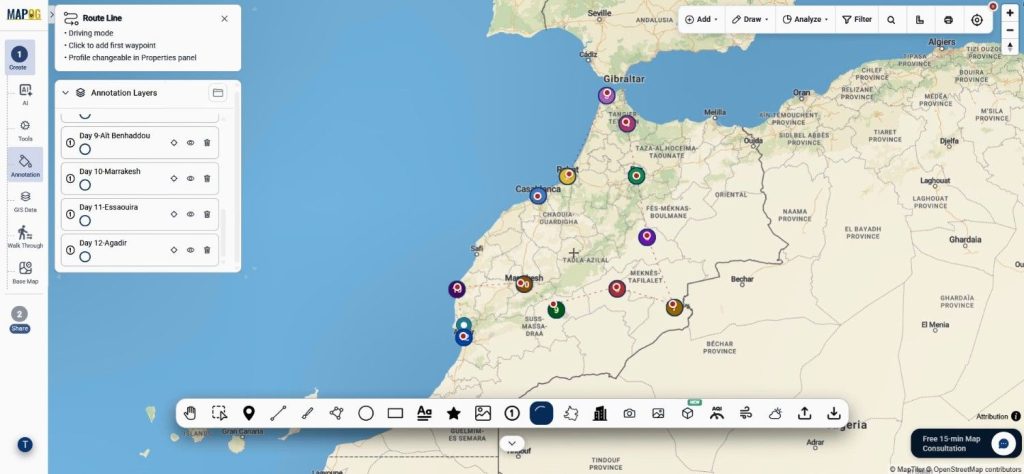
A connected route will be generated automatically. In addition, customize route names, colors, and travel modes such as driving, walking, or traffic . Consequently, the sequence becomes more meaningful.
Step 4: Enhance Numbered Map Markers with Images and Icons
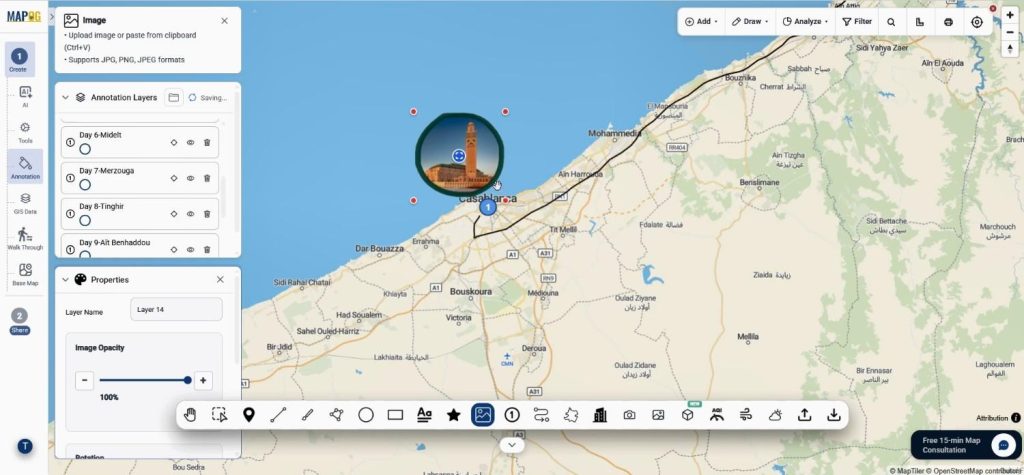
Besides markers, browse & upload images for every location.
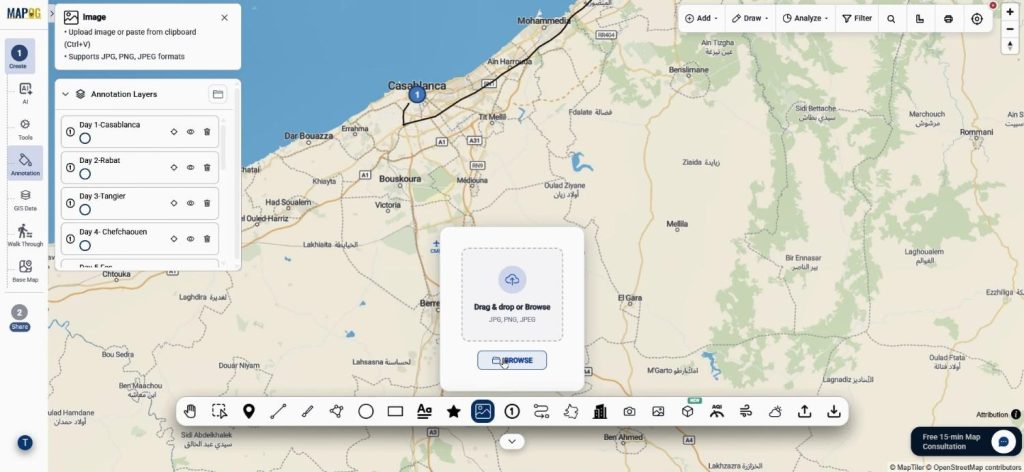
Once the image area is drawn, its size and opacity can be adjusted.
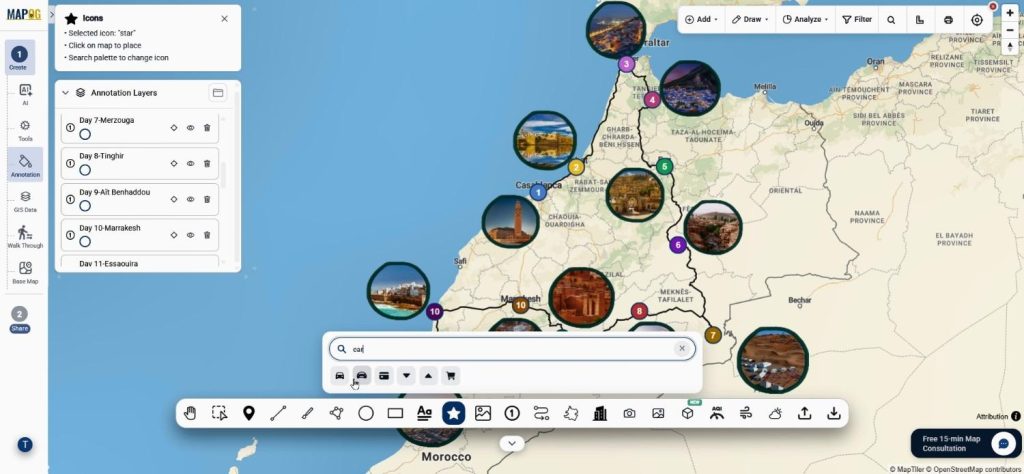
Meanwhile, search & add suitable icons may for hotels, restaurants, monuments, or attractions.
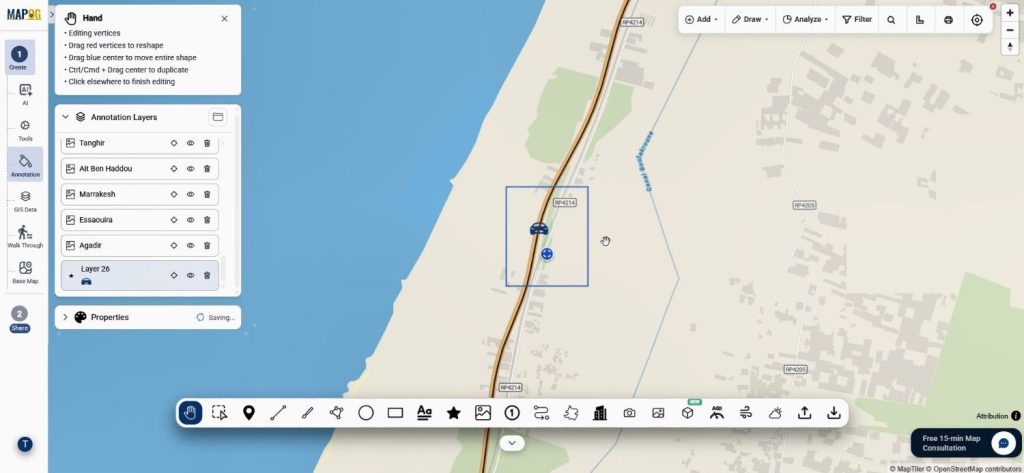
Place the icon properly it it’s place, after that using properties we can easily edit the icons, alter it’s size, layer name color, opacity everything.
Furthermore, add labels using text option. clcik on text tool 7 write the caption & place it on map.
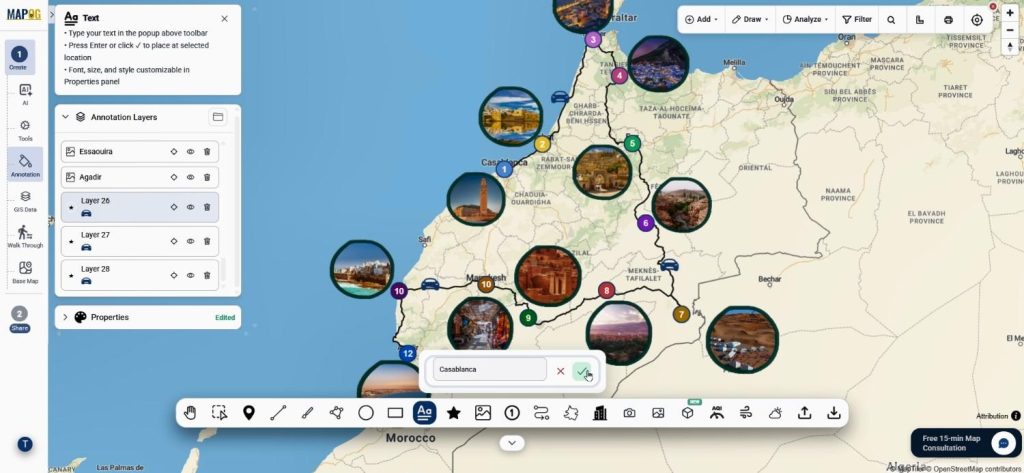
Customize Text labels can with different fonts and colors. Thus, it’s create a richer storytelling experience.
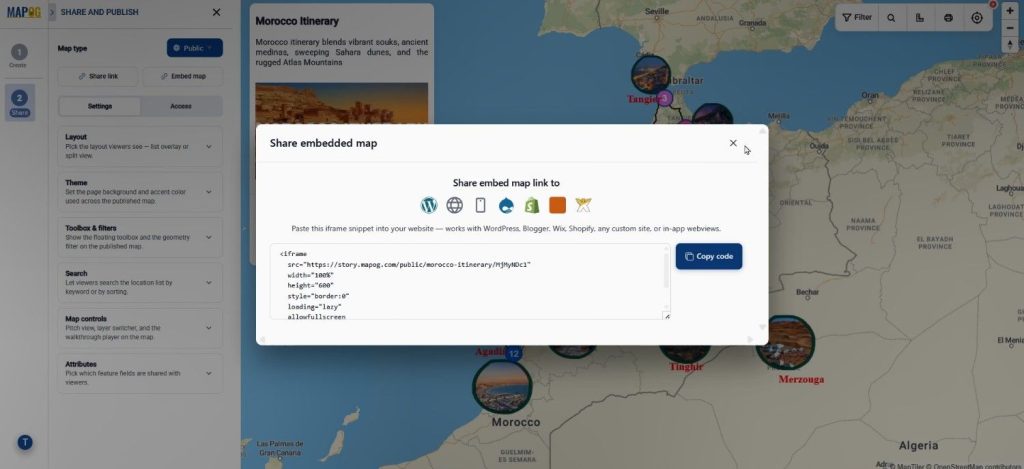
Step 5: Share Your Numbered Map Markers Story
Finally, review the map and open the Preview and Share section. We can share the story publicly for websites and blogs.
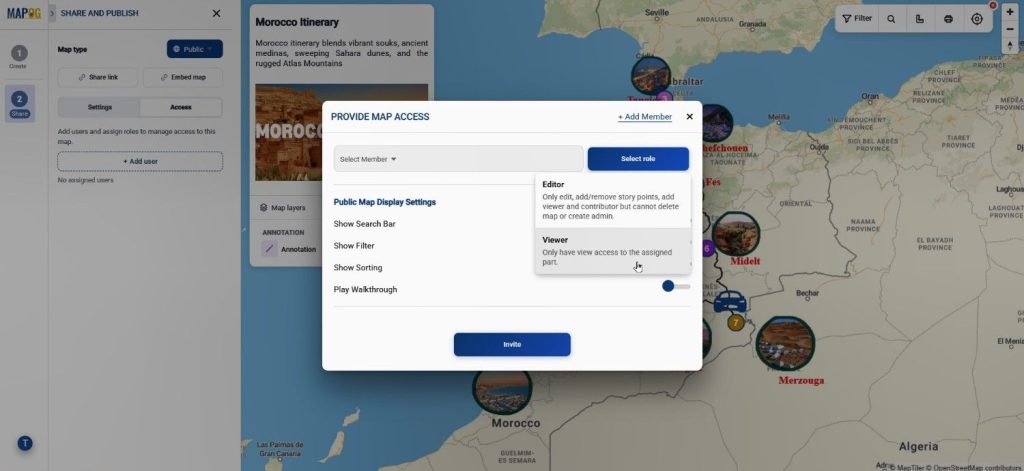
Alternatively, private sharing can be used for team collaboration. Therefore, we can distribute maps according to different needs.
Benefits of Numbered Map Markers for Different Industries
Numbered Map Markers are widely used in tourism, education, logistics, and event planning. For instance, travel bloggers can present day-wise itineraries, while teachers can explain historical journeys. Similarly, businesses can visualize delivery routes and field operations.
Because MAPOG combines Annotation, it creates routes, images, icons, and sharing features, location stories without complexity. Moreover, we can understand information faster and improve collaboration.
Conclusion
Today, location data is not enough on its own. Instead, visually organize stories. Therefore, Numbered Map Markers provide a simple way to explain journeys, plans, and experiences.
MAPOG makes this process easier through its powerful Annotation tools and interactive mapping features. As a result, create engaging stories and shared with confidence. Explore how interactive maps can enhance your workflow.