In today’s fast-paced operational environment, plan and monitor on-ground activities across multiple locations can quickly become complex and inefficient when handled through disconnected tools. Teams often struggle with limited visibility, delayed updates, and scattered communication, which slows execution and decision-making. With MAPOG, organizations can centralize their planning and monitoring processes on a single interactive map. By visualizing tasks, team movements, and activity statuses in real time, businesses gain better control, improved coordination, and faster response times, ensuring operations remain streamlined, transparent, and highly efficient.
Key Concept: Construction Site Monitoring Using an Interactive Map
Before initiating on-ground monitoring, organize construction site details by collecting attributes such as site name, project type, stage of work, assigned team, deadlines, material status, safety compliance, and progress updates into an Excel or CSV file to visualize project information effectively. Ensure to include coordinates and assign a Unique ID for each site to maintain data consistency for real-time tracking. These attributes, when integrated with MAPOG Mobile Data Collection, enable live updates, image uploads, and help visualize progress on an interactive map for streamlined project management.
Steps involved in Plan and Monitor On-Ground Activities
1. Create a new map
Go to MAPOG select Surveys dashboard.
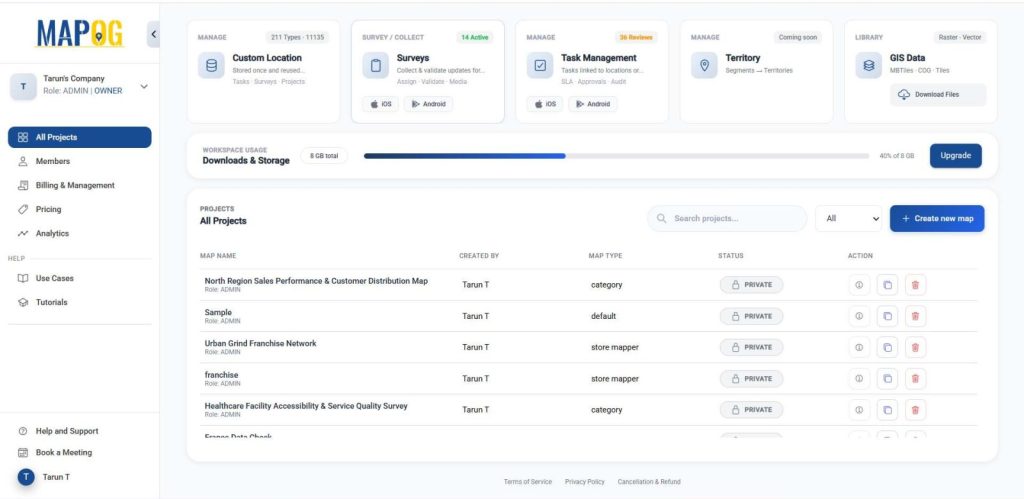
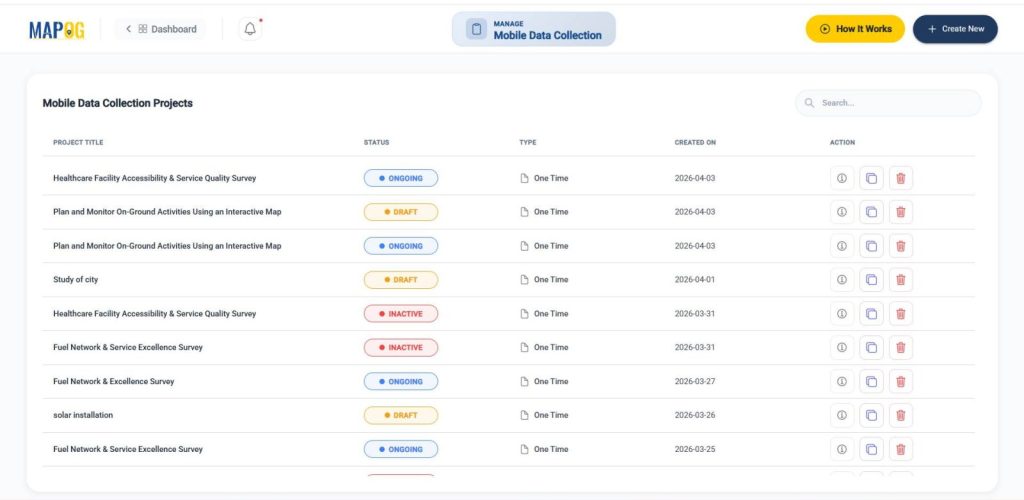
And you’ll be directed to the mobile data collection dashboard then press ‘Create new’.
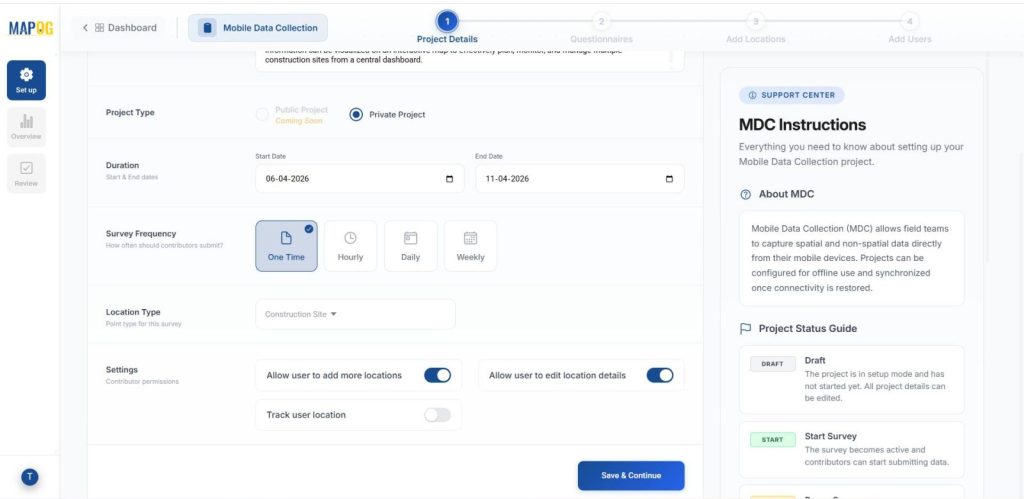
Add project title and description and other basic details like project type, duration, survey frequency.

Step 2: Create new custom location template
Go to ‘Select Point Type’ and create a new custom location template. This ensures consistency and reusability. Add title, color and select geometry type as point. Further, add the necessary attributes like location name, land use, work type etc. You should enable the contributor option so field teams can update data directly from the site. Then save. Finally, choose this Location Type and proceed to the next step.

Next enable some contributor permissions like users can add locations & edit location details. Lastly save & continue.
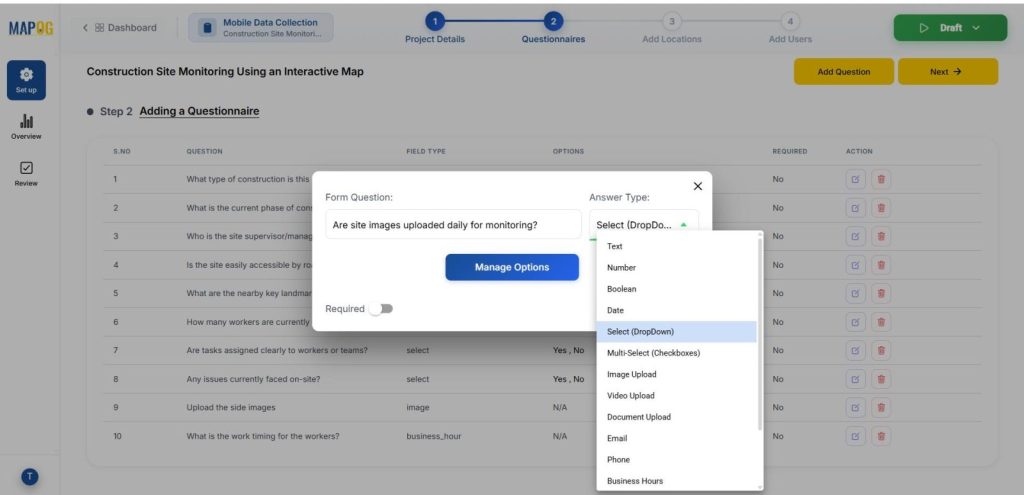
Step 3: Adding a Questionnaire
Add all the questions that seem relevant to the survey and add them one by one using the “add question” option. Add relevant questions using field types like text, select, multiselect, and image.
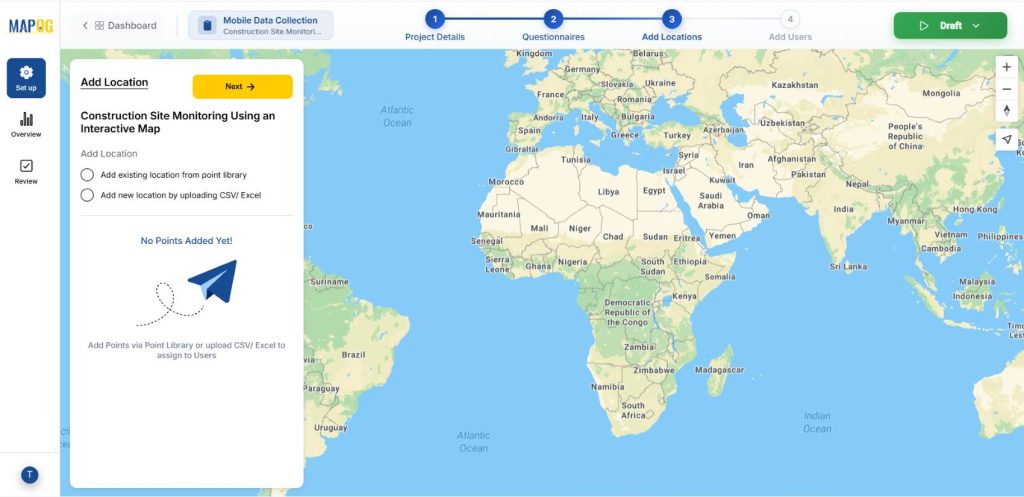
Step 3: Add New Customer Locations
Now, in step 3, select ‘Add new location by uploading CSV/ Excel.’ The point type is already selected, just add your csv/excel file.
Make sure to set a Unique ID, this helps in proper data handling by identifying each location uniquely and managing updates efficiently.
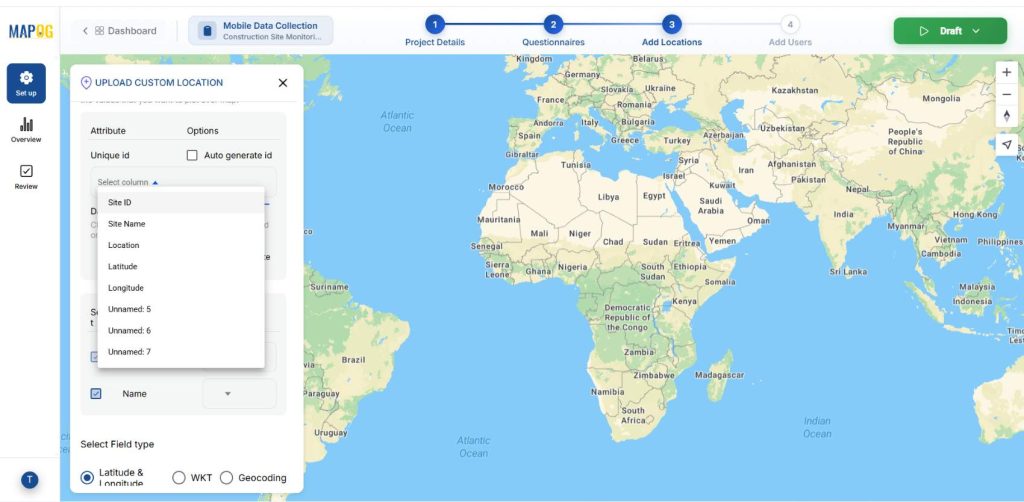
Then, match the excel columns to the attributes and submit. Further, match the coordinates to their excel values.
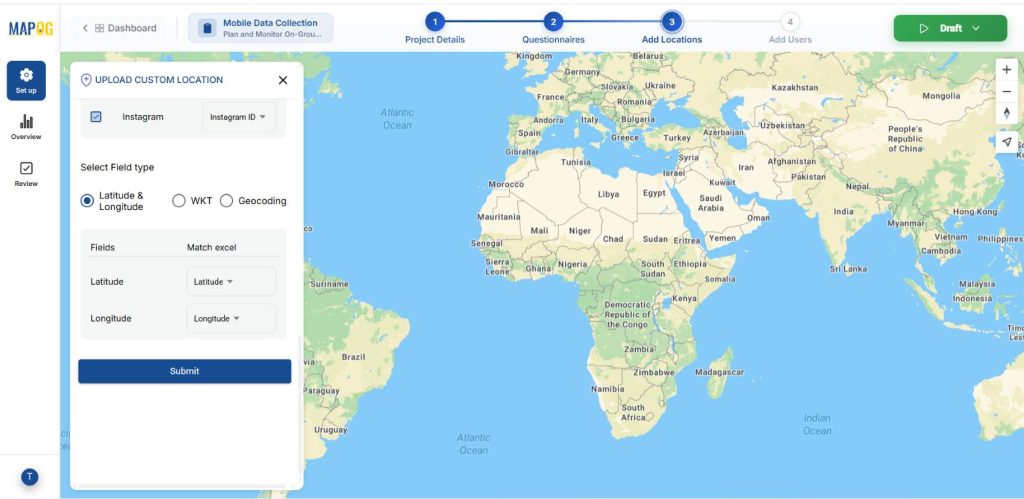
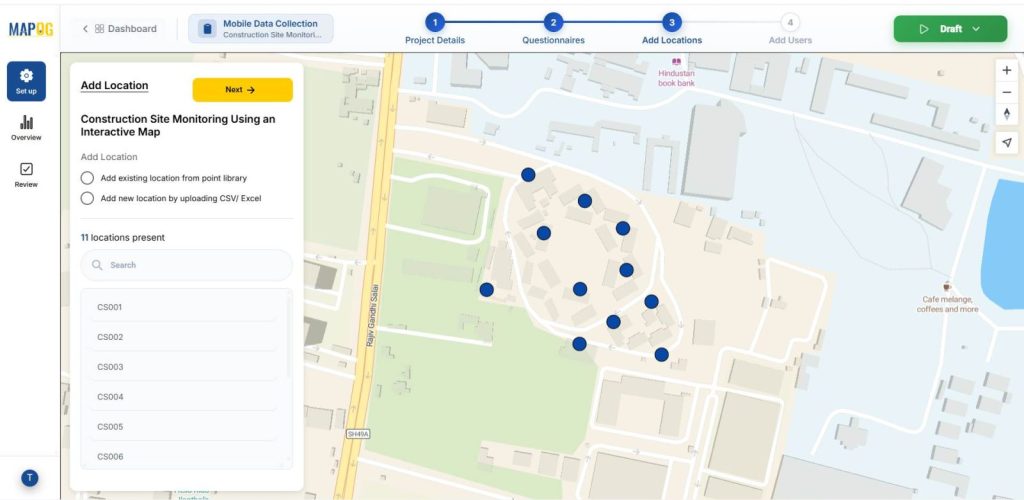
Your data will now come alive on the map.
Step 4: Add users
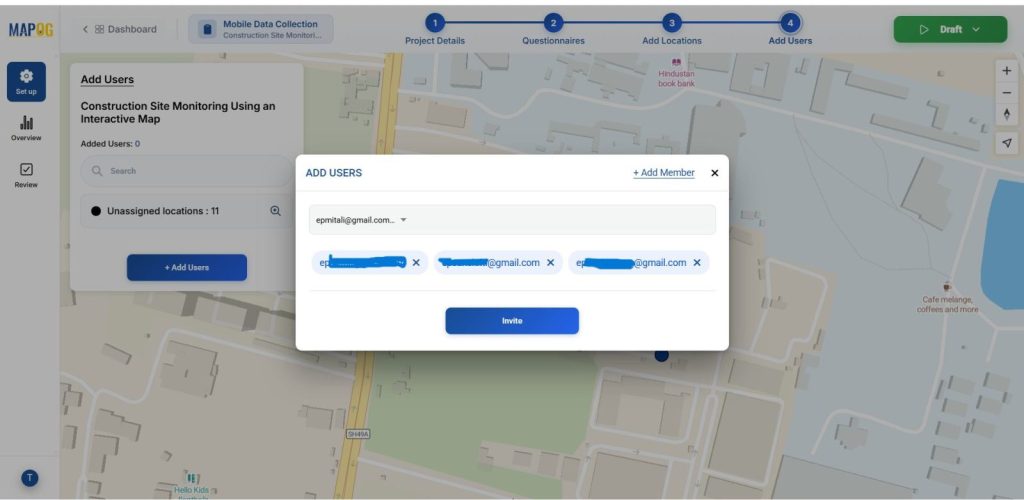
Next step add assignees for the task using the ‘Add user’ option. You can add new members using the ‘Add Members’ option and adding their email address and choose the role as admin or other users.

Thereafter, you can select the members and invite them as users.
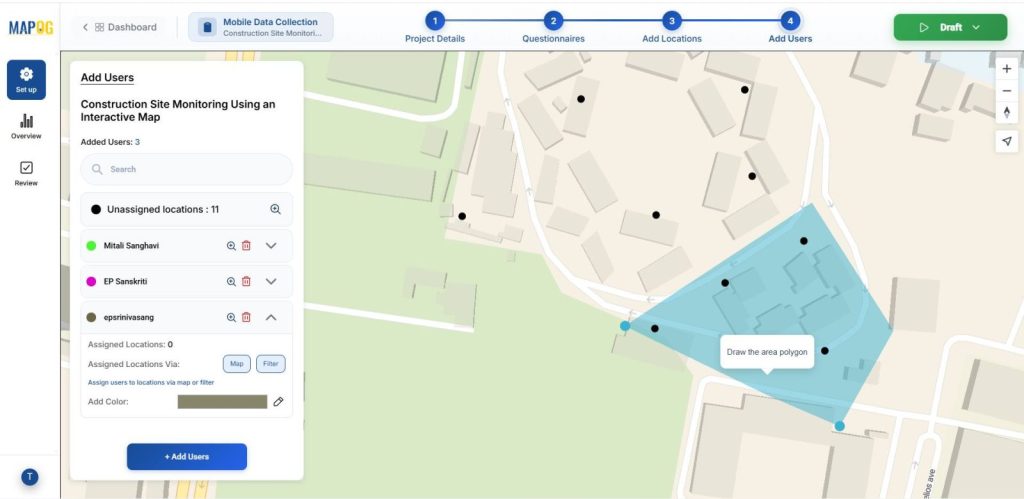
Then, assign each user a particular area by selecting the map option and drawing out a polygon for the particular area & conforming it.
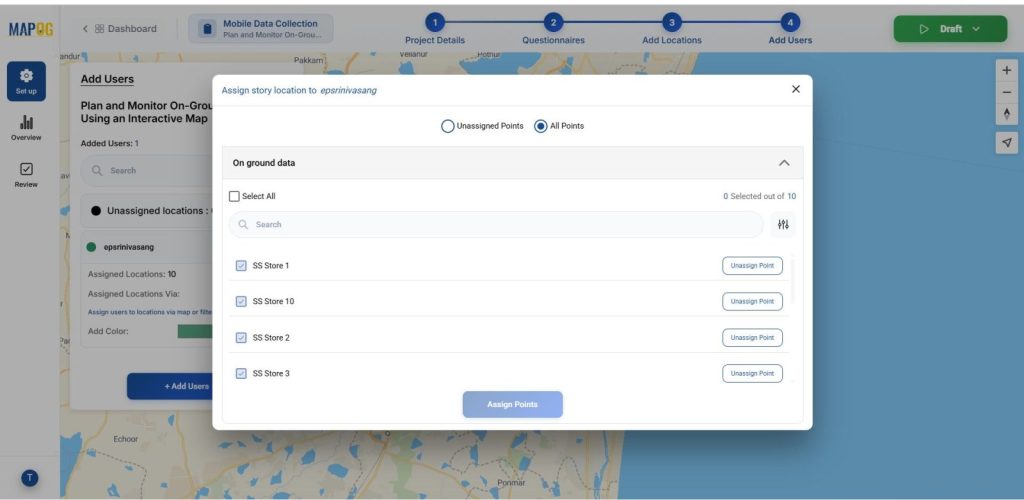
Optionally, you can use the filter option to assign users from unassigned or all points.
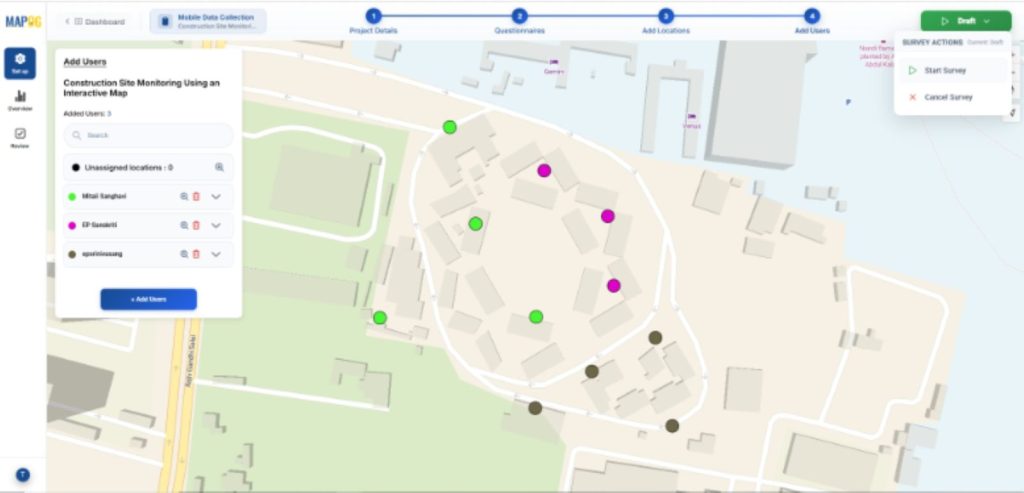
Step 5: Launching the survey
You can start the survey anytime by pressing on survey action in the right corner and clicking on start survey.
Step 6: Mobile data collection
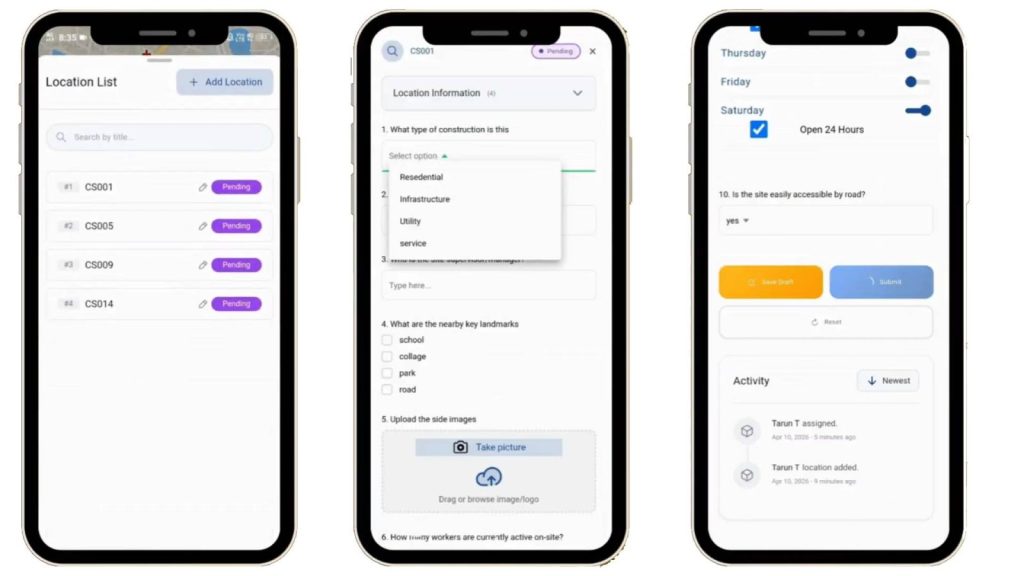
Further, the assigned users can see the locations assigned to them from the MAPOG contributor application in their personal devices. Add new locations using the Add Location button, conform them and fill their title or description and optionally add images for clarity.
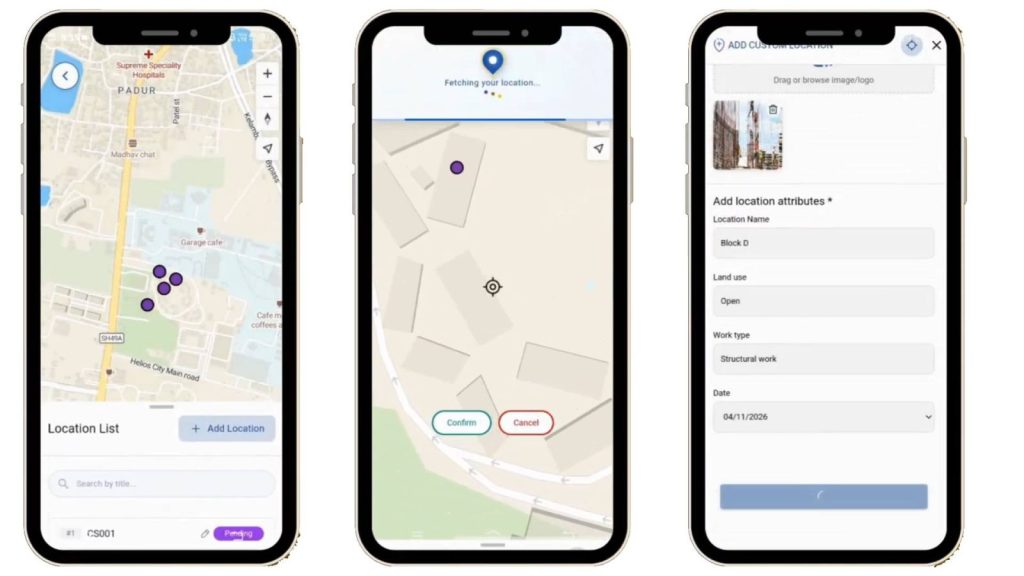
They can thereafter, fill out the surveys accordingly and collect data from their devices. There is an option in the survey to either save draft, submit or reset it.
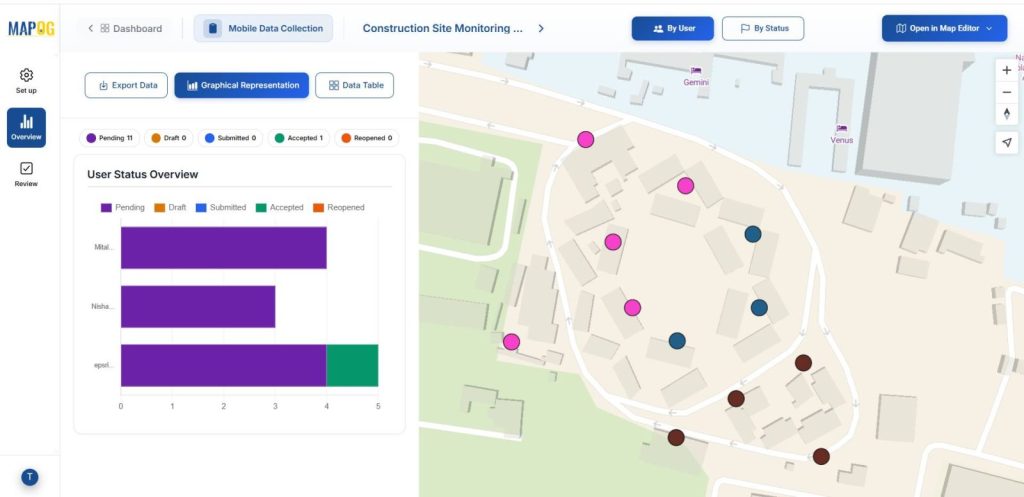
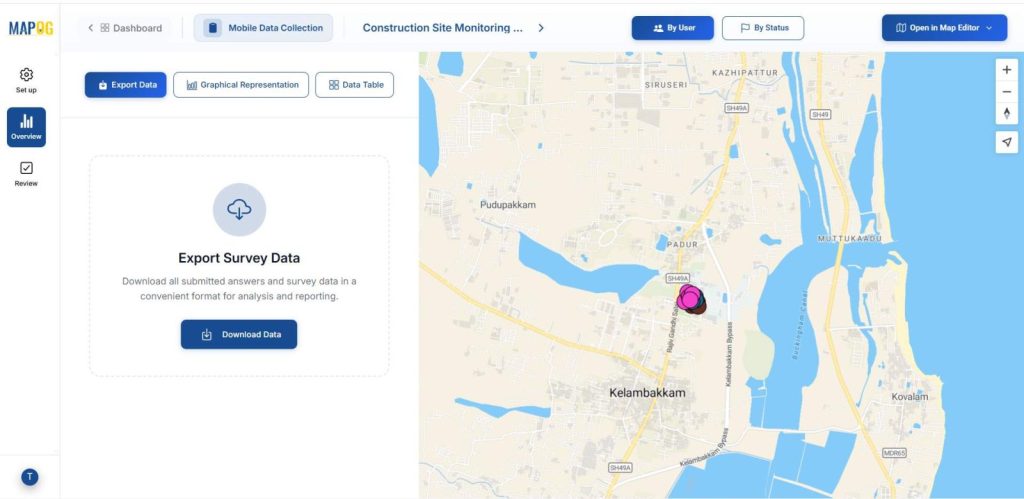
Step 7: Overview
You can see the full picture of your surveys in the overview section. If a user has accepted, completed the task or if it is incomplete.
Finally, click on the data table and you can see your data filtered by status, answered by.
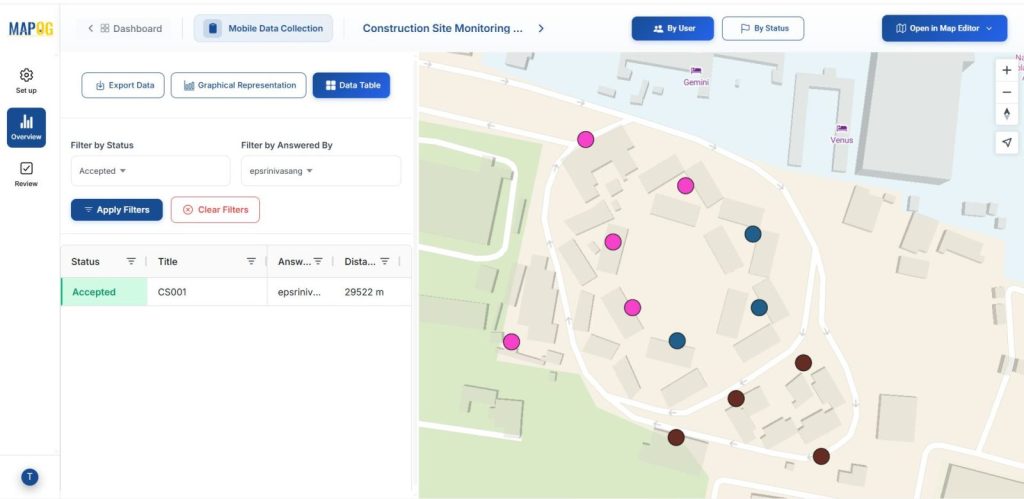
The data can be exported as a CSV file for further use.
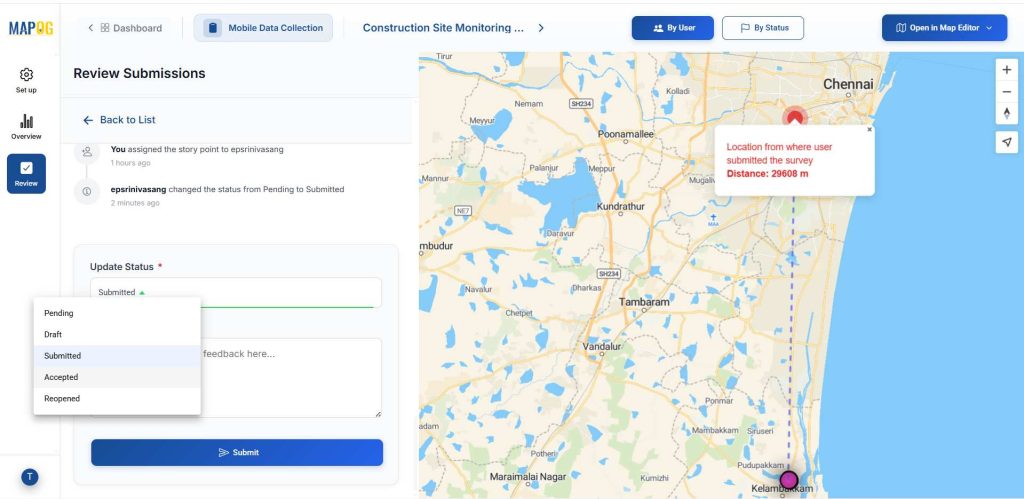
In the Review section, you can view all submitted data, add comments, and update the status from completed to accepted before submitting.
In the Overview section, the map can be opened in a new or existing map through the “Open in Map Editor” option.

Industrial benefits of Plan and Monitor On-Ground Activities
Mobile data collection apps are widely used in industries like manufacturing, construction, utilities, agriculture, and logistics for inspections, audits, maintenance, surveys, and compliance. They enable real-time, location-tagged data capture, reduce paperwork and errors, improve productivity, and provide supervisors with instant visibility, supporting better planning, accountability, and decision-making.
Conclusion
Mobile data collection apps enable accurate, real-time capture of on-ground information by linking every record to a verified location. With MAPOG, organizations can centrally manage field data while ensuring GPS-based validation, full area coverage, and minimal duplication.