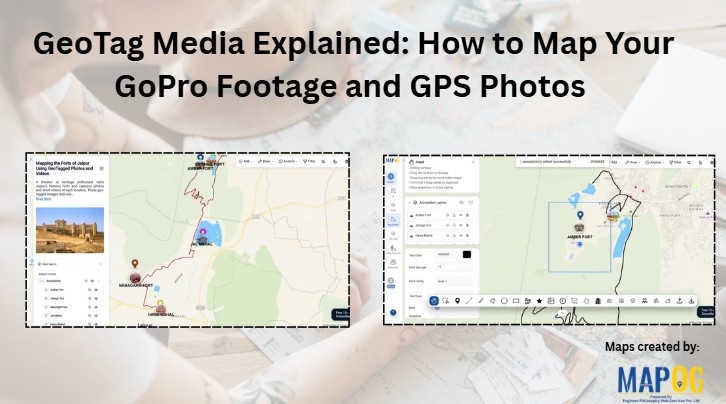
Location-based media adds a new layer of context to maps. Instead of simply marking places, you can attach real photos and videos to show what exists at each location. With MAPOG, users can upload Geotag Media and GoPro footage, allowing media files to appear automatically at their recorded locations. Consequently, maps become more interactive, informative, and visually engaging with annotation tools.
For this example, let’s create a map of Forts in a city using geotagged photos and videos. By combining media with geographic locations, users can build an interactive educational story that showcases campuses across the country.
Understanding GeoTag Media Mapping
Geotag Media Mapping uses GPS information embedded within photos and videos. When these files are uploaded, MAPOG reads the location coordinates stored in the metadata and places them on the map automatically. As a result, users do not need to manually enter latitude and longitude for every file.
Furthermore, Annotation tools help organize and present media in a structured way. Users can add labels, descriptions, routes, and additional map elements to create a complete visual experience.
Step-By-Step process for Geotag Media
Step 1: Create a New Map
First, access MAPOG and open the Create & Publish Maps module from the dashboard.
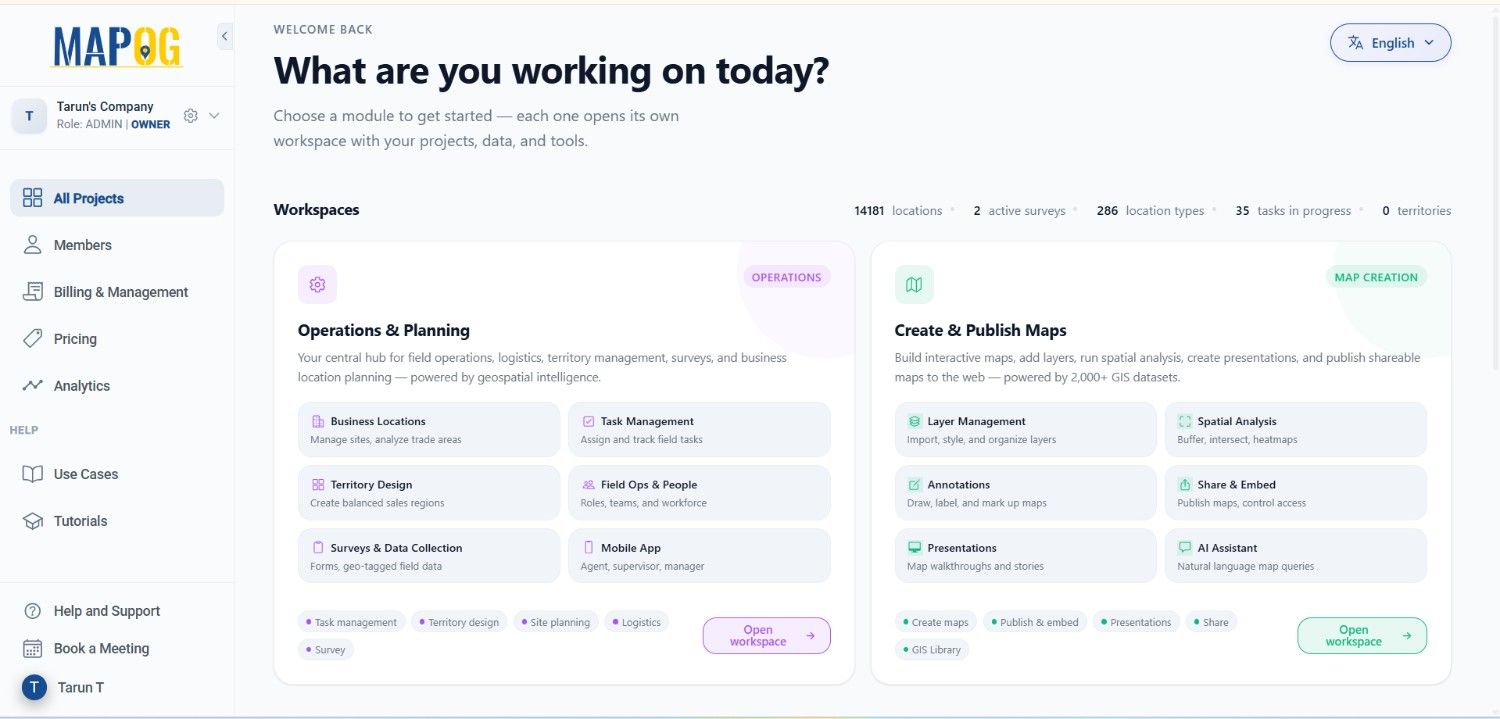
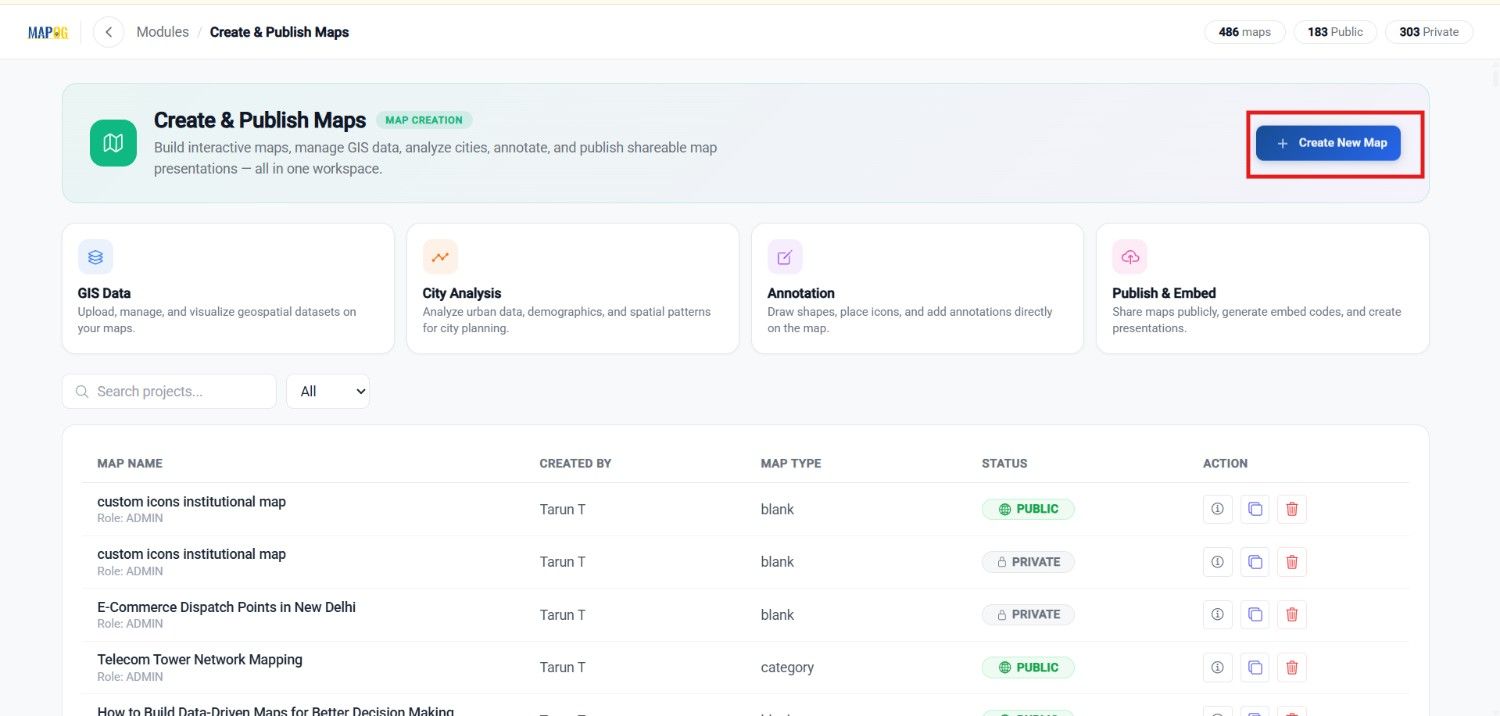
Next, select Create New Map to begin building your map.
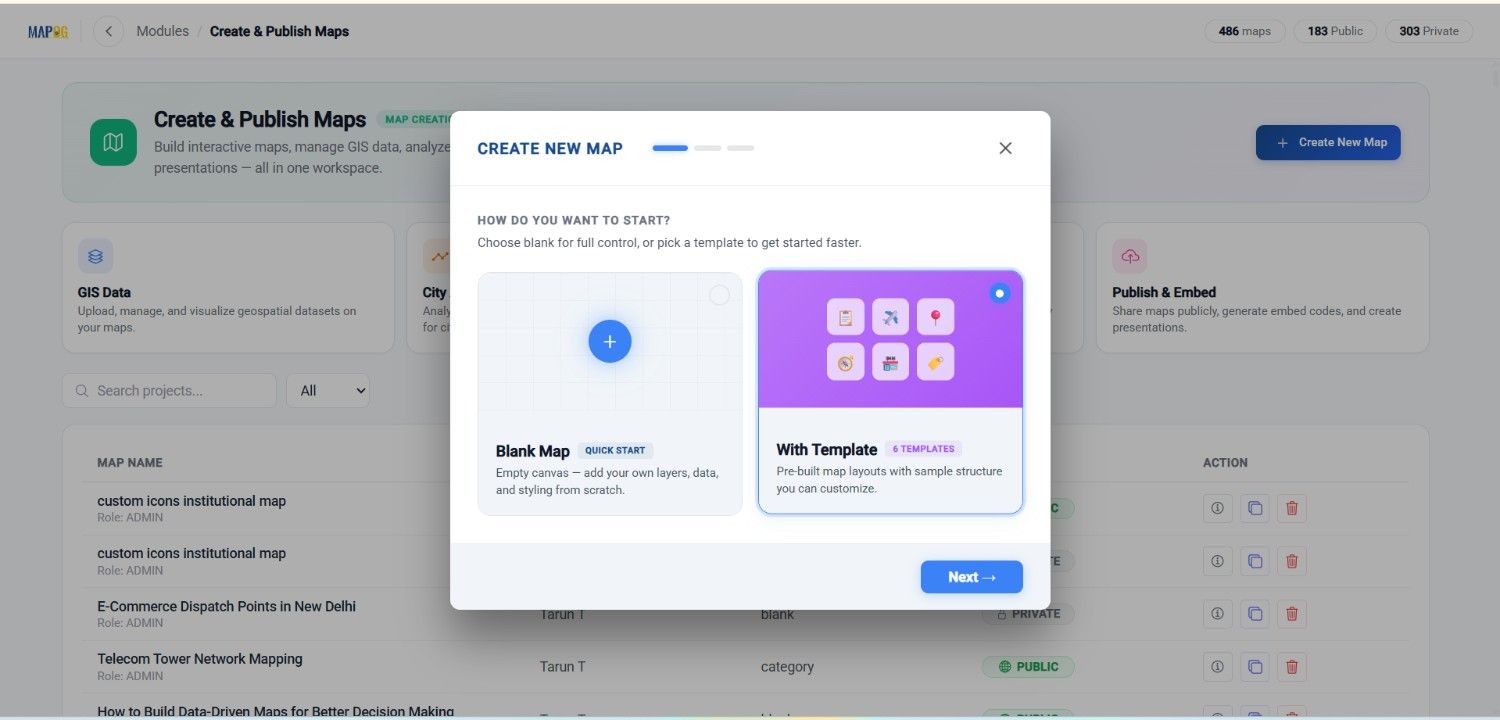
Afterward, choose Blank Template and proceed to the next step.
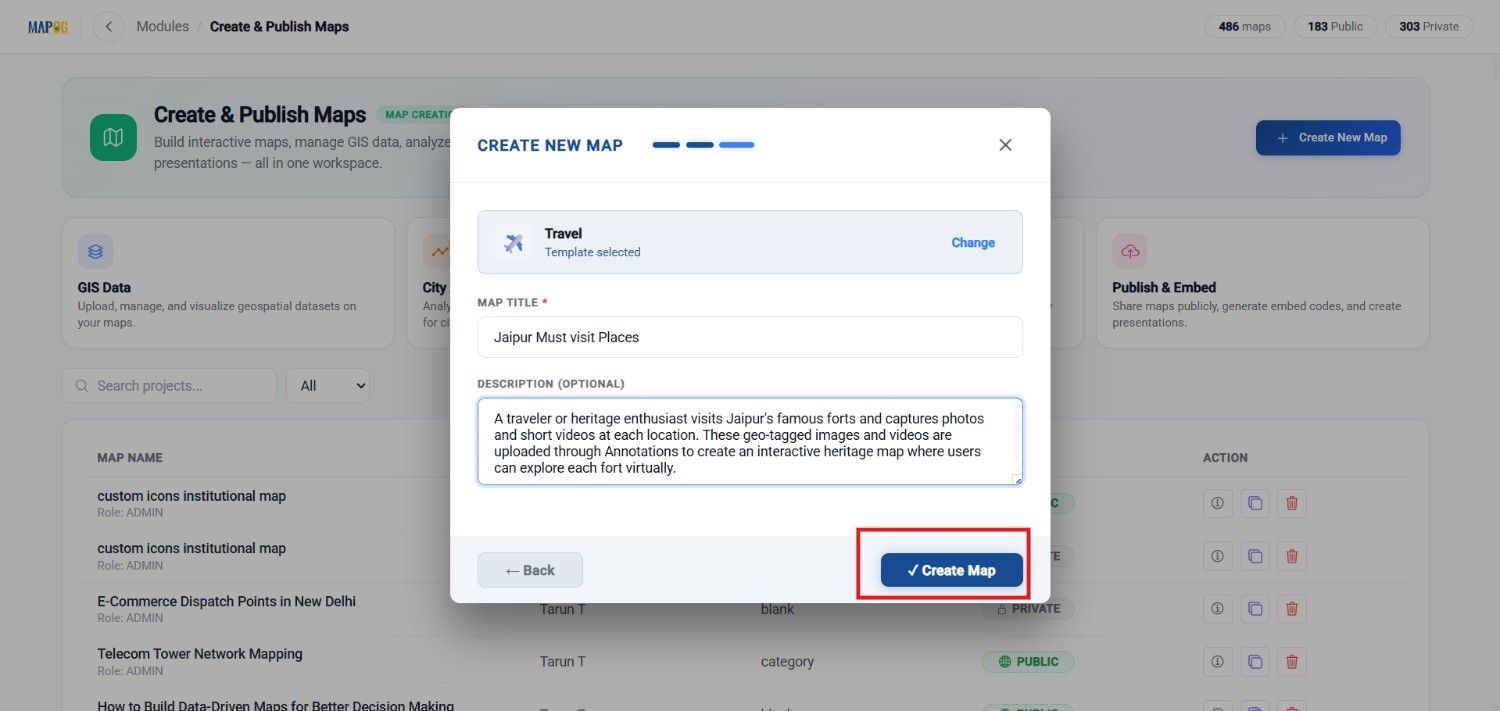
Once selected, enter a suitable map title and description. For example, you can use Mapping Jaipur Forts .Finally, click Create Map to open the map workspace.
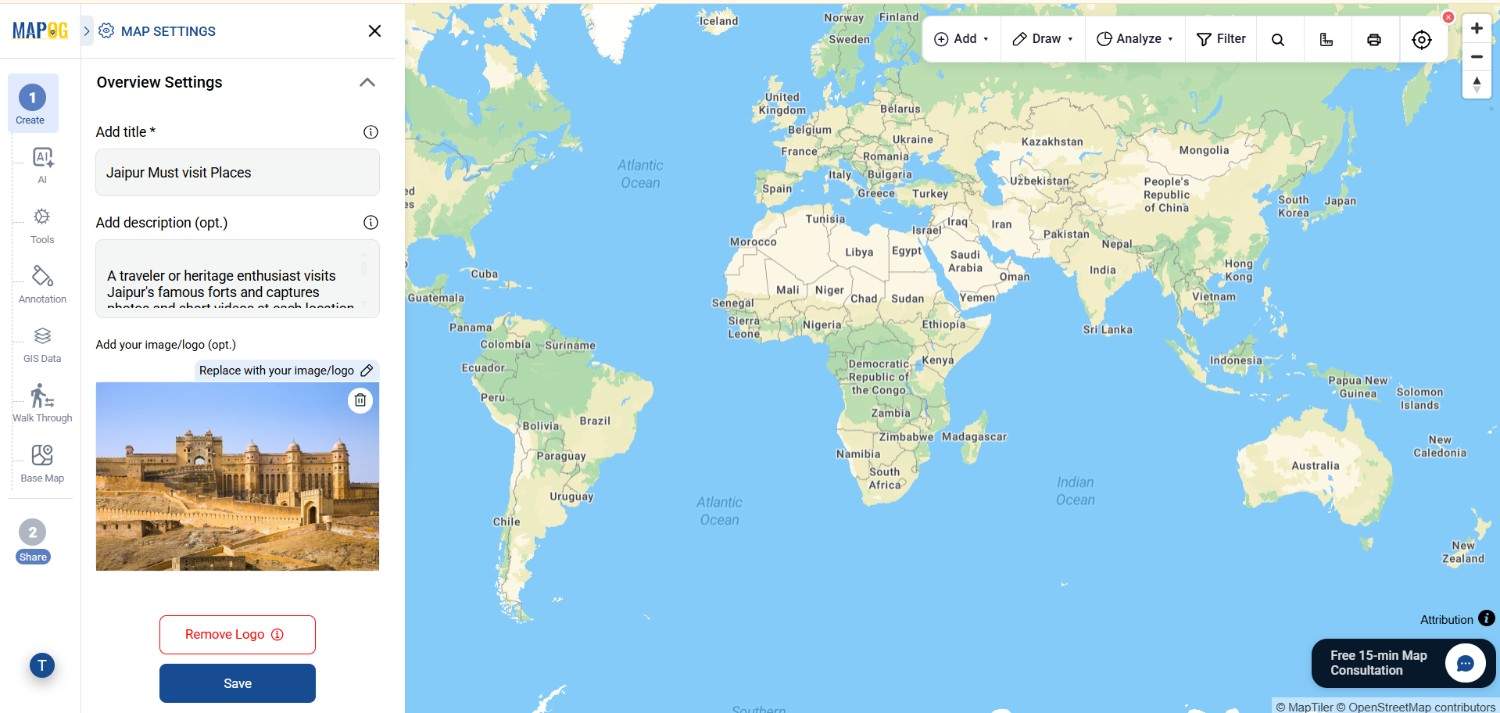
Additionally, update the logo and cover image through Map Settings. This helps establish a consistent visual identity for your project.
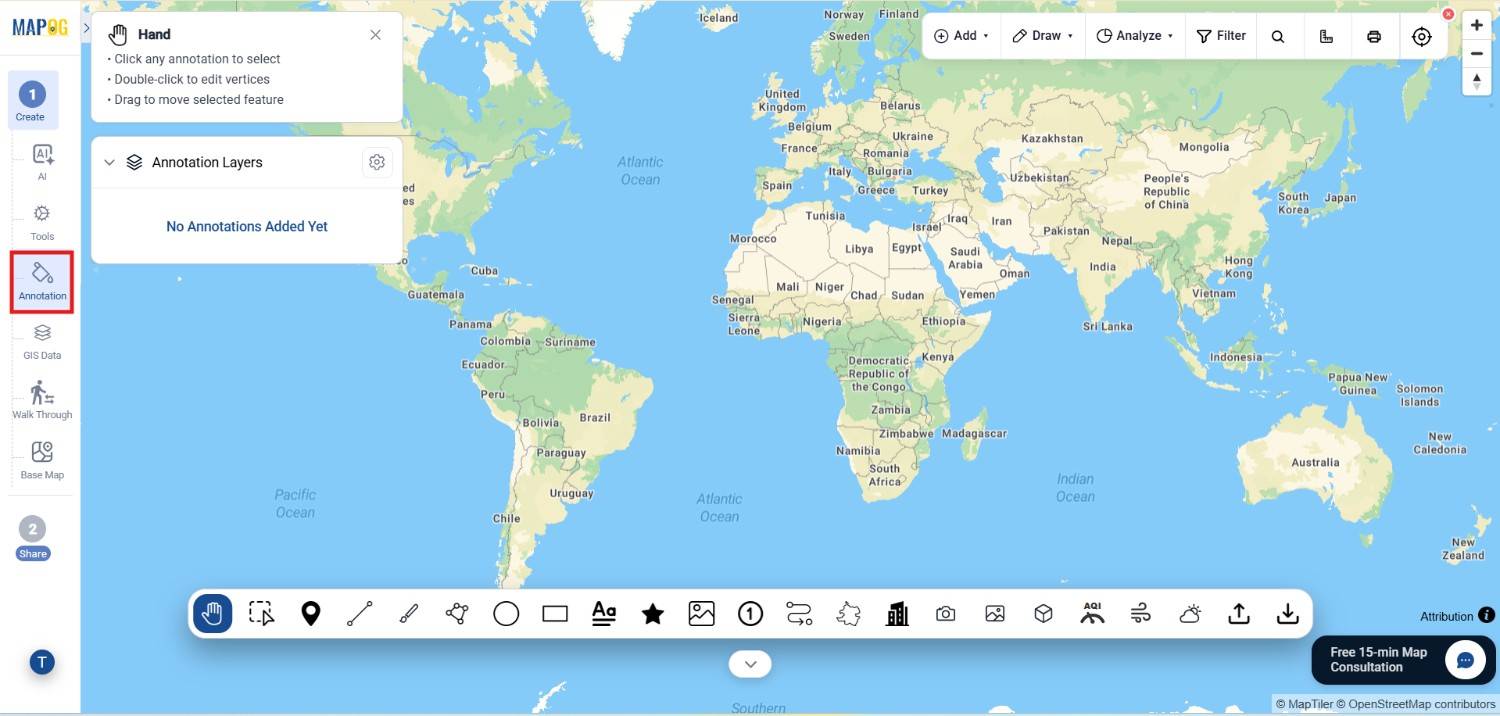
Step 2: Add Campus Locations Using Annotation Tools
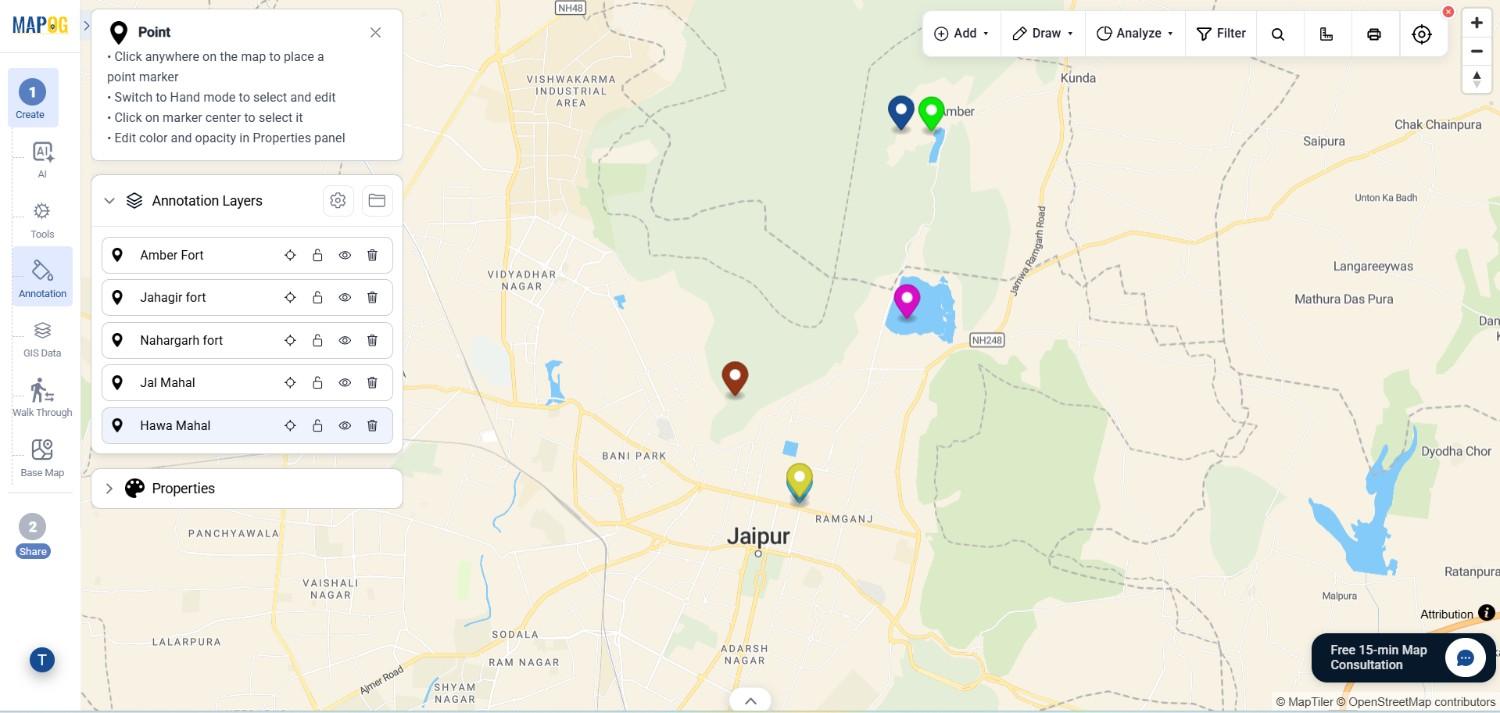
Next, open the Annotation panel from the left-side toolbar. Using the search functionality, locate each fort by entering either a name or geographic coordinates.
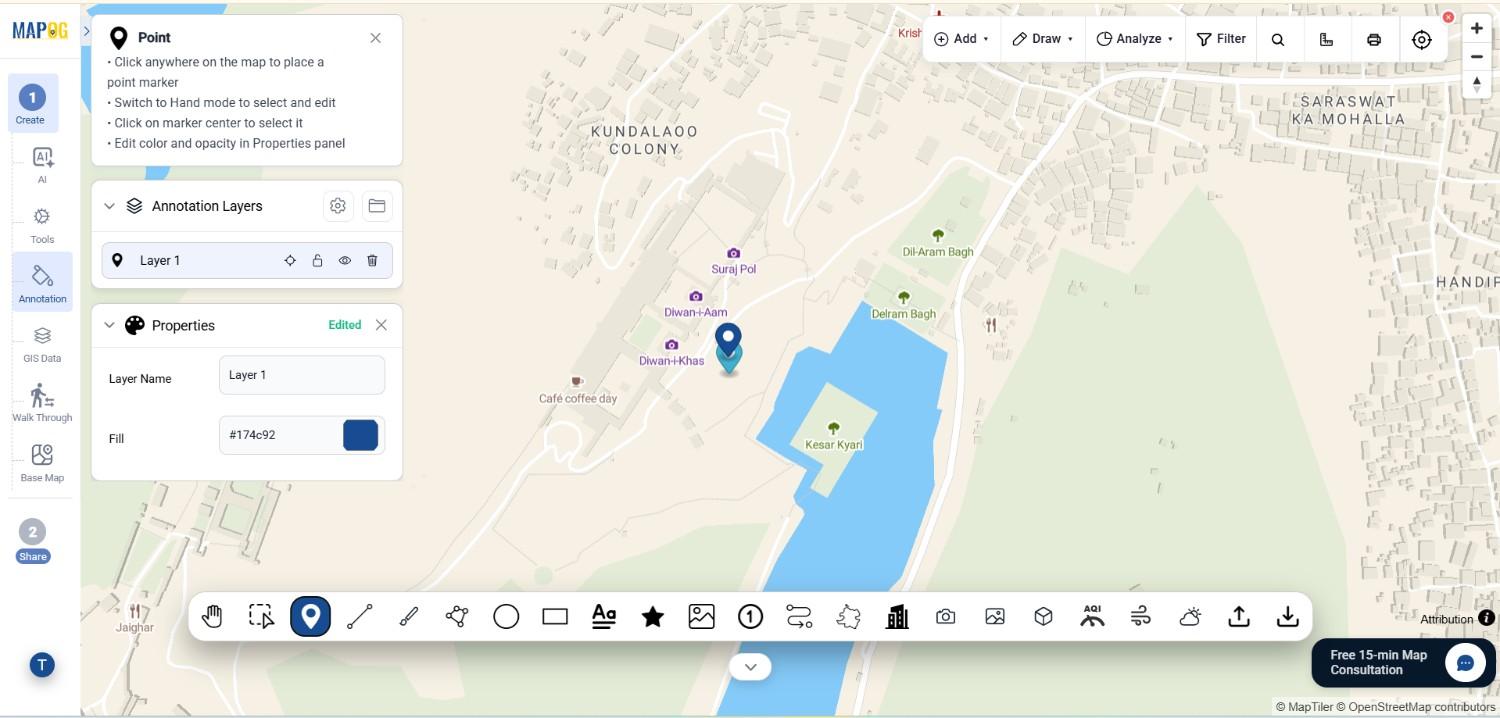
After that, use the Point Tool to place markers for every institution. For example, you can add locations of forts. Meanwhile, customize marker styles through the Properties panel. Different colors and labels can help distinguish campuses and improve map readability. As a result, viewers can quickly identify each institute and navigate the map with ease.
Step 3: Create a Route Connecting Campuses
Once all locations have been added, select the Route Line Tool.
Then, connect the campuses in the sequence you want users to explore them. For instance, you may choose to create a virtual educational journey linking major forts across the city. After selecting the locations, double-click to complete the route.
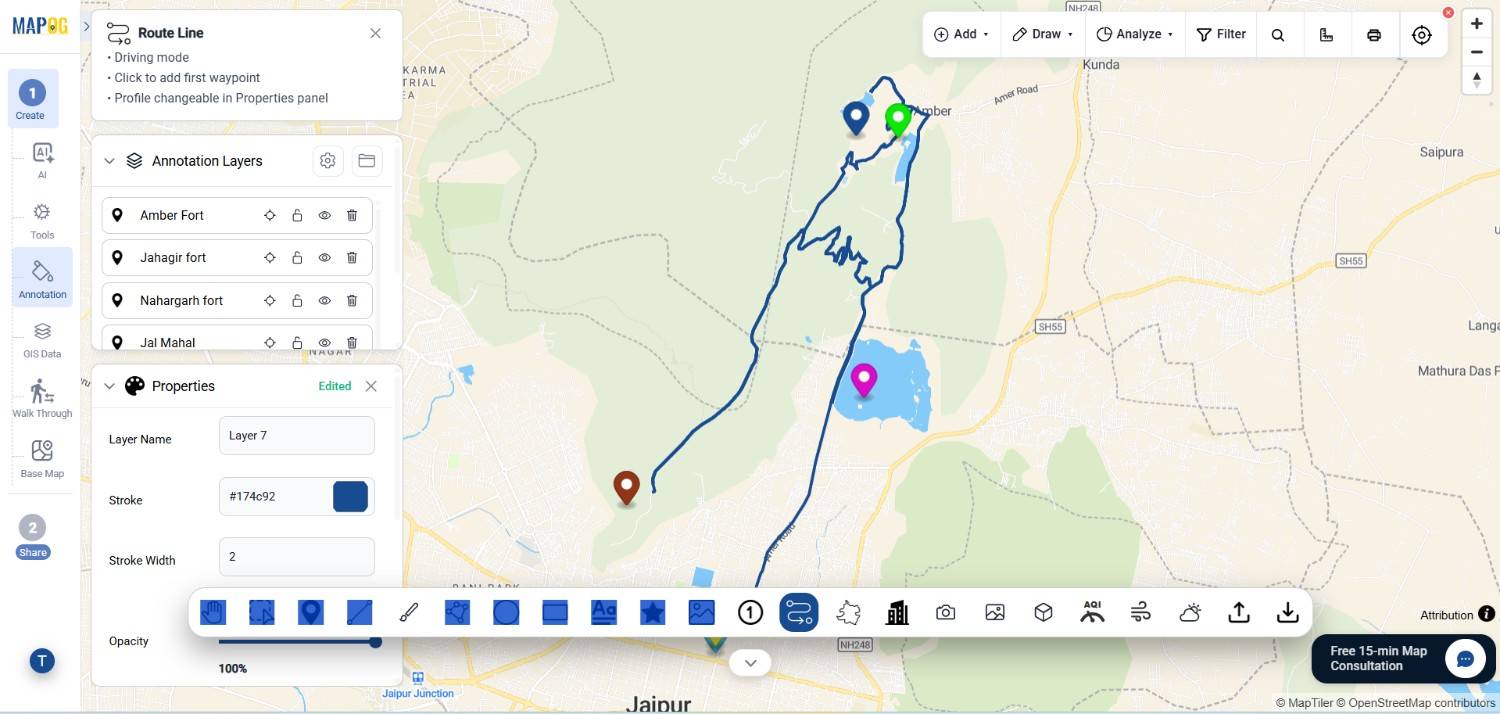
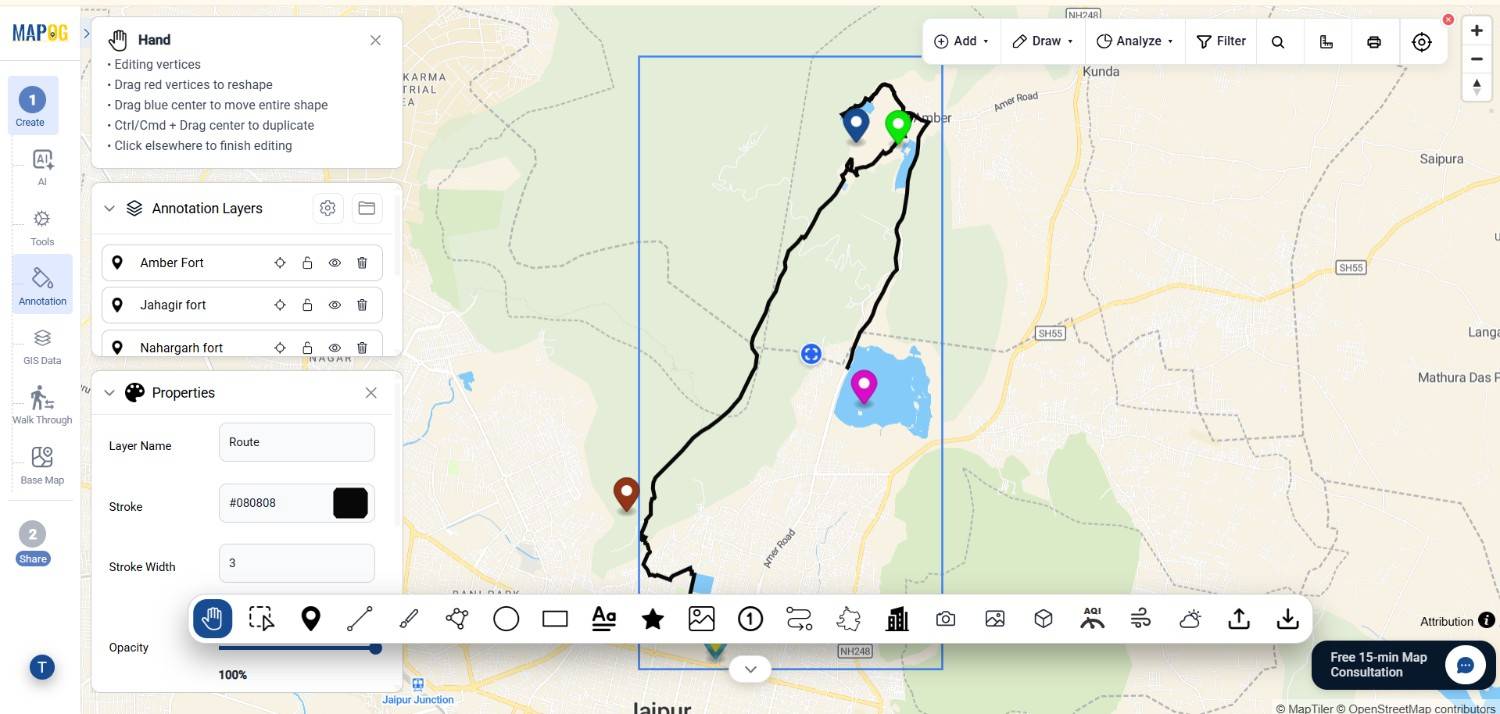
Subsequently, adjust route settings within the Properties panel. You can rename the route layer, modify line thickness, change colors, and adjust opacity settings.Furthermore, selecting an appropriate route profile helps maintain visual consistency and provides a clearer understanding of the travel path between locations.
Step 4: Upload GoPro Footage and GPS Photos
Now comes the most important part of the workflow. Select the GeoTag Media Tool and upload your GPS-enabled photos, GoPro videos, or ZIP files containing multiple media assets.
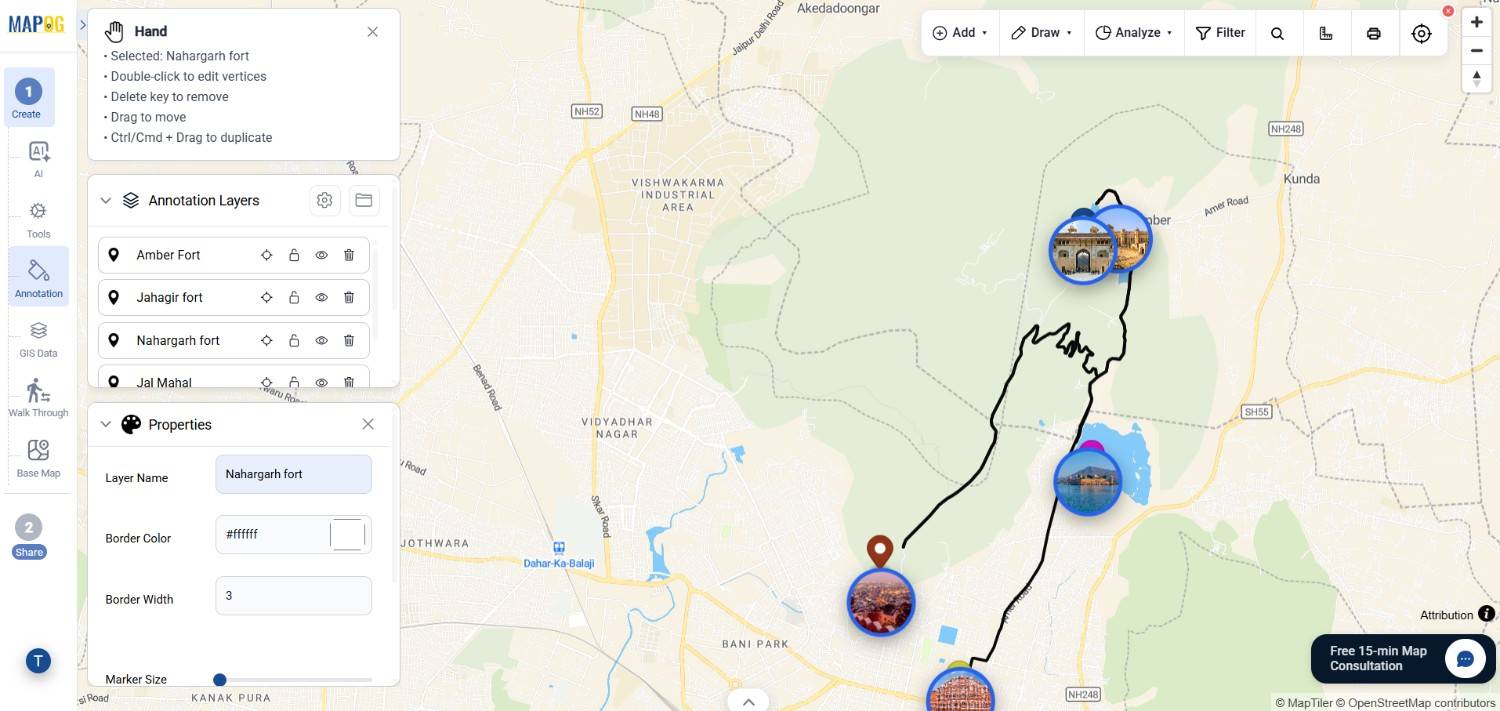
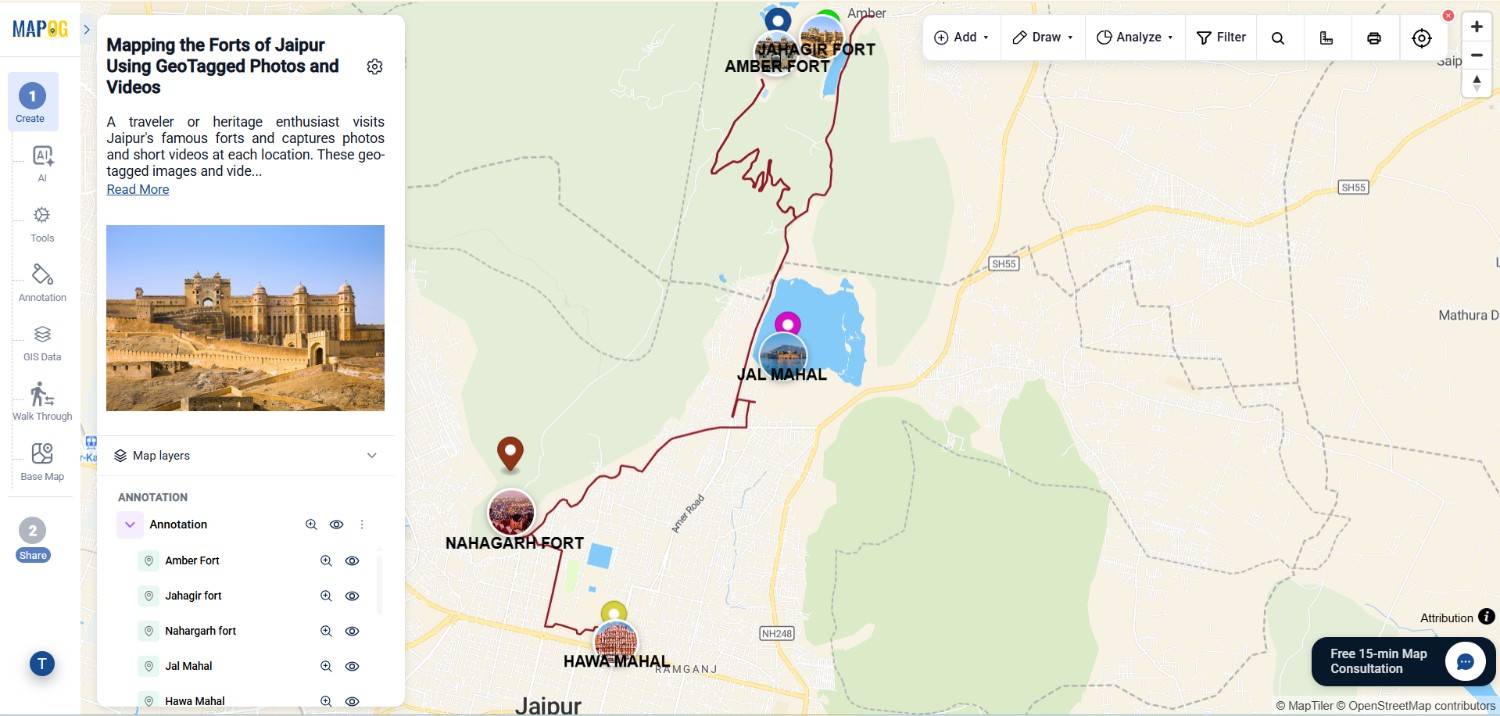
Afterward, review the generated media markers on the map. Clicking any marker allows users to preview photos, watch videos, and verify location details. Consequently, the map evolves from a simple geographic display into a rich visual storytelling platform.
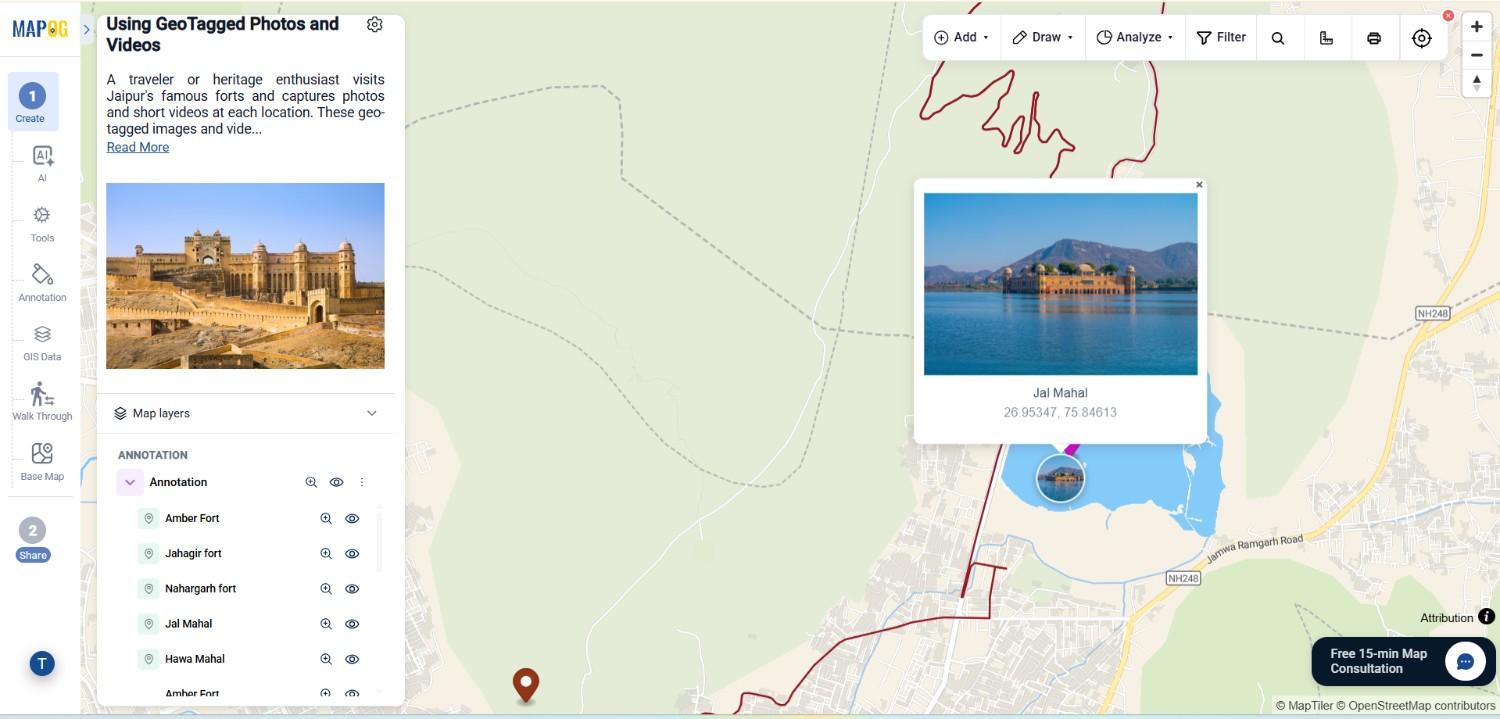
Step 5: Add Labels and Informational Notes
Next, activate the Text Tool from the Annotation toolbar.
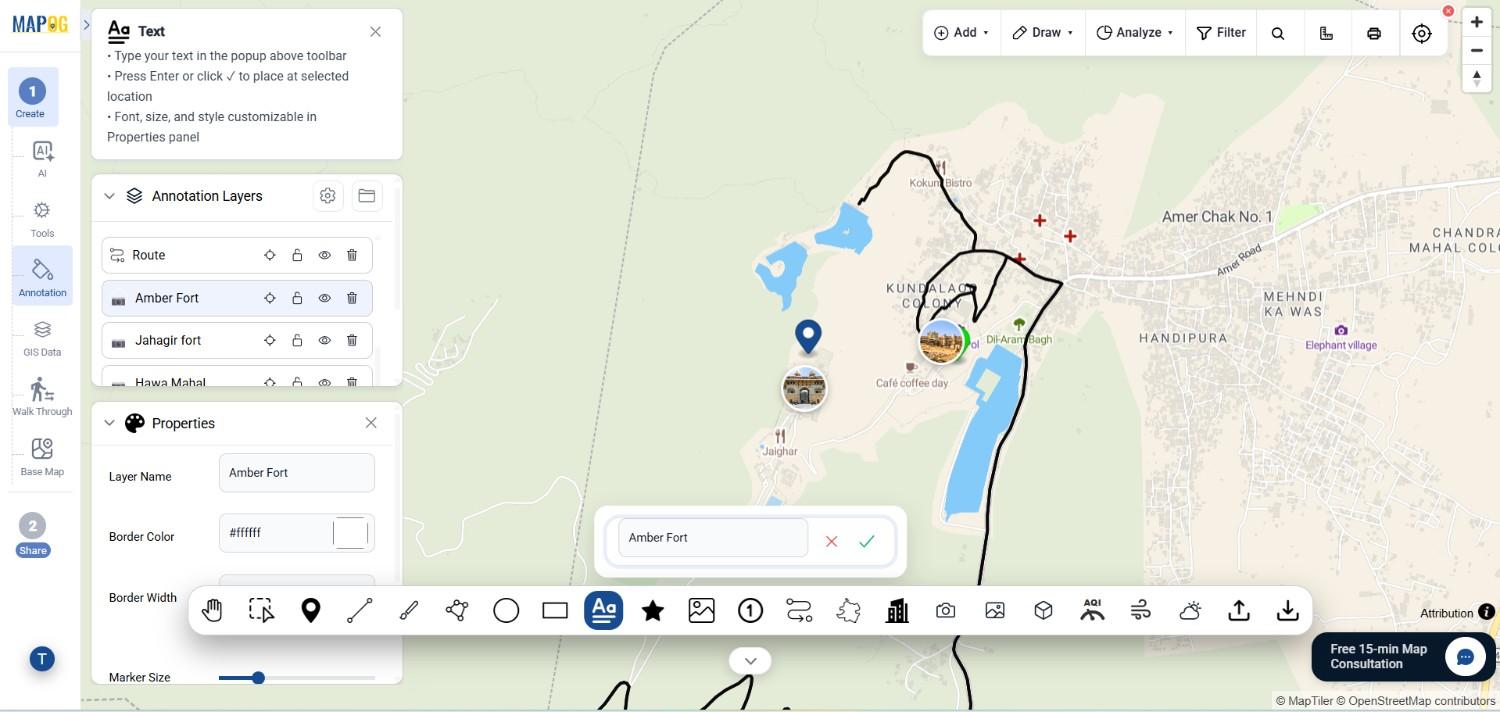
Then, click any location where you want to place information and enter relevant text. the Properties panel allows you to modify font styles, sizes, colors, and text formatting.
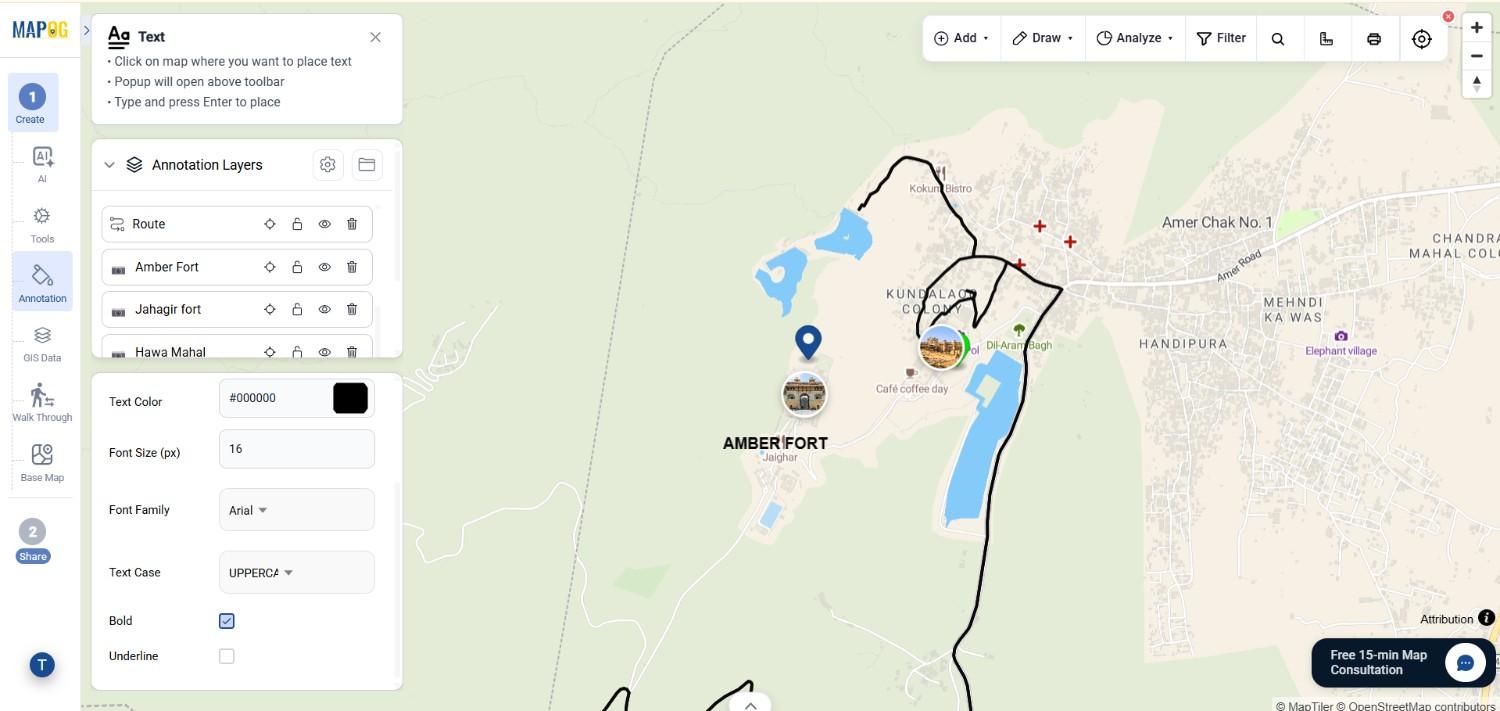
As a result, important information remains clearly visible while maintaining a professional appearance throughout the map.
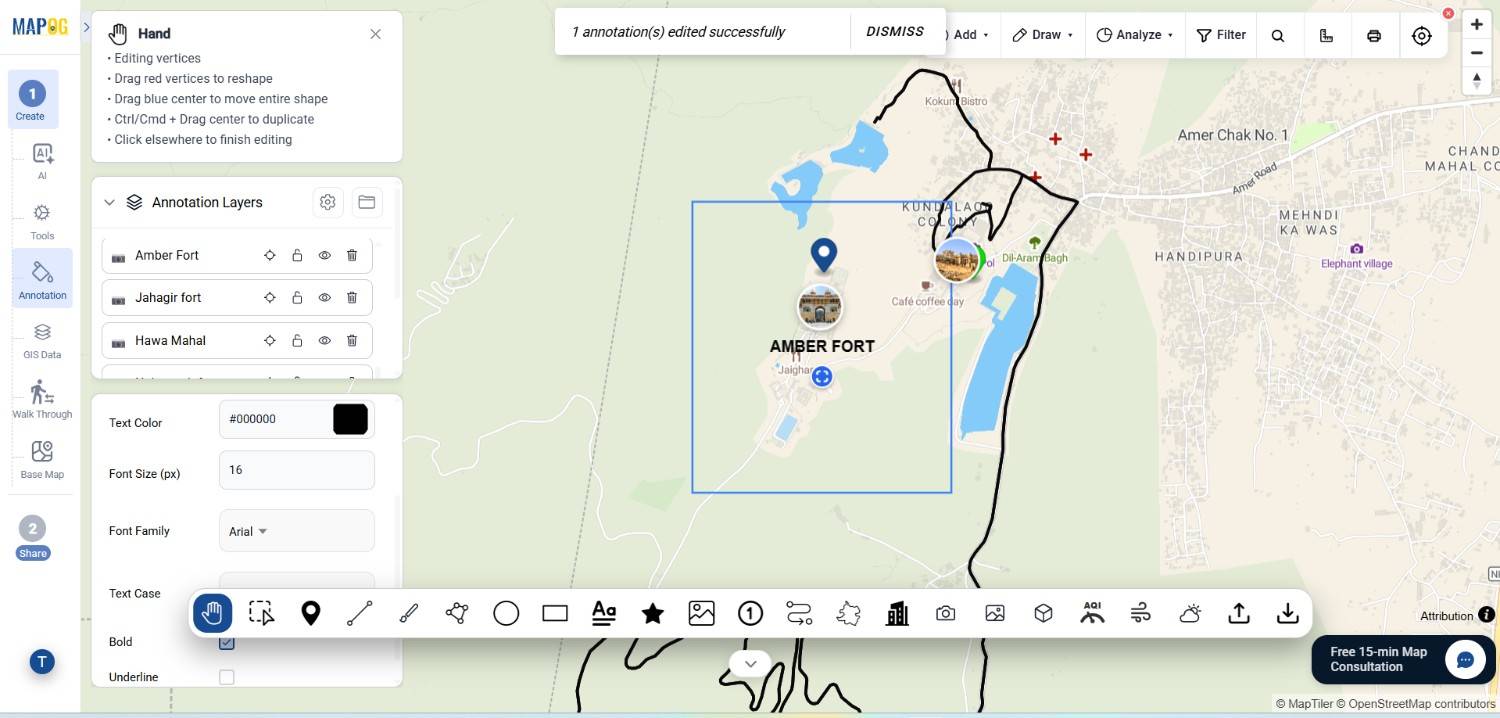
Step 6: Publish and Share Your Map
Finally, open the Share and Publish section.
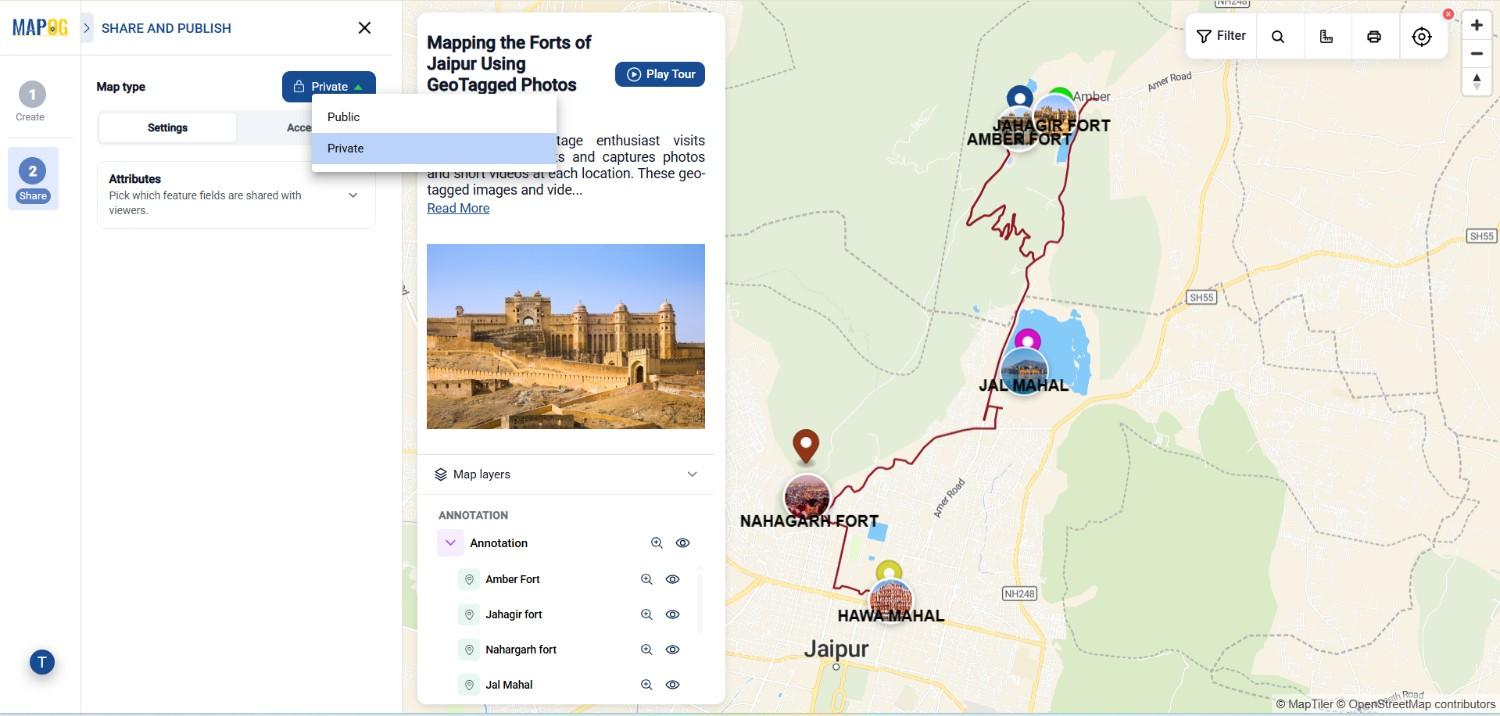
From there, you can either keep the map private by assigning user roles such as Viewer or Editor, or make it publicly accessible through a shareable link.
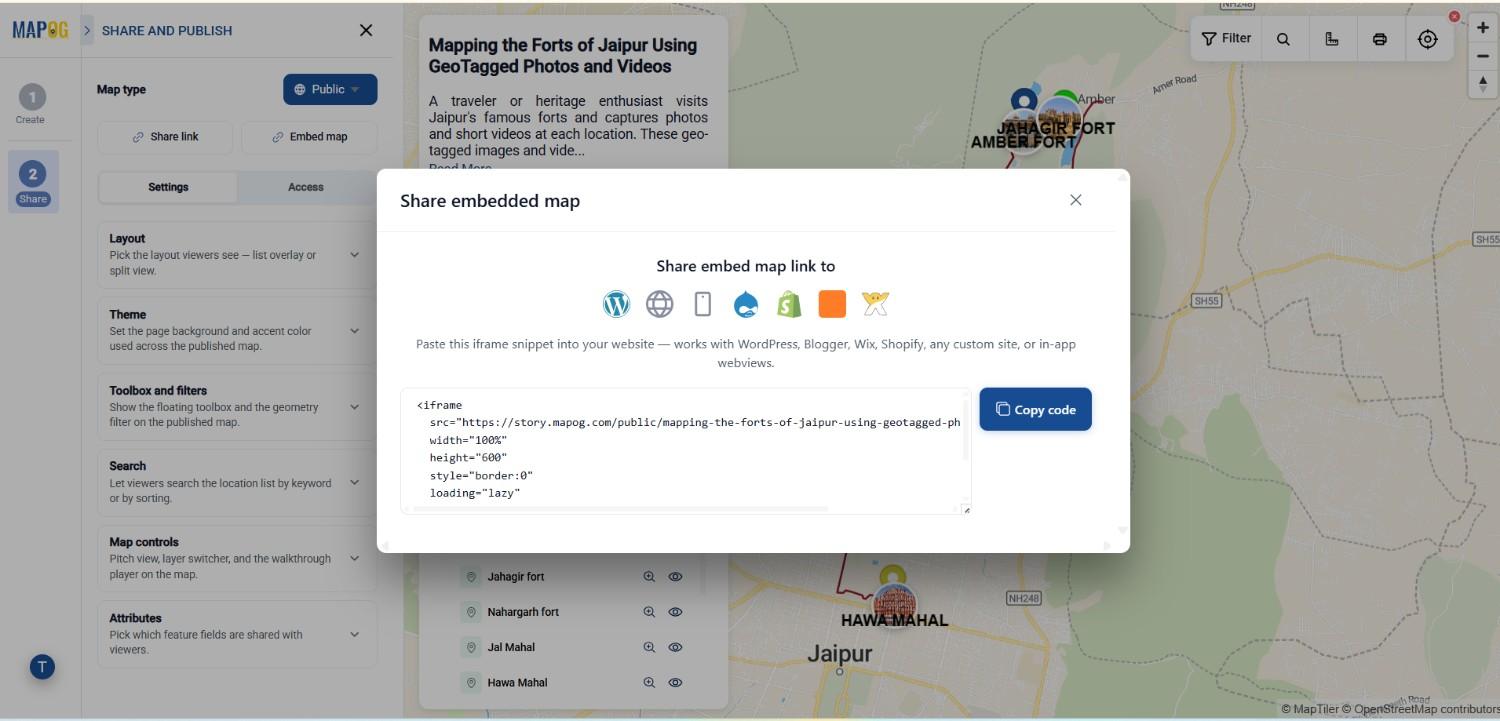
Moreover, the embed option allows organizations to display the map directly on websites, portals, or educational platforms.
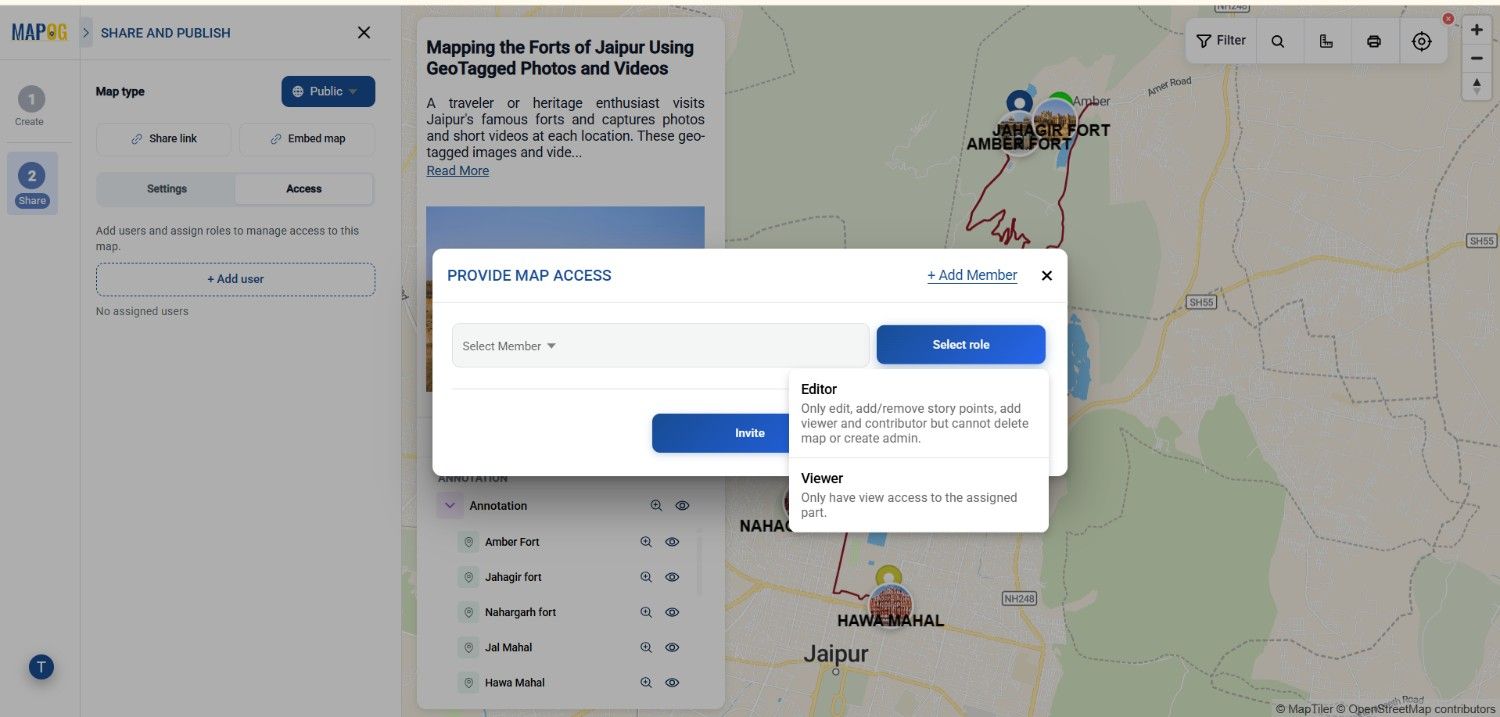
Once published, your map becomes an interactive resource that combines locations, photos, videos, and contextual information in a single experience.
Applications Across Industries
GeoTag Media Mapping supports a wide range of use cases.
- Education: Showcase campuses, research centers, and educational networks.
- Tourism: Present travel destinations using real visitor photos and videos.
- Real Estate: Display property images and site inspection footage at exact locations.
- Infrastructure Management: Track field surveys and project progress with visual evidence.
Additionally, organizations benefit from improved collaboration because teams can verify locations using actual media rather than relying solely on textual information.
Conclusion
GeoTag Media Mapping bridges the gap between geographic data and visual content. By combining GPS photos, GoPro footage, and Annotation tools, users can create highly engaging maps that tell meaningful location-based stories. MAPOG simplifies this process by automatically positioning geotagged media while providing flexible tools for customization and presentation. Consequently, organizations can build informative, interactive maps that transform how audiences explore and understand locations.