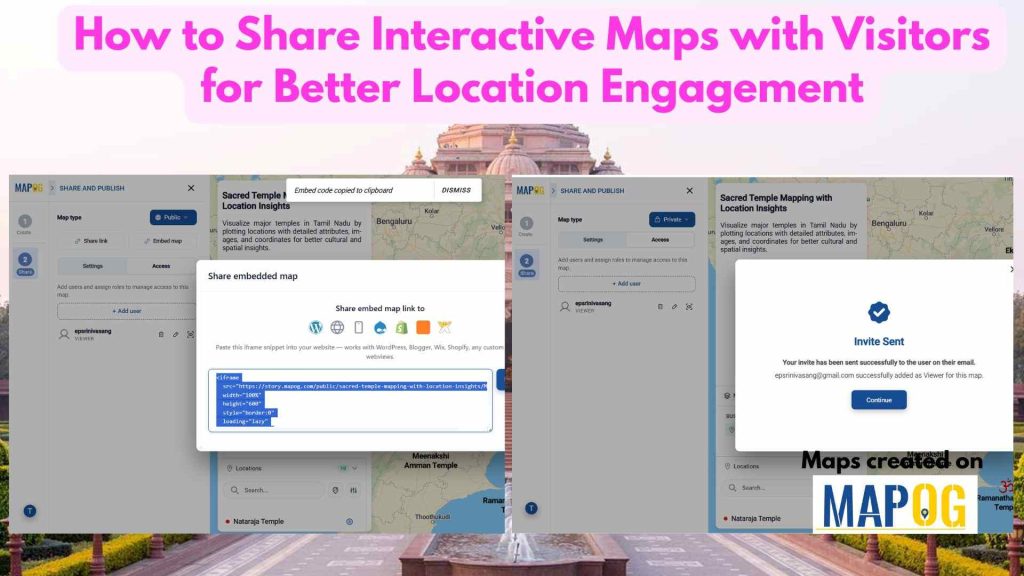
Share Interactive Maps with Visitors securely is a common challenge in today’s collaborative and data-driven environment, where sharing location intelligence is just as important as creating it. Static screenshots or exported files often fall short—they lose context, interactivity, and control. That’s where secure Interactive map sharing becomes essential. By enabling teams and clients to explore live maps with controlled access, you ensure everyone sees the right data, at the right level, without risking sensitive information. With MAPOG, interactive maps can be shared through permission-based links, allowing users to pan, zoom, filter, and analyze locations in real time while maintaining full data security.
Key Concepts of Share Interactive Maps with Visitors
Interactive map sharing helps visitors easily access and explore location-based information. With MAPOG, users can share maps through public links, embed links, or role-based access. The Attributes option allows selecting which feature fields are visible to viewers, while access controls help assign roles such as Admin, Editor, or Viewer.
Steps to Share Interactive Maps with Visitors
1. Select Preview & Share:
Once you are done with your map in MAPOG, go “preview & share“.
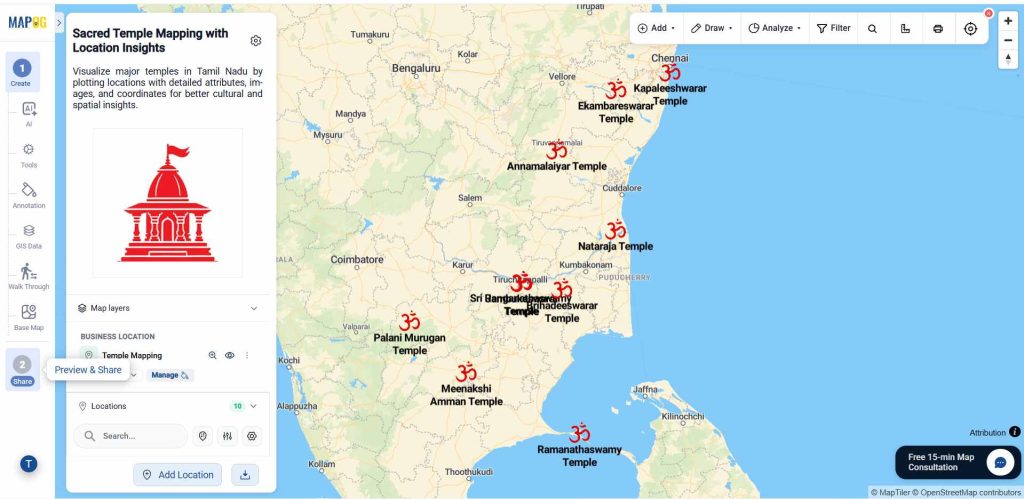
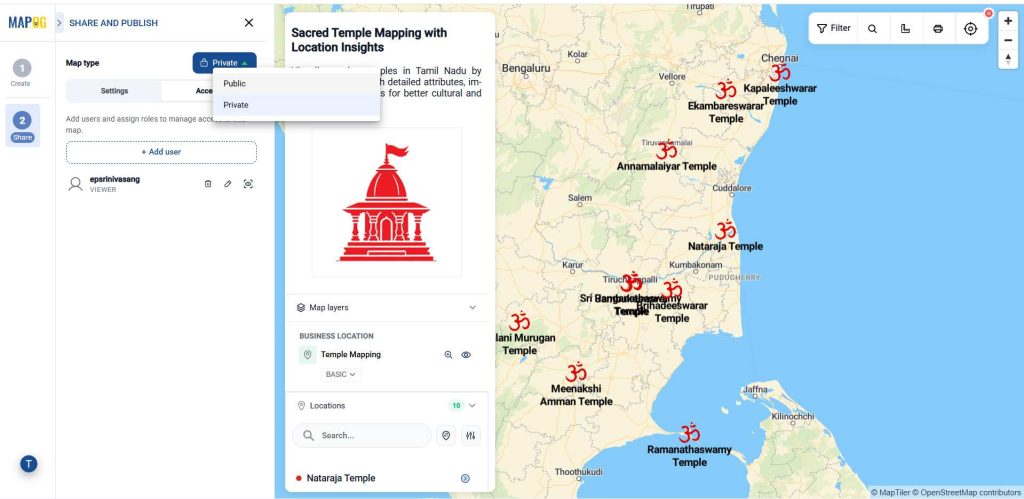
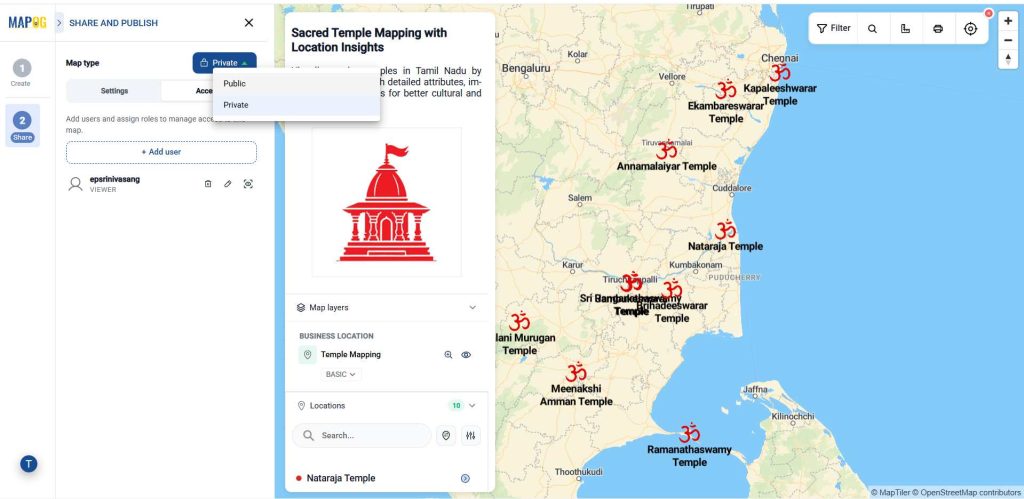
Select how you want to share your map. Choose Private to restrict access to selected users only, or Public to make the map accessible to anyone with the link.
2. Select attributes:
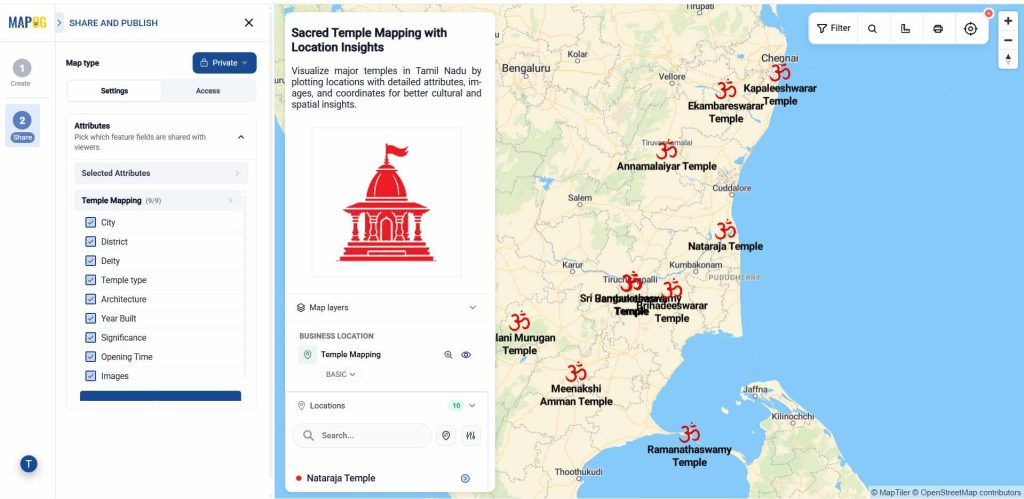
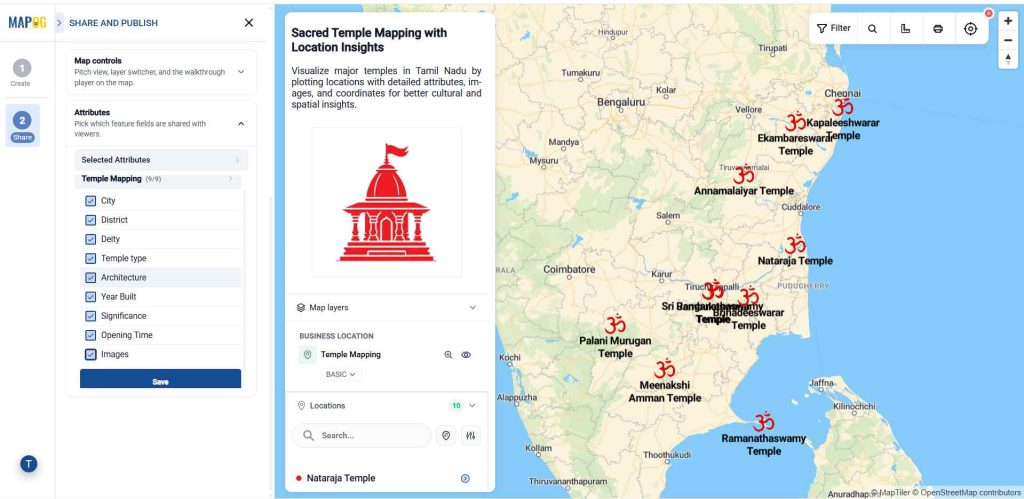
First with the private section. In the Settings section, you can find the Attributes option, which helps you choose which fields you want to share with viewers. Click on it, then select the Selected Attributes option. After that, choose the fields you want to share.
3. Provide access by adding users:
Go to the access, then select Add User, then click Add Member. This feature lets you give map access and assign roles based on requirements.
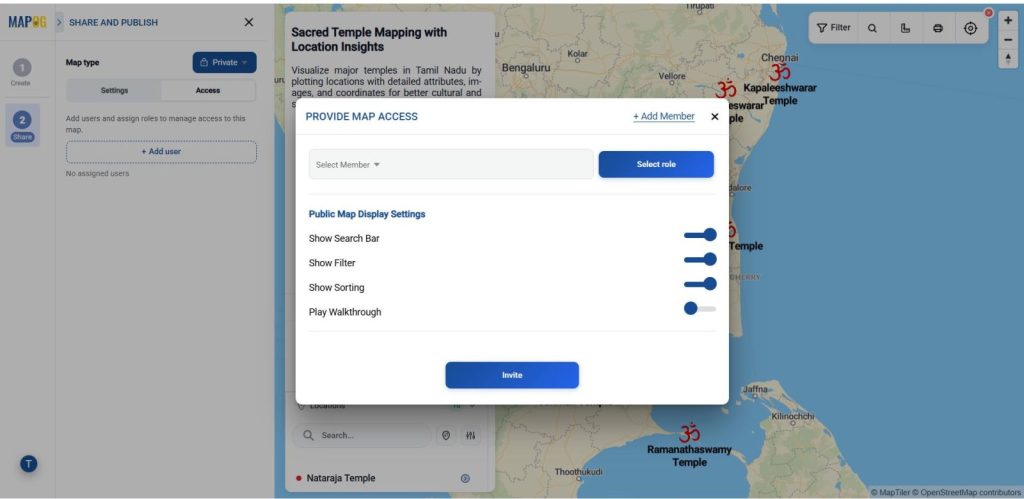
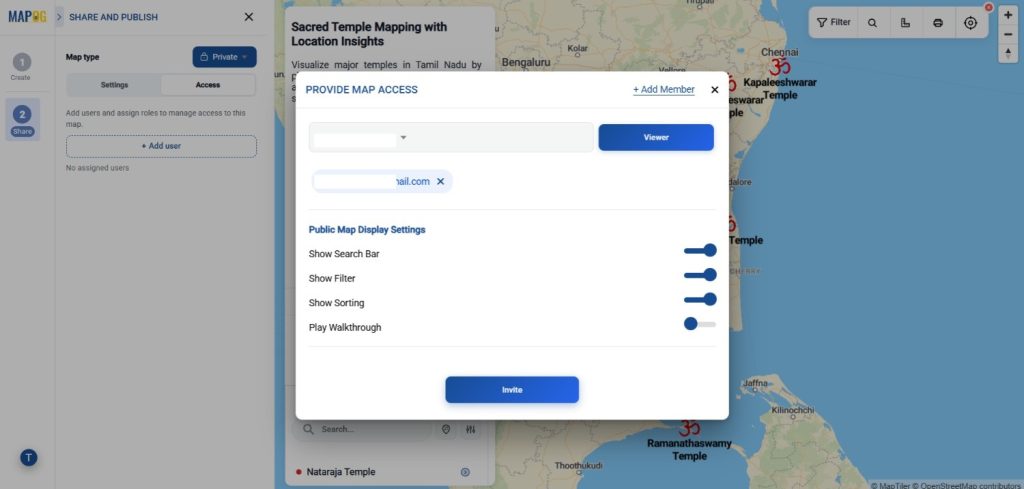
Enter the user’s email ID, then select the appropriate role. An Admin has full access to the map, including adding story points, managing users (editors, viewers, contributors), editing content, deleting maps, and adding map layers. Others can be assigned roles such as Editor or Viewer based on access requirements.
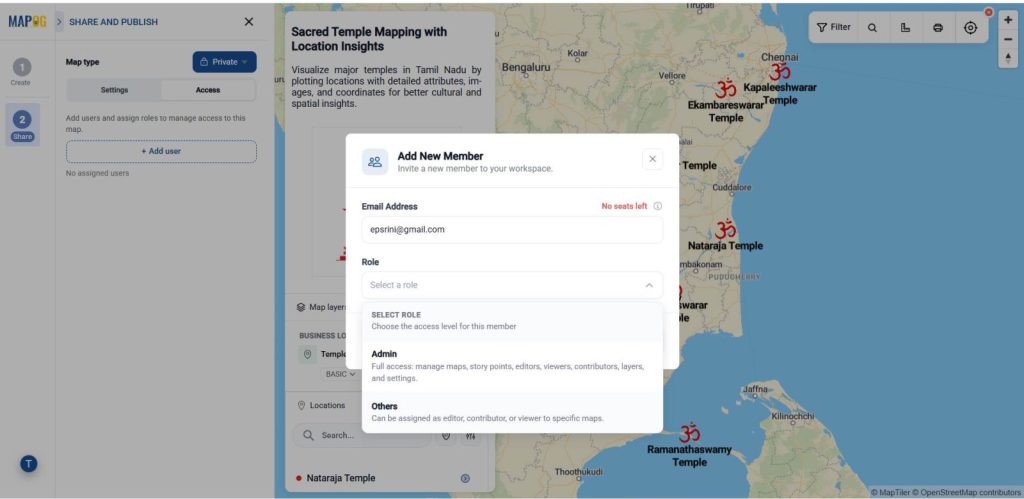
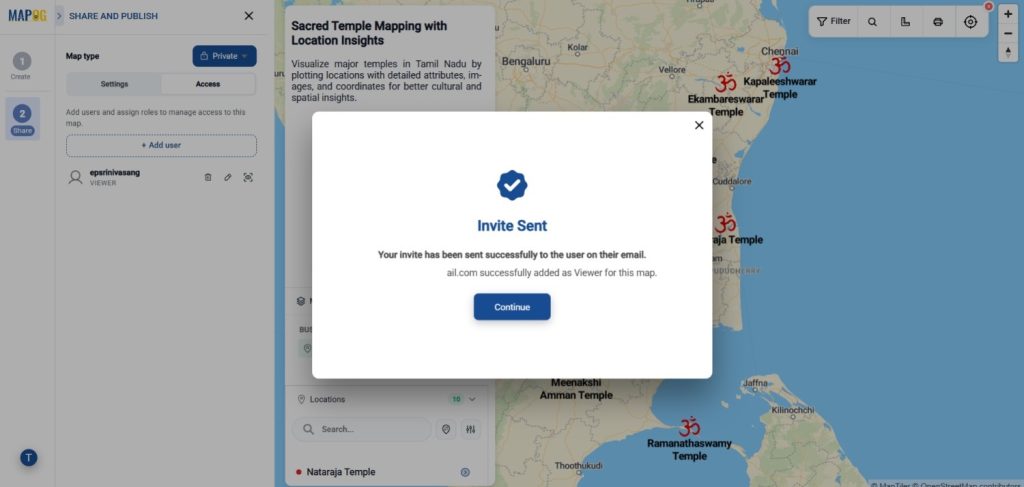
Then click on send invite.
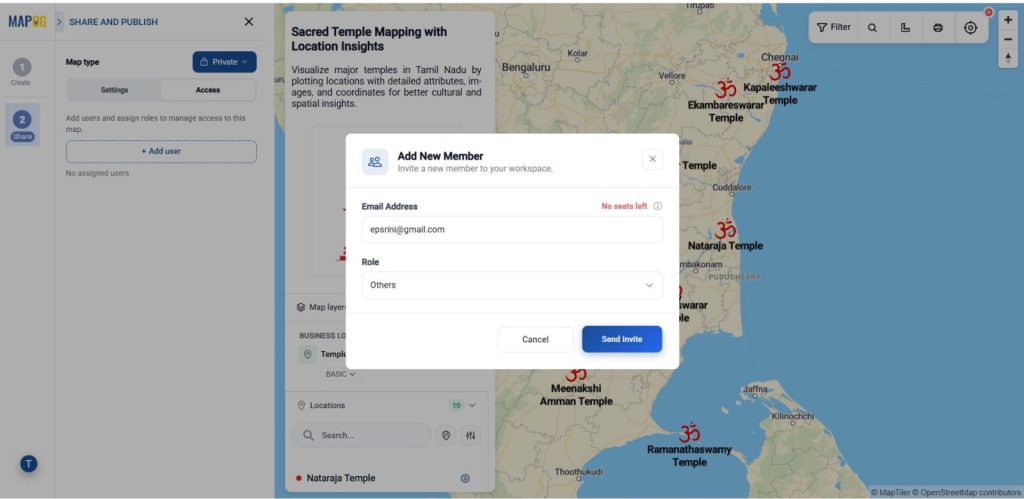
Now, select the members in the select member drop down option.
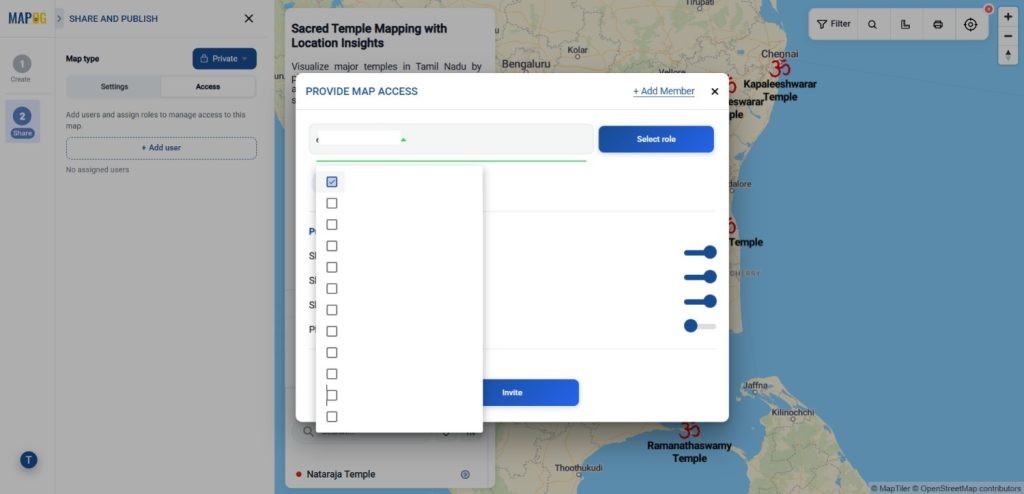
In the select role option select the role of the person. Editors can edit content, manage story points, and add viewers or contributors, but cannot delete the map or create admins. A Viewer has view-only access to the assigned sections.
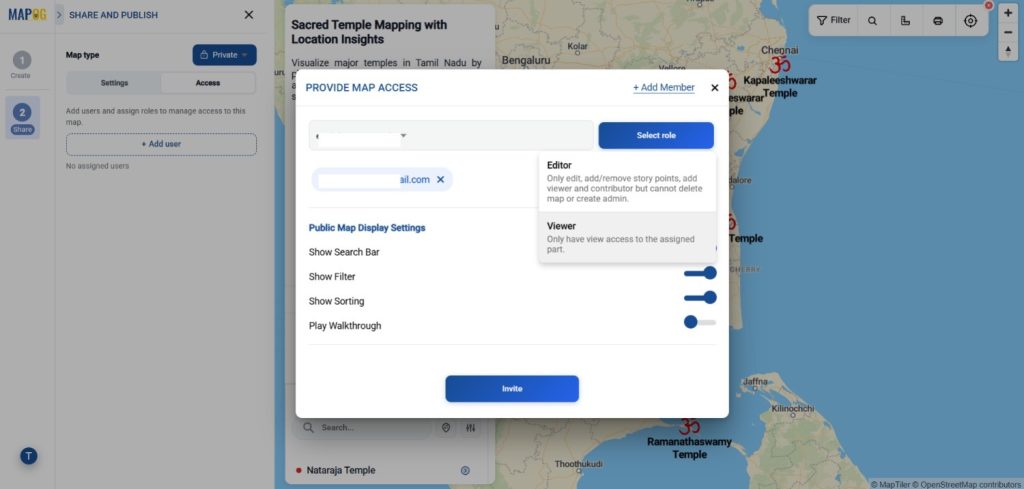
The Public Map Display Settings allow users to enable features such as the Search Bar, Filter, Sorting, and Play Walkthrough options for easier map navigation and data discovery. Then give an invite. Now the inviter will receive the map access link.
4. Share the link:
Now, set the map type from Private to Public to enable the share option. In the Settings section, you can find the options like layout, theme, toolbox, search, map controls & attribute.
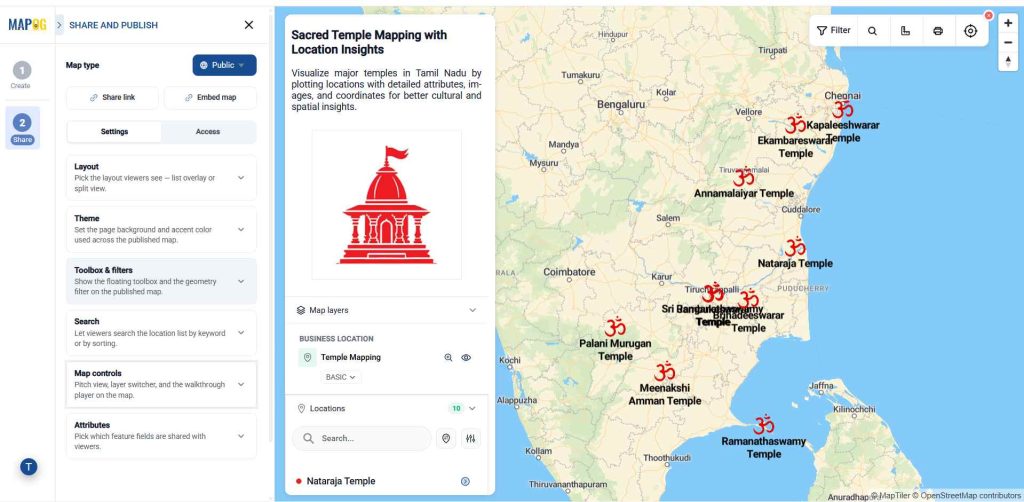
The Layout option helps you choose how viewers will see the map and location list. It includes two layout options: Overlay, where the location list floats over the map for a compact and interactive viewing experience, and Split, where the map appears on top while the location list is displayed below for a more structured view.
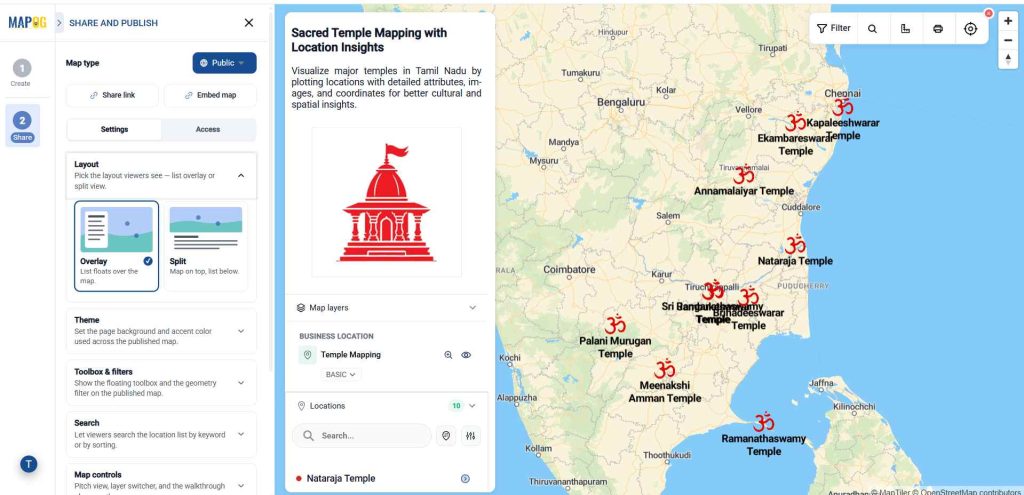
The Theme option allows you to customize the appearance of the published map by setting the page background and accent colors. Using the Background option, you can change the background color of the page, while the Accent option lets you modify the text and highlight colors used across the map interface.
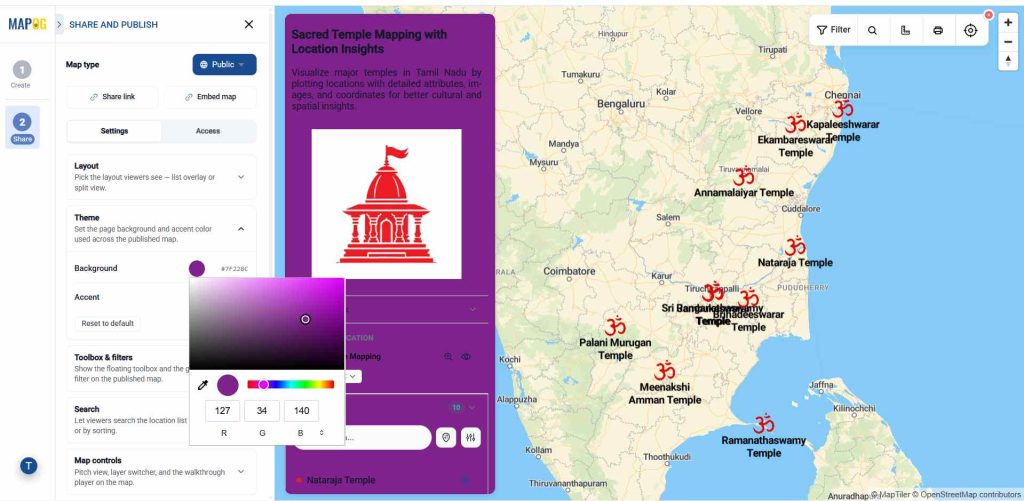
The Toolbox & Filters option allows you to display the floating toolbox and geometry filter on the published map.
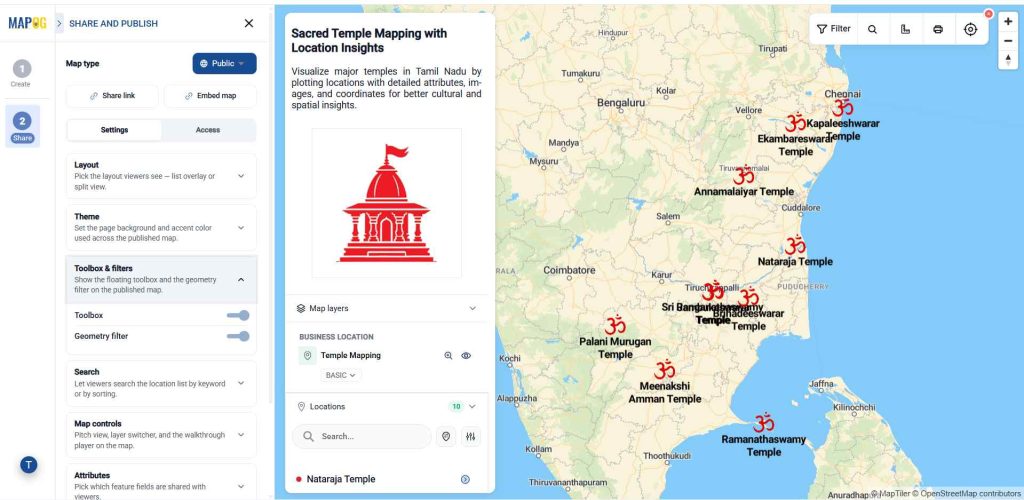
The Search option allows viewers to quickly find locations from the location list by using keywords or sorting options, making navigation and data exploration easier on the published map.
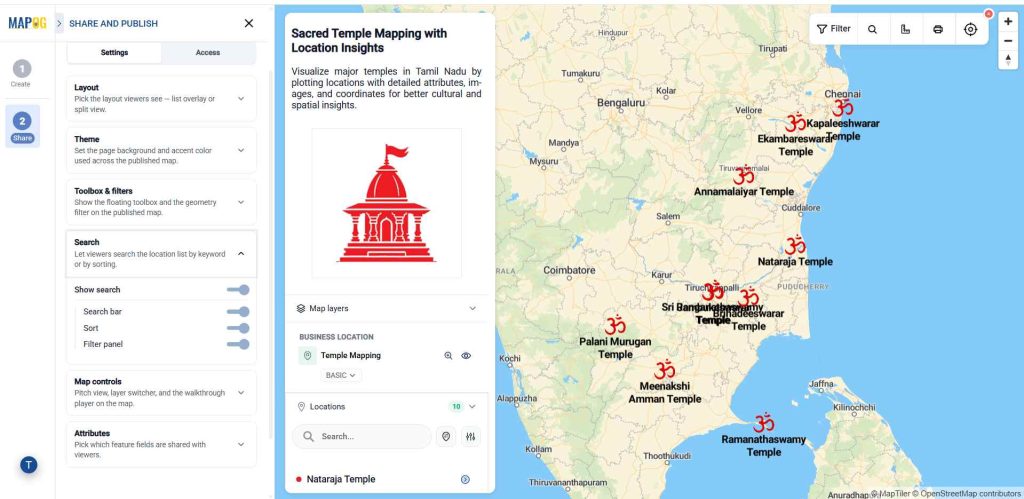
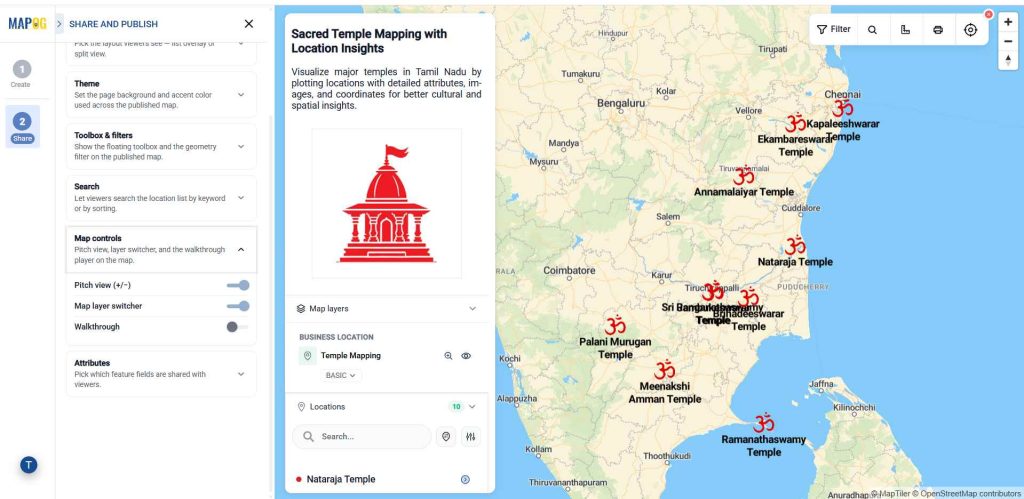
The Map Controls option allows you to enable features such as pitch view, layer switcher, and the walkthrough player on the map, helping viewers interact with the map and explore locations more effectively.
Then, Attributes option, which helps you choose which feature fields you want to share with viewers. Click on it, then select the Selected Attributes option. After that, choose the fields you want to share.
5. Share Link
Once done with settings go to the access section, then click the share link option. It’s mainly used for direct sharing via email, chat, or social media so users can view and interact with the map on MAPOG.
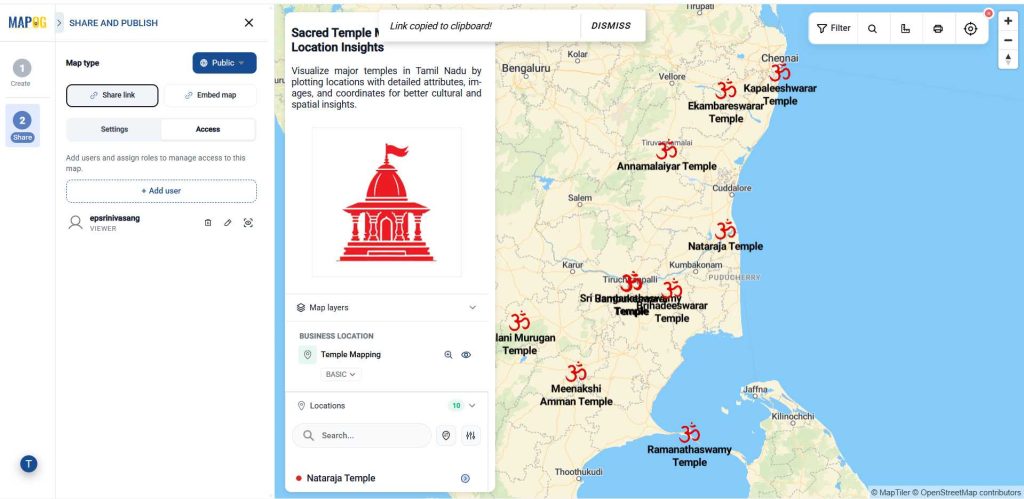
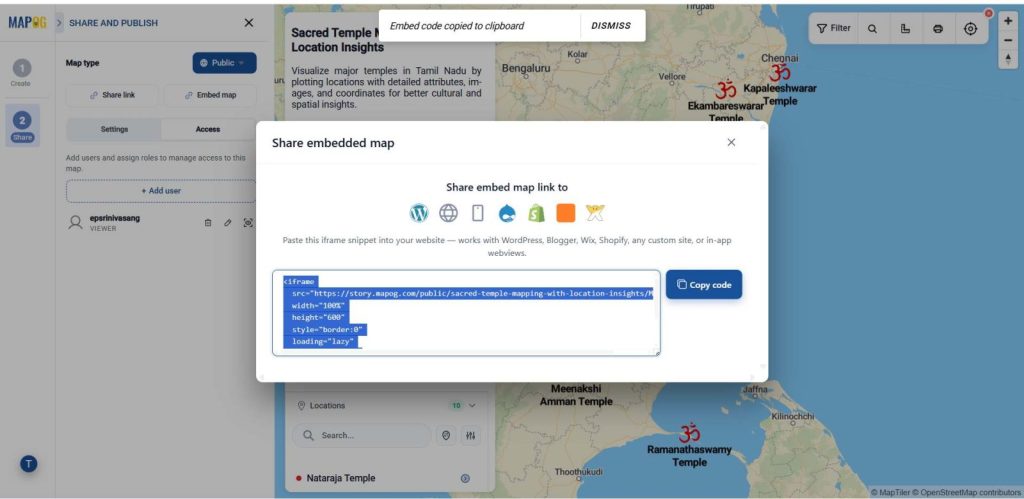
Then, click Embed Link, copy the generated link, and share links on websites. The Embed Map option is primarily used to display maps on external websites or web pages.
Applications
Conclusion
Securely sharing interactive maps transforms collaboration from static data exchange into meaningful, real-time insight sharing. With MAPOG, teams and clients can explore the same live map through controlled, permission-based links—ensuring data security without sacrificing interactivity. Here are topics related to this topic: