Optimizing patient care in a hospital requires a clear view of how different clinical centers, labs, and departments are distributed across the campus. Therefore, a smart hospital campus map improves visibility, efficiency, and decision-making by making navigation simple for patients, staff, and visitors.
Using MAPOG, you can create an interactive hospital map that visualizes healthcare facilities at every clinical point in the network, from emergency care and specialized centers to diagnostic labs and inpatient wards.
Key Concept: Why to Create a Smart Hospital Map?
Hospitals are often spread out with multiple specialty centers, labs, and wards. As a result, finding the right place quickly can be overwhelming for patients and visitors. A smart hospital campus map helps transform this complexity into clarity by:
- First, visualizing the entire hospital campus.
- Next, highlighting clinical departments and specialty centers.
- Moreover, improving patient experience and reducing confusion.
- In addition, supporting staff with quick reference for departments.
- Finally, making the campus layout interactive and easy to explore.
How to Create a Smart Hospital Map?
1. Create Your Hospital Map in MAPOG
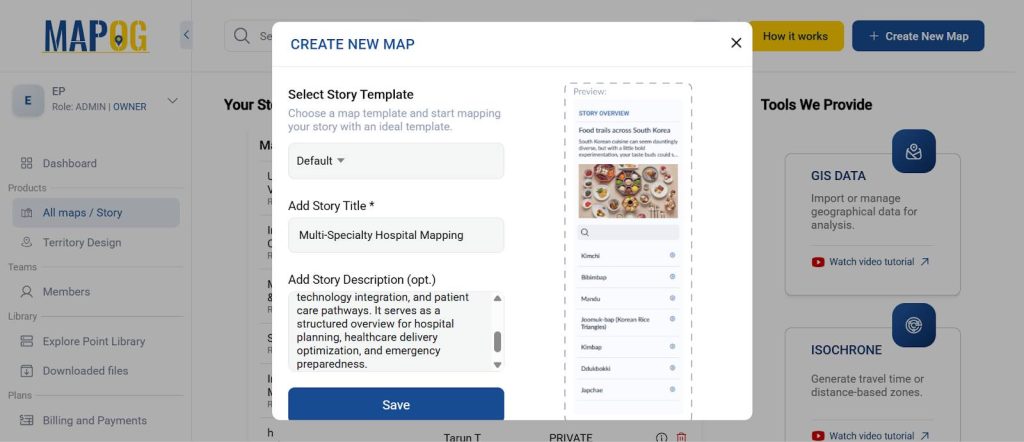
Start by going to MAPOG. First, click Create New Map, then, select the Category Map Template, and give your map a title (e.g., “Smart Hospital Campus Map”) along with a short description.
2. Add Hospital Location
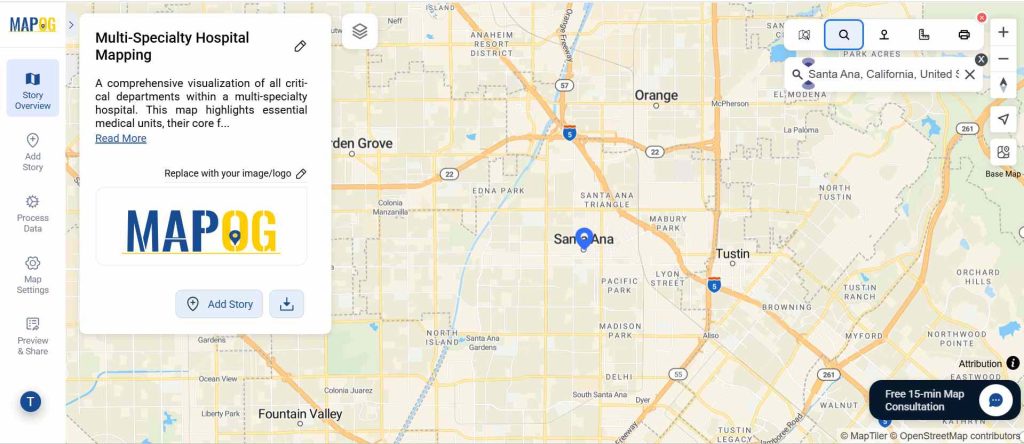
Next, you can either enter the latitude and longitude of your hospital campus or simply search by the hospital’s name.
3. Geo-Reference the Hospital Layout
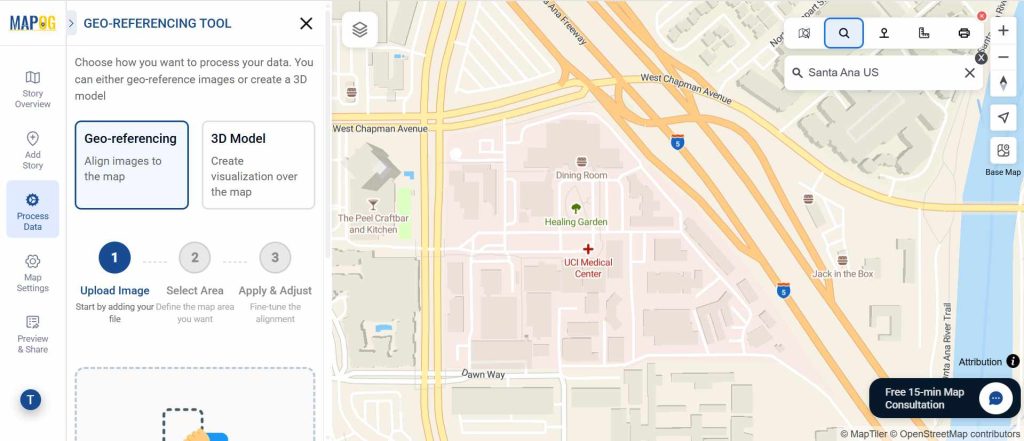
Once the location is set, move to process data, then geo-referencing, and upload the hospital layout image.
4. Select Mapping Areas & Save Layout
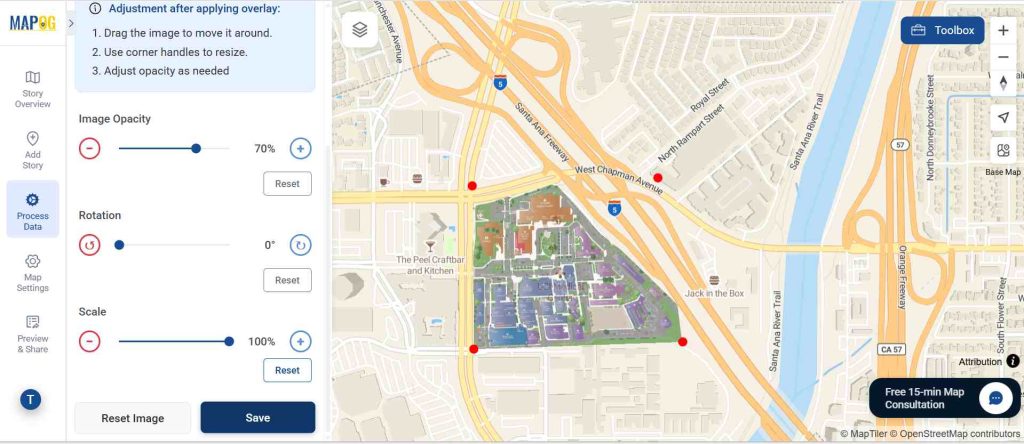
Next, select the areas you want to map using 4 station points, drag & fit the image properly, then click Save.
5. Adding Points to the Map
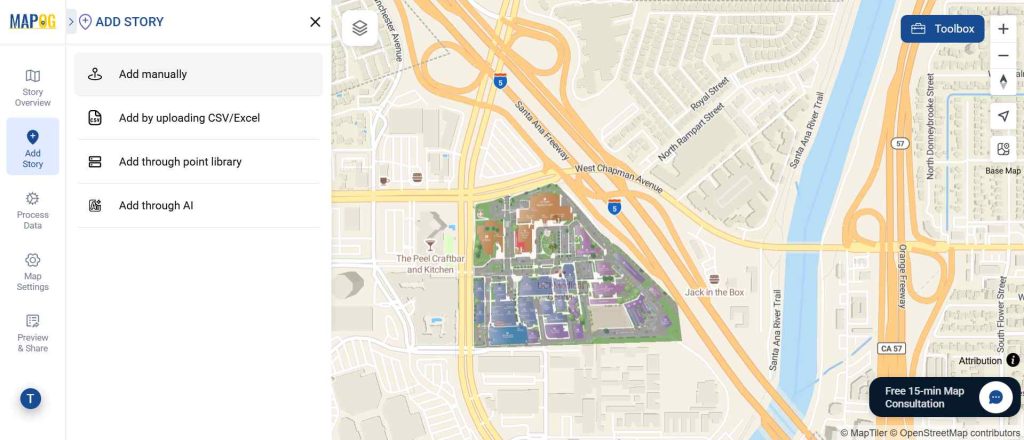
After this, go to Add Story → Add Manually → Add Point to place pins on the map.
6. Add details to the points
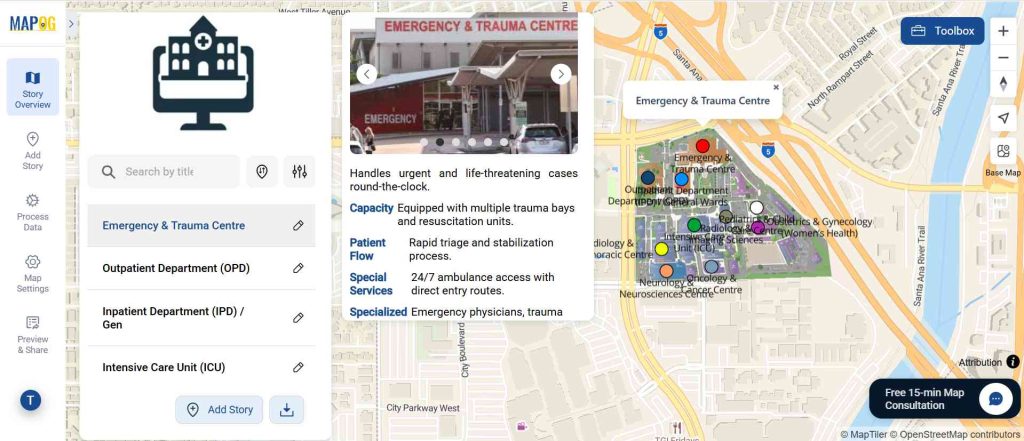
After that, for each pin, add a title (e.g., “Cardiology Centre”), a description (services, facilities, timings), and even images.
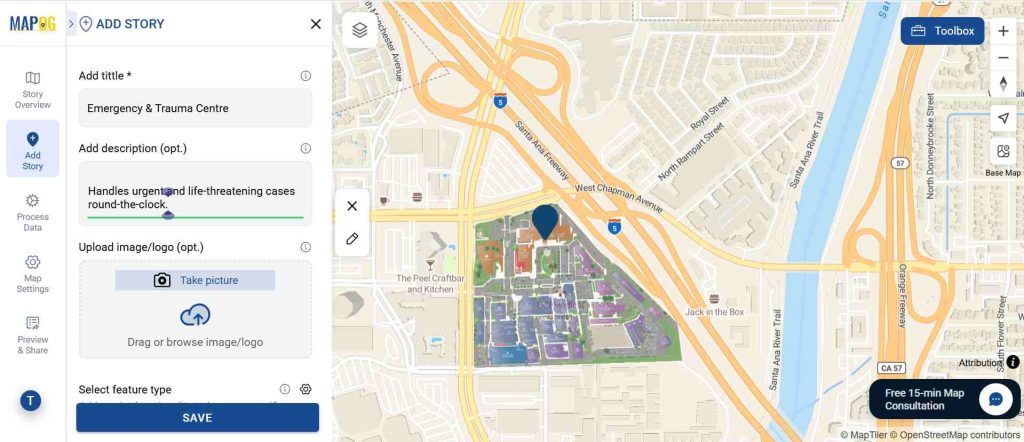
7. Creating Feature Types with Attributes
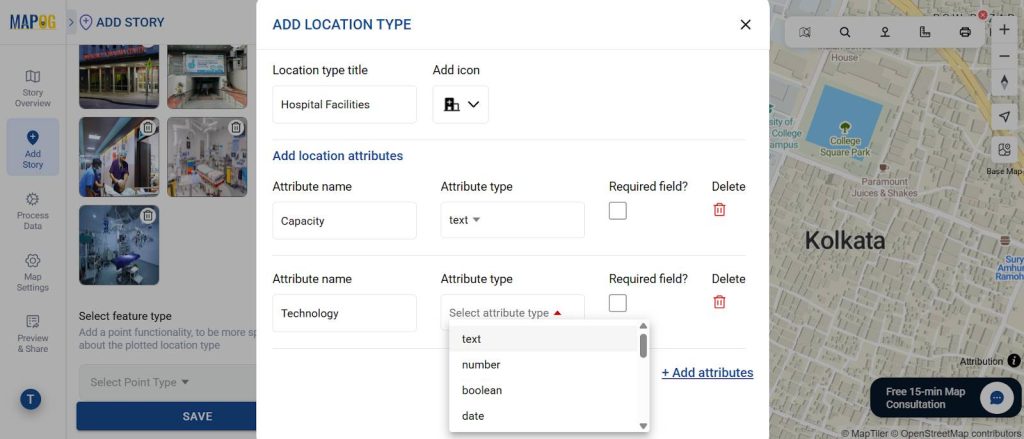
Next, go to select feature type and create a new Location type for hospital departments. Also, add a suitable symbol. Add relevant attributes like:
- Bed capacity
- Number of doctors
- Specialized services
- Visiting hours
- Emergency availability
Then, assign each department to its feature type and fill in the attribute details.
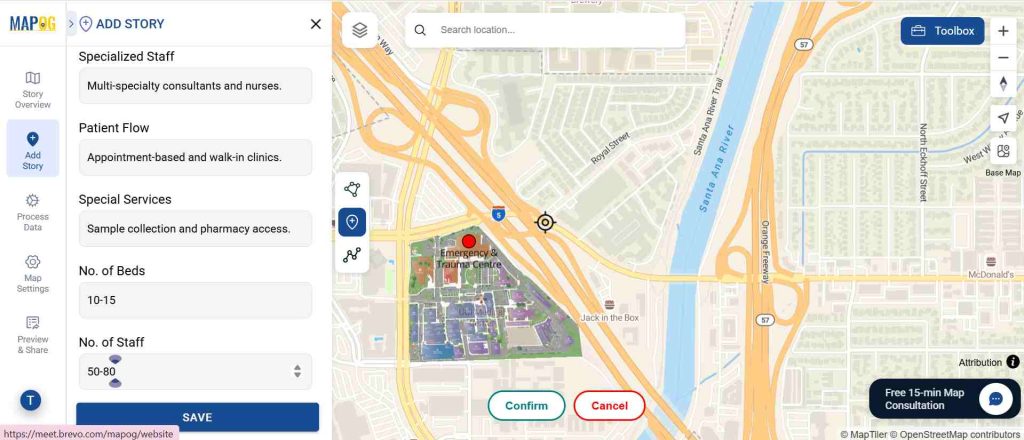
Then, customize Map Pins using Point Customization, by adding suitable color, icons & label to each pins.
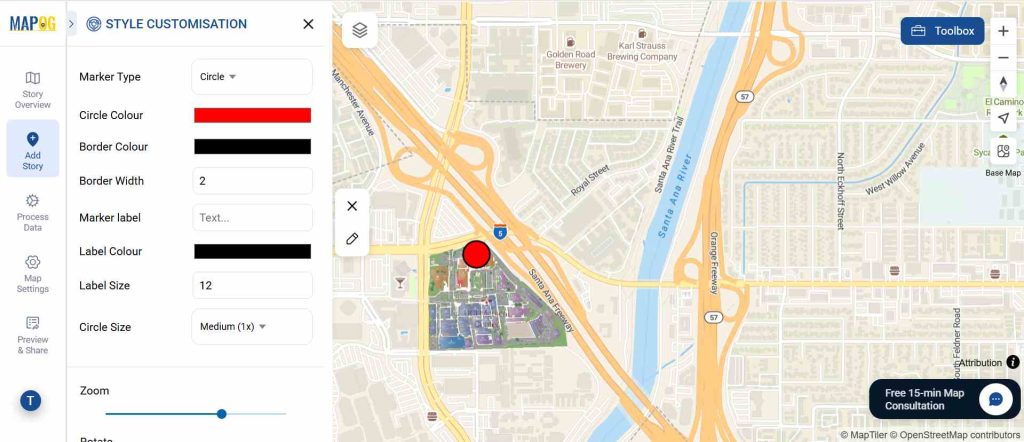
Finally, click Save, repeat the process for all points, and your map will start taking shape.
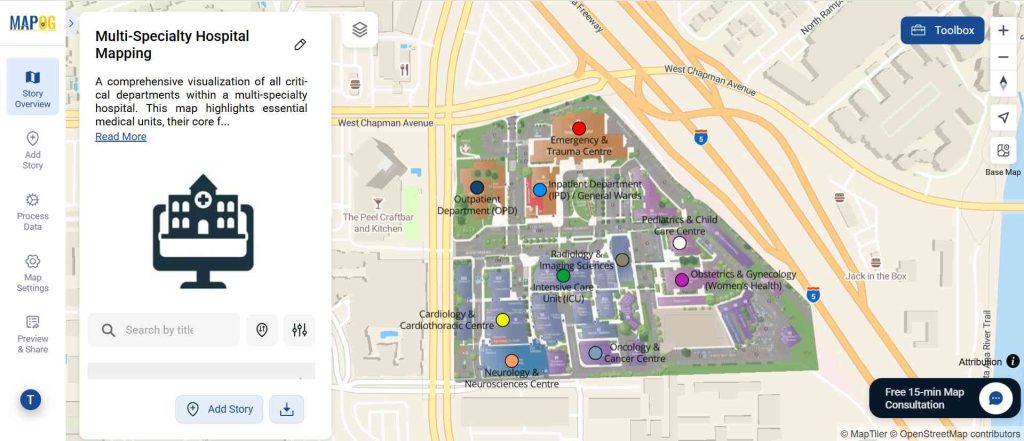
8. Previewing and Sharing the Hospital Map
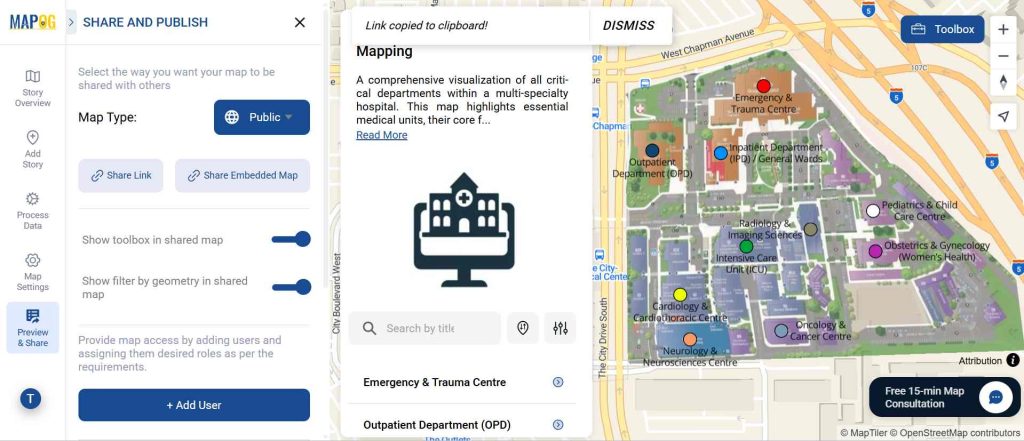
Finally, click Preview & Share to publish your interactive hospital map. You can choose to keep it private or make it public, and then share the link with patients, staff, or integrate it into the hospital website.
Benefits of Smart Hospital Mapping
With a hospital map, you gain:
- First, clear navigation for patients and visitors.
- Second, improved hospital workflow and patient movement.
- Third, easy identification of specialty centers and labs.
- Moreover, better communication between staff and patients.
- Finally, enhanced transparency of hospital services.
Conclusion
A hospital is more than just a building, it’s a network of specialized departments, labs, and treatment centers. By mapping your hospital campus with categories, custom pins, and detailed attributes, you make navigation simple, transparent, and efficient.
Moreover, using MAPOG, the process is straightforward, interactive, and creates real value for patients, staff, and administrators.