Modern multi-unit enterprises succeed by converting complex geographic data into intuitive, user-friendly experiences. To bridge the gap between corporate scale and local accessibility, organizations must Create a Franchise Location Map and Embed It Easily on Your Website using the advanced spatial capabilities of MAPOG. This approach transforms static address directories into a dynamic strategic asset. By visualizing the entire network, businesses offer both stakeholders and customers a streamlined, interactive gateway to physical services.
Key concept: Create a Franchise Location Map and Embed
Interactive mapping is a critical touchpoint in today’s customer journey. When organizations Create a Franchise Location Map and Embed It Easily on Your Website, they deliver immediate, location-specific information that drives foot traffic and improves conversion rates. This level of digital transparency reduces search friction while strengthening regional brand trust.
Additionally, leveraging structured data attributes such as service categories, facility types, or operational capabilities enables advanced filtering. Users can quickly identify the most relevant location, accelerating decision-making and enhancing overall user experience.
Step-by-Step Workflow: Create a Franchise Location Map and Embed
To streamline your workflow, first collect all franchise coordinates and essential details into a master spreadsheet to systematically organize your locations.

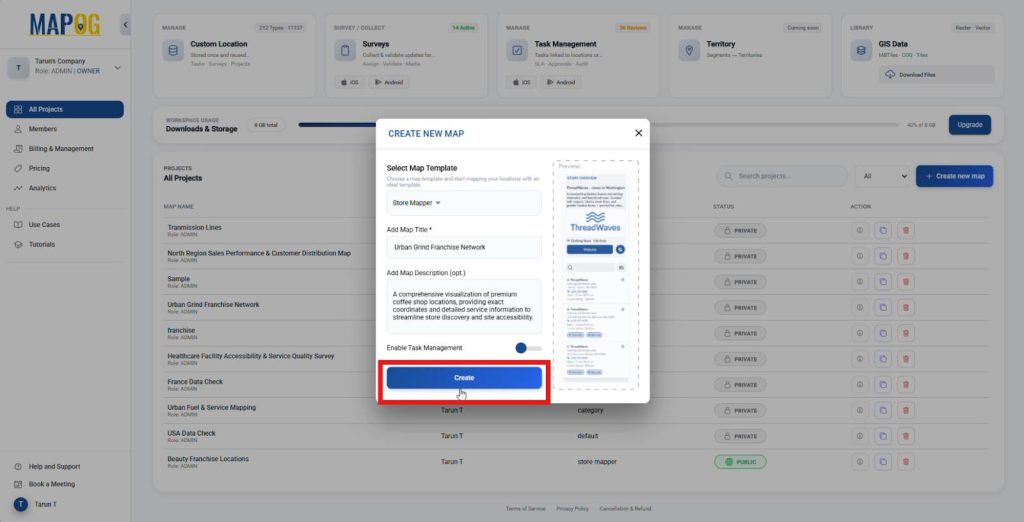
1. Initialize the Project
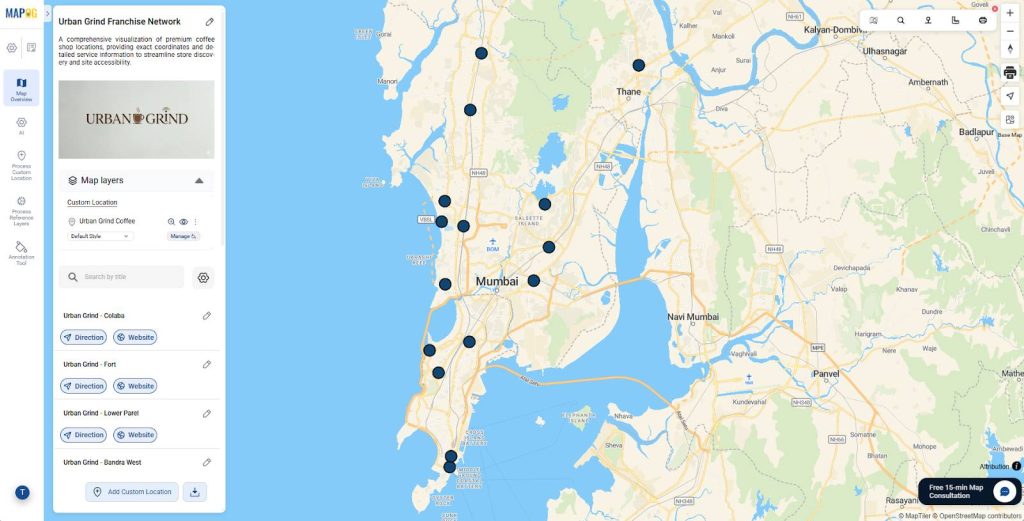
Access the MAPOG dashboard and select “Create New Map.” Choose the Store Mapper template to access multi-branch management tools. Name your project, add a description, and click Create to launch the interface.
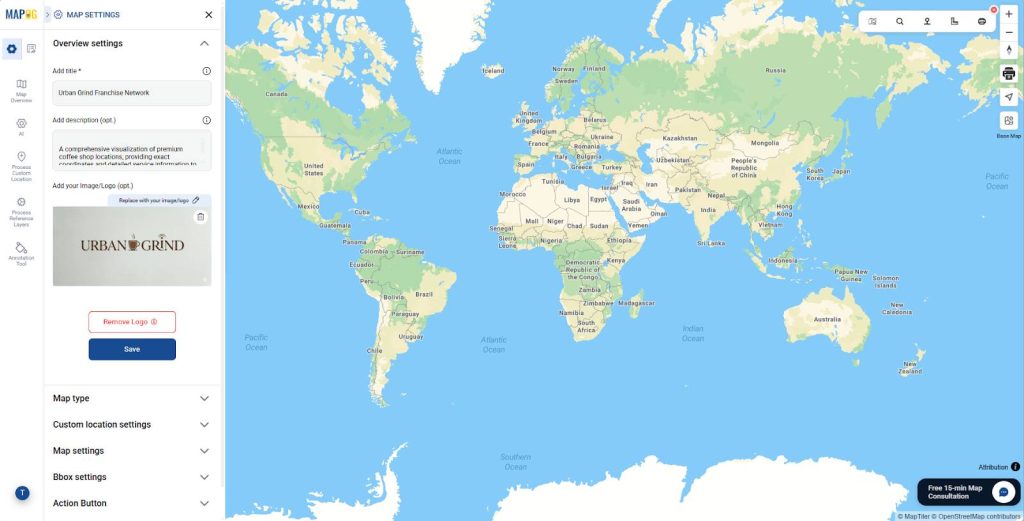
Once the map opens, use the “Replace” option to upload your company logo. This ensures your map reflects your brand identity immediately.
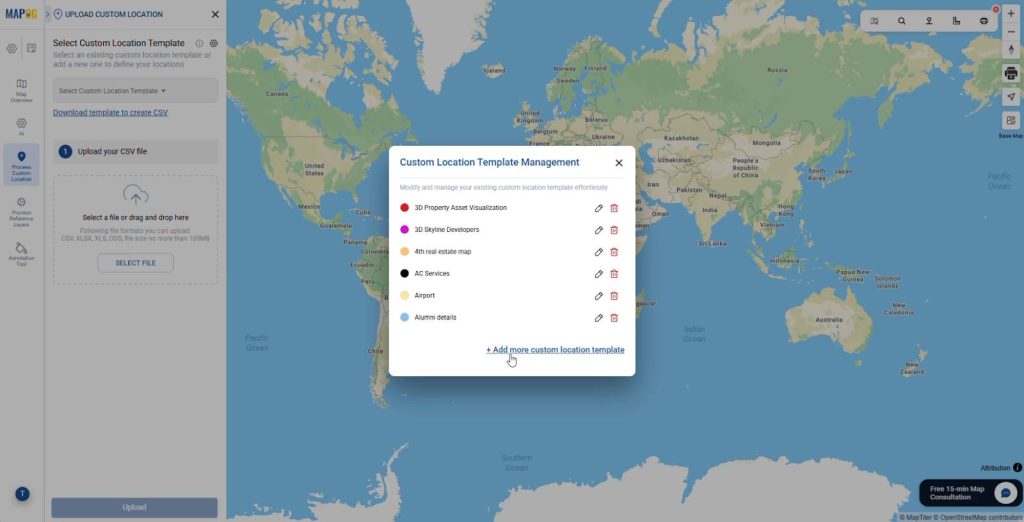
2. Configure Location Template
Next, navigate to “Process Custom Location” and select the “Add by uploading CSV/Excel”. Within the “Custom Location Template Settings,” click “Add more custom location template” to build a reusable structure.
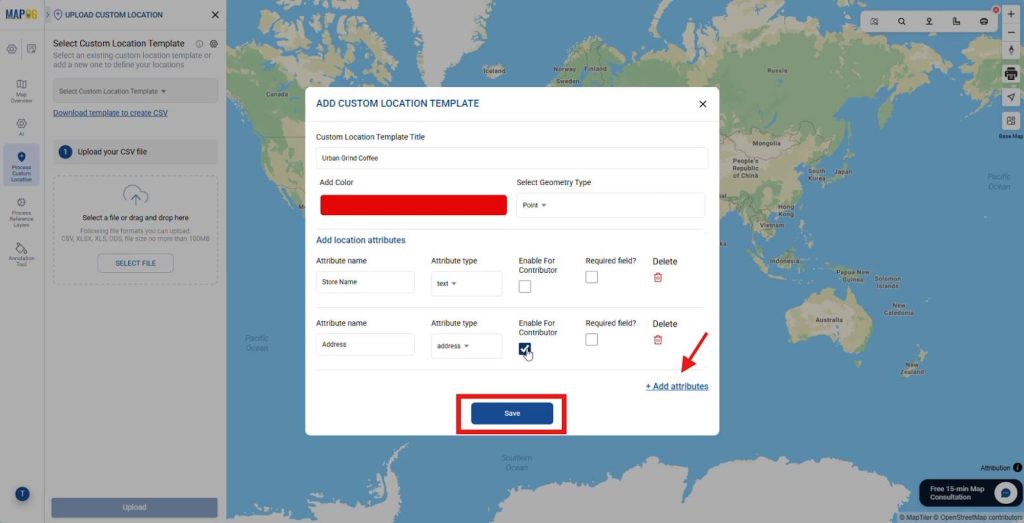
Give it a title, choose color and define your geometry type as “Point” then add attribute fields. Choose appropriate attribute types such as text for store name, Address format for address field, Websites can also be added as URL or button. Toggle “Enable for Contributors” so contributors can update these data when needed then save the template.
3. Upload CSV/Excel
Next, select your new template and upload your CSV/Excel.
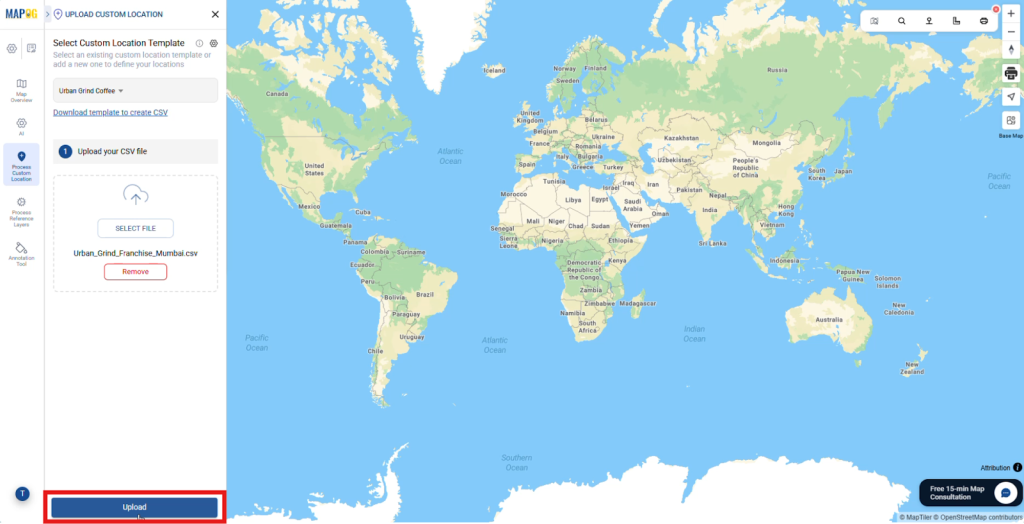
To prevent duplicates, Choose a “Unique ID” field or click Auto generate unique ID if the CSV file doesn’t include a Unique ID column.
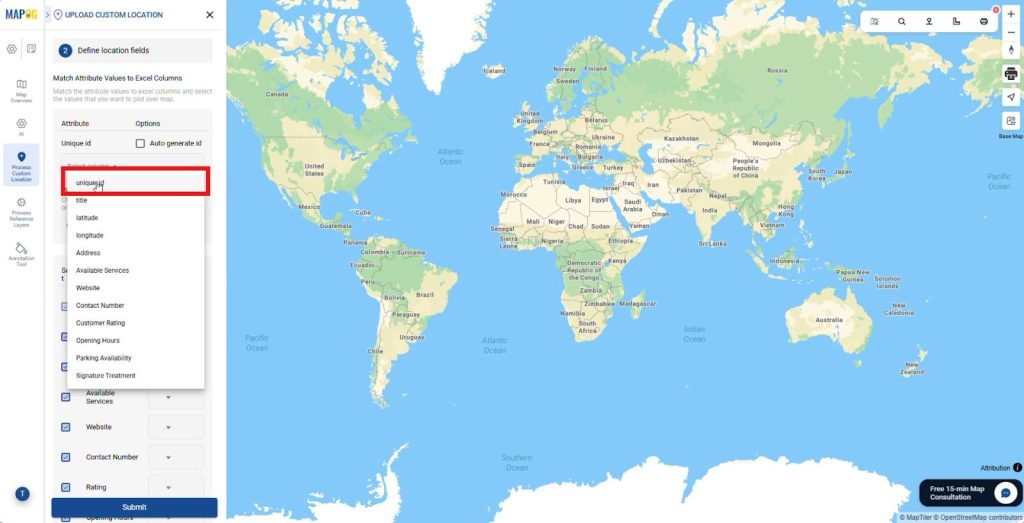
Match your spreadsheet columns to the template attributes.
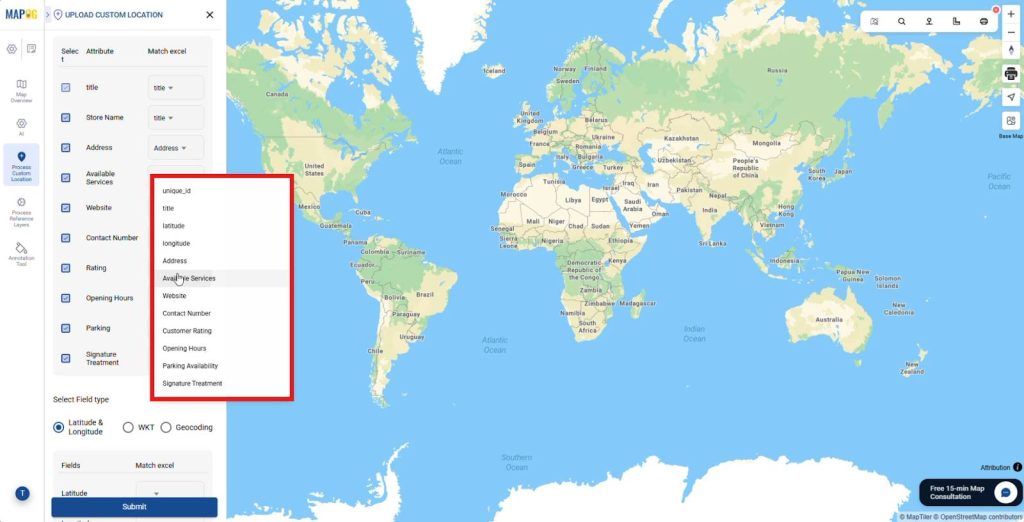
Ensuring latitude and longitude are mapped correctly then click submit.
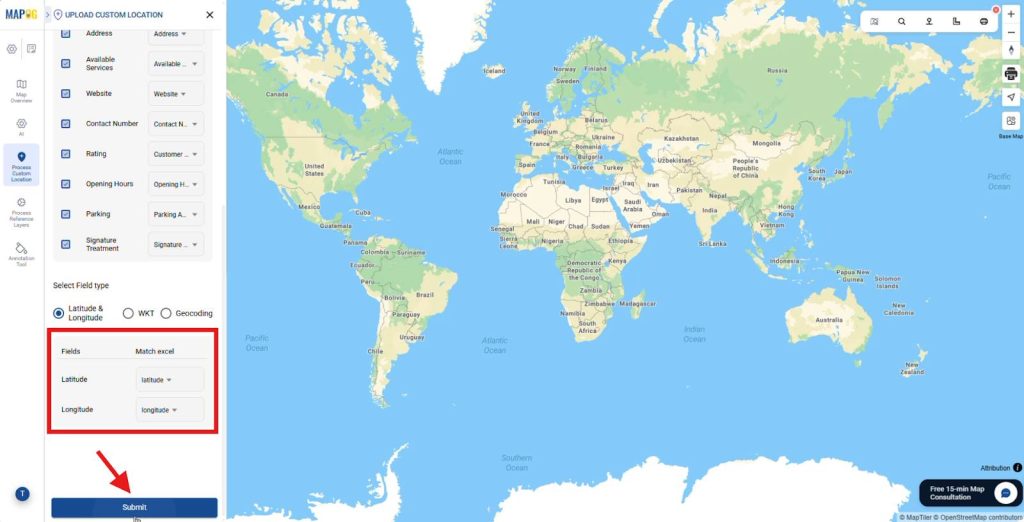
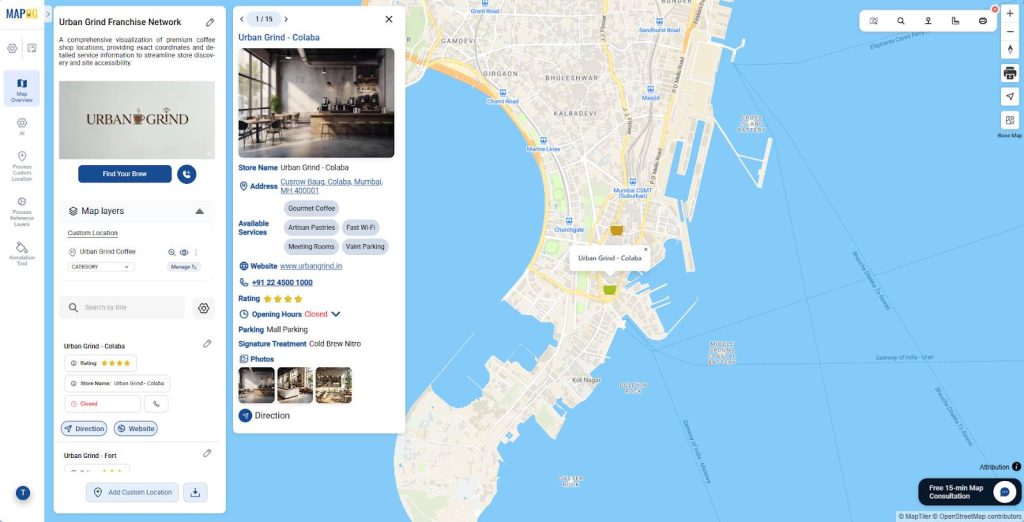
Your locations will instantly appear with built-in “Get Directions” and website links.
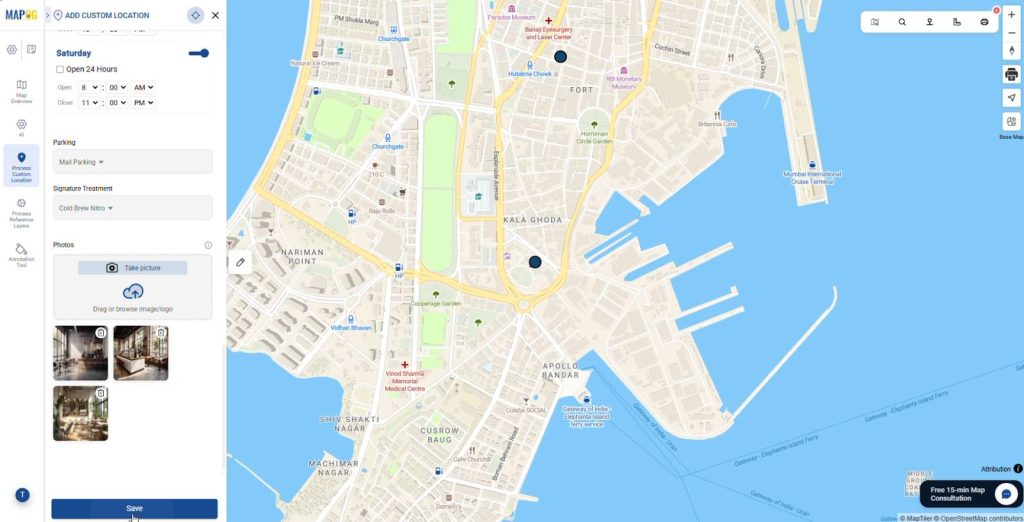
Use “Edit Custom Location Details” to enrich individual pins with storefront images and operating hours.
4. Add layer style
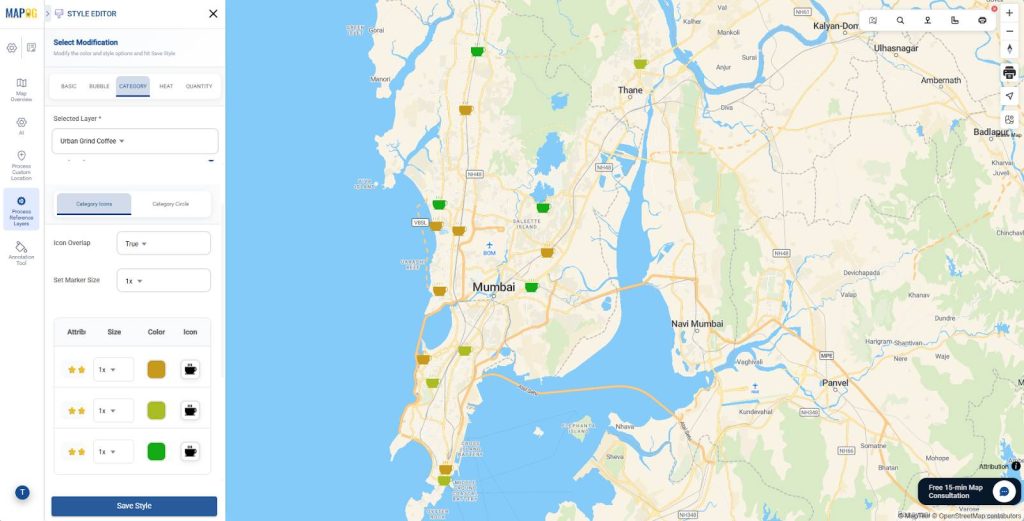
To enhance visual clarity, go to the Add Layer Style menu and select Category Styling. Once there, choose a specific attribute field to categorize your data; for instance, select Rating to differentiate branches by their customer rating.
Consequently, assign distinct colors and icons to each tier, such as orange for stores with a 3-star rating, yellow for 4-star, and green for 5-star branches.
Subsequently, save and confirm these selections to create a cohesive and professional aesthetic.
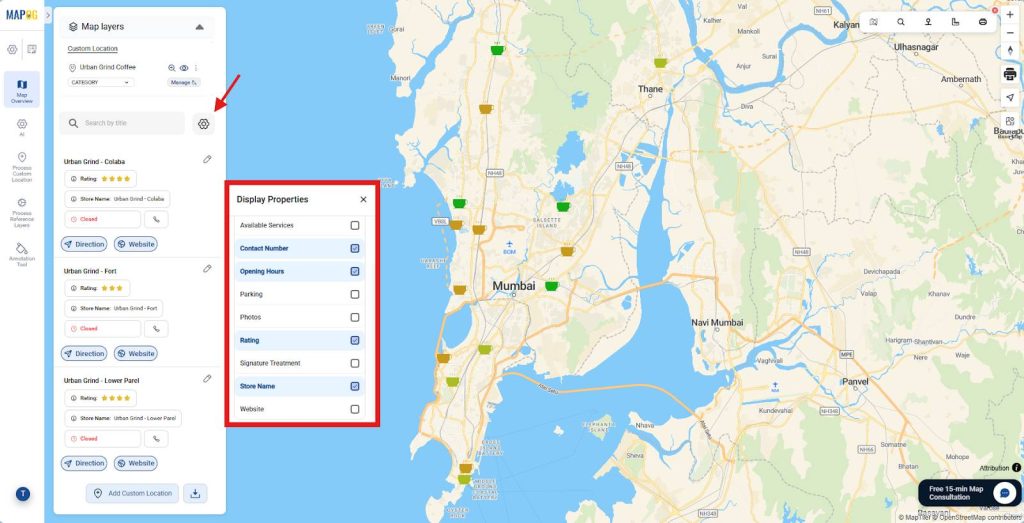
5. Display Properties
Access display properties settings, check the boxes for specific fields; such as Opening Hours, Available Services, Contact Number, or Rating, to ensure your customers see the most relevant information at a glance.
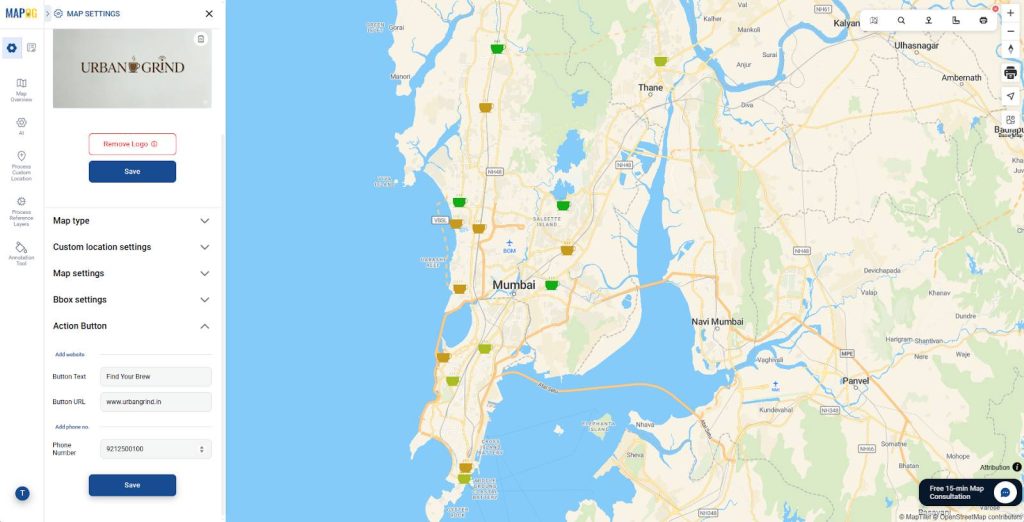
6. Integrate Action Button
Navigate to Map Settings and select the Action Button section. Once there, type your button text and paste your specific URL. Consequently, enter your contact number to enable direct engagement and click save.
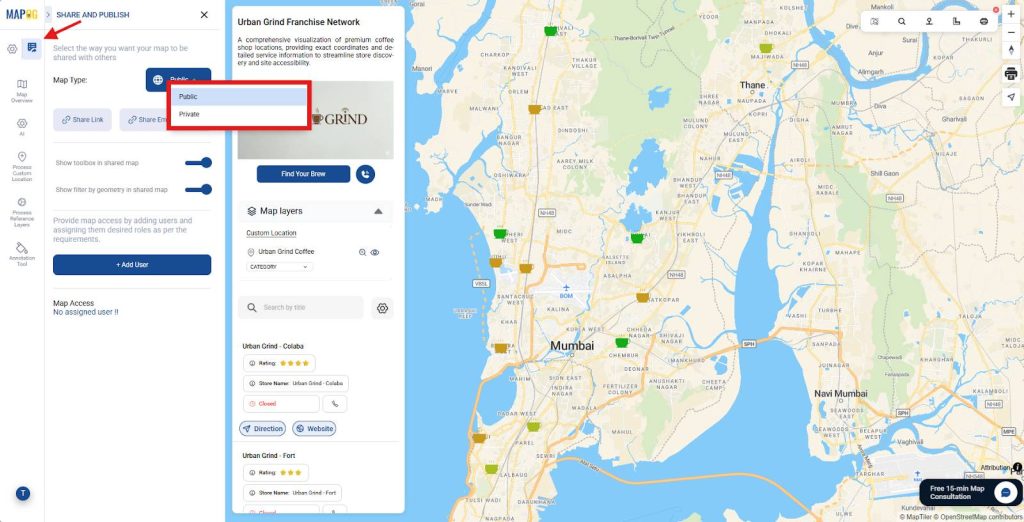
7. Process to Embed
Finally, navigate to the Preview and Share tab to finalize your digital rollout. First, change the map visibility to Public, ensuring it remains accessible to your entire customer base.
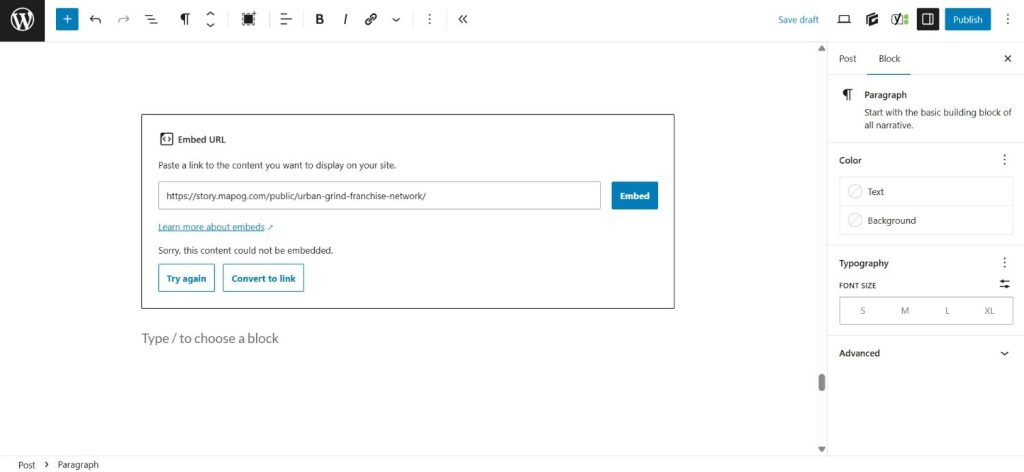
Subsequently, select the Share Embedded Map option to generate an Embed link. By copying this link and pasting it into your website’s backend, you successfully Embed It Easily on Your Website.
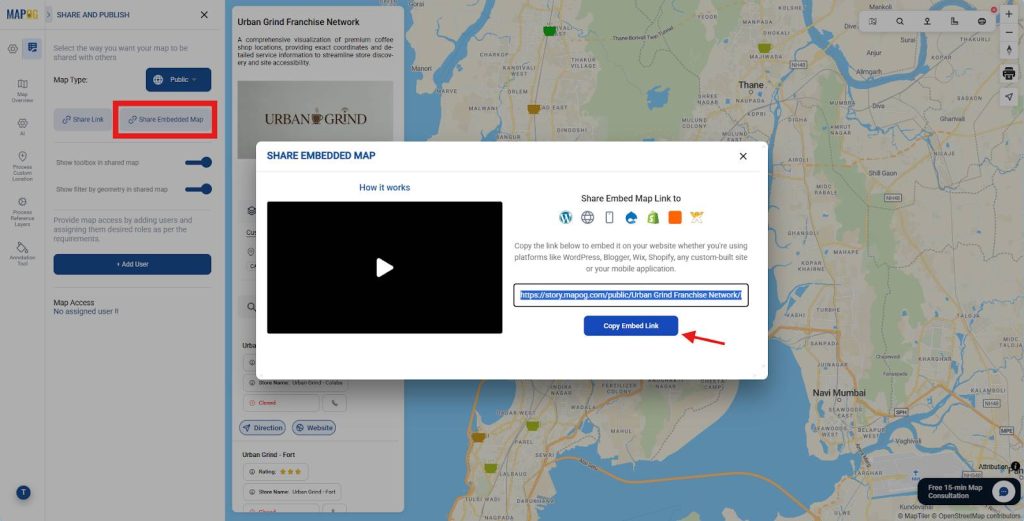
As a result, your visitors can interact with a professional, real-time map directly on your domain, streamlining their journey from discovery to a physical visit.
Industries and Domain
- Logistics and Distribution: Provides clear visibility into supply chain nodes, supporting efficient coordination between partners and vendors.
- Property Management: Enables centralized visualization of dispersed assets, supporting better engagement with investors, tenants, and service teams.
- Healthcare Networks: Enhances patient experience by simplifying navigation to specialized clinics, diagnostic centers, and urgent care facilities.
Conclusion
Sustainable, data-driven growth depends on how effectively a business communicates its physical footprint. When companies Create a Franchise Location Map and Embed It Easily on Your Website, they empower users with actionable geographic insights while reinforcing brand credibility.
By utilizing the capabilities of MAPOG, including custom map templates and bulk CSV uploads, organizations can maintain a high-quality, scalable mapping solution. The result is a precise, professional representation of an expanding network that aligns with both operational efficiency and customer expectations.