Sharing customer maps is essential for effective collaboration and decision-making when your business relies on location-based client data. With MAPOG, you can export or share customer maps showing client locations, sales regions, or service zones. Furthermore, this keeps sensitive data secure through robust permission settings and controlled access management.
Key concepts: Export or Share Customer Maps
The main goal of exporting or sharing maps is to make data easy to understand and use across your team. Consequently, Export or share customer maps lets teams access live data securely and make decisions based on clear, visual insights.
Benefits of Export or Share Customer Maps
Exporting:
- Format flexibility: Export in flexible formats (CSV, GeoJSON, KML, SHP) for any tool.
- Offline access: Work without internet, perfect for fieldwork.
Sharing:
- Team collaboration: Everyone works on the same updated map in real time.
- Flexible access: View maps anytime, anywhere with secure permissions.
Step-by-Step Process to export or share customer maps
1. Open Your Map
Firstly, log in to MAPOG and navigate to your existing customer map.
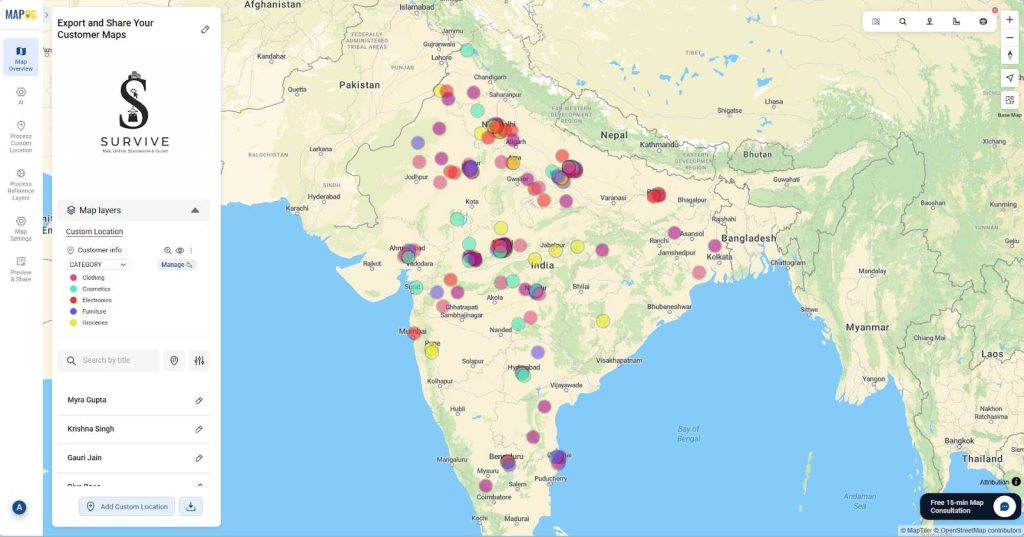
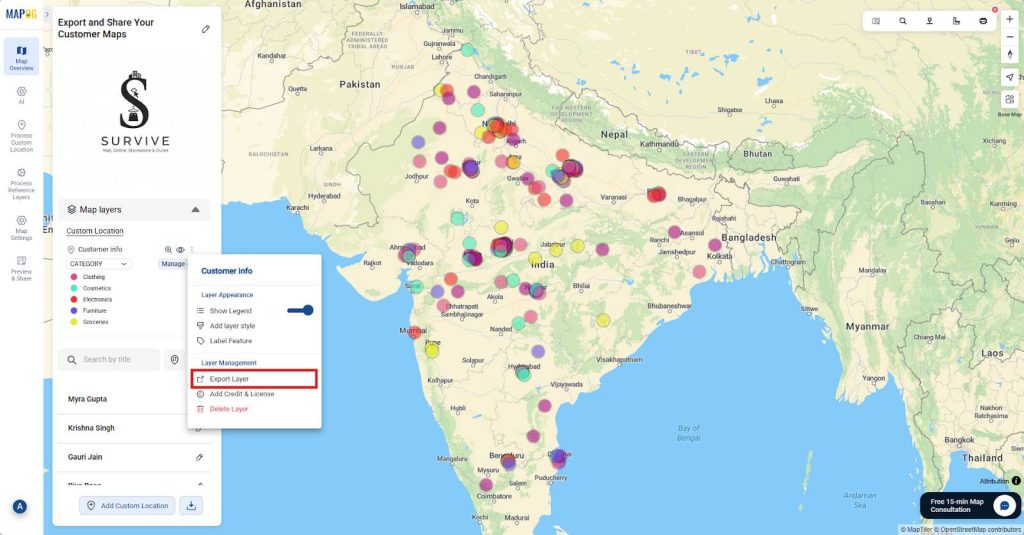
2. Navigate to Map Layer
Then, From the map layers panel, click on the three dots next to the customer information layer to reveal additional options.

3. Select Export Layer Option
After that, click on “Export Layer” under the Layer Management section to open the export interface where you can configure your download preferences.

4. Choose Story Points to Download
Subsequently, in the “Download Story Points” menu that opens, select the specific story point layer you want to download.
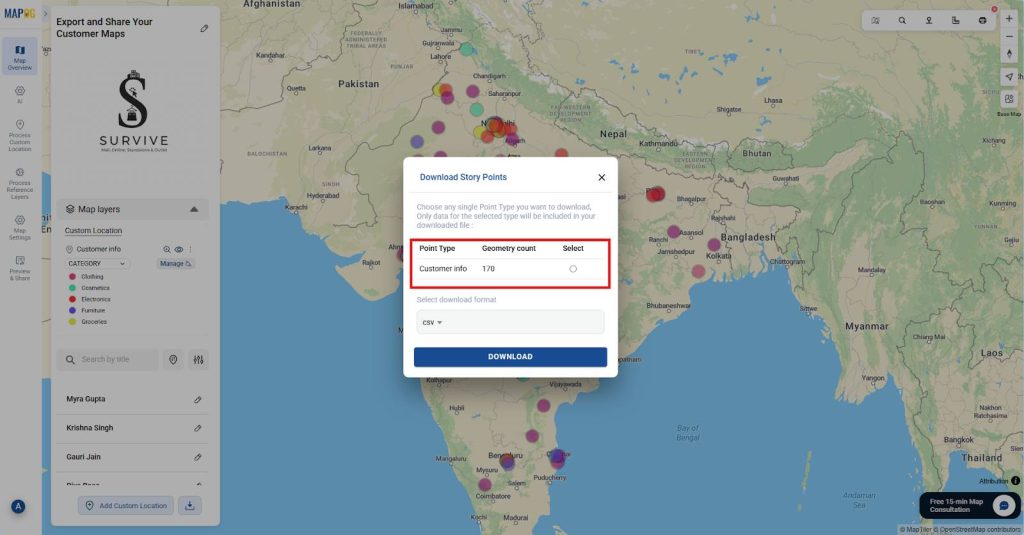
5. Select Export Format
Following that, choose your desired export format from the “Select download format” drop down.

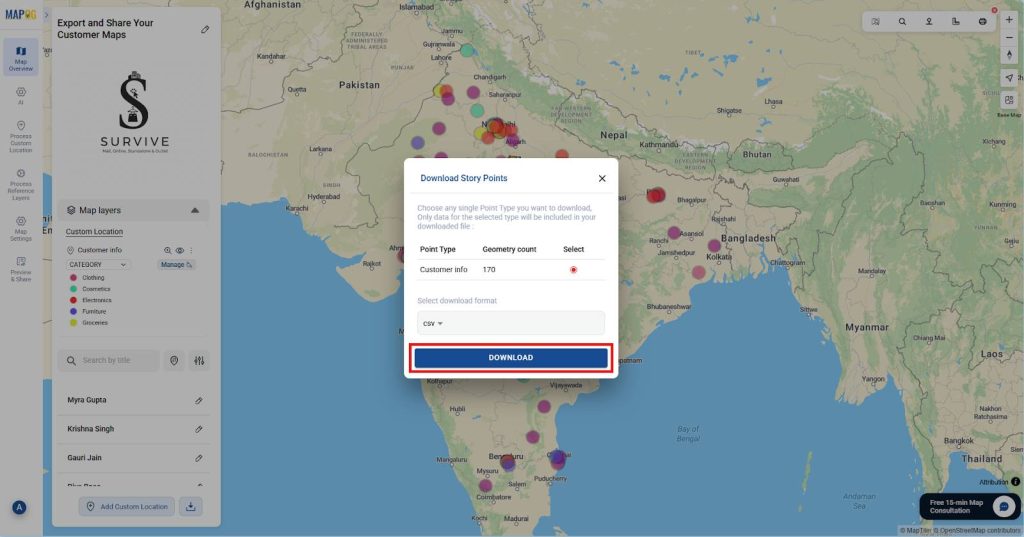
6. Download Your File
Finally, after selecting the download format, Click the “Download” button to initiate the export process. Within seconds, your file will be downloaded to your device.
Once downloaded, Share the exported file via email or cloud storage.
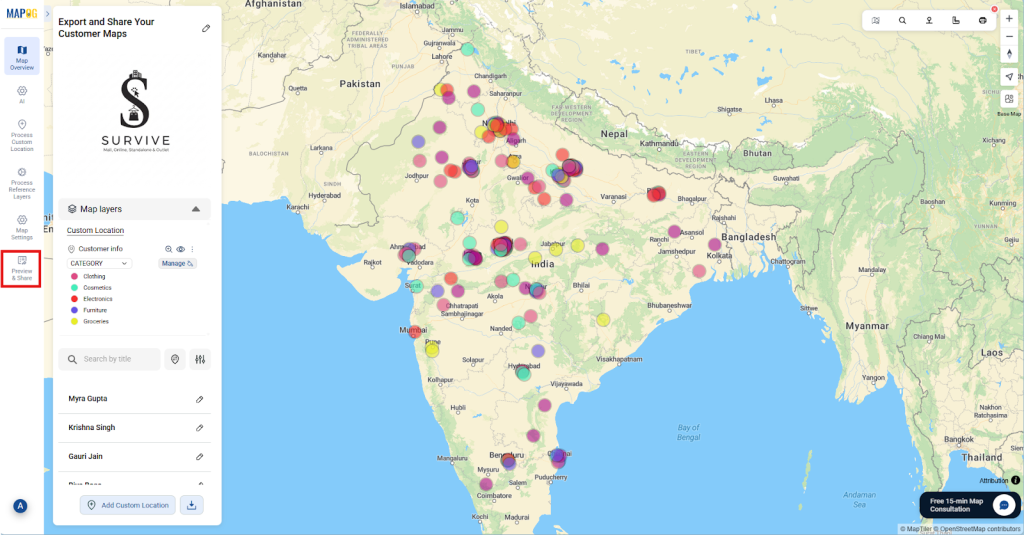
Alternatively, use MAPOG‘s built-in “Preview & Share” feature to share links.
1. Share and Publish
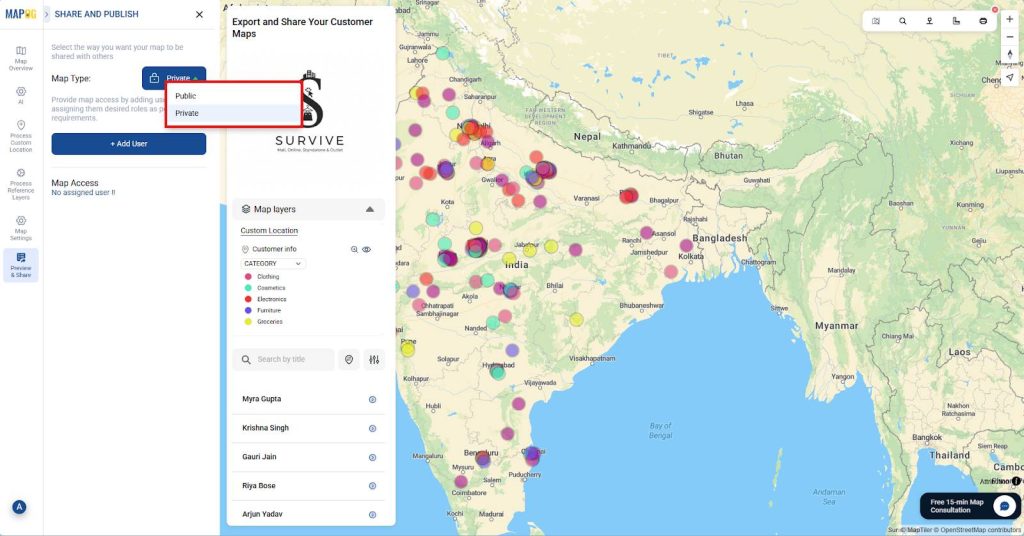
First, to share your map, firstly go to the “Preview and Share” option.
2. Select map Type
Then, select the appropriate visibility
- Private: Restricts access to invited members only.
- Public: Allows anyone with the link to view and explore it.
3. Generate Sharing links
After that, for public maps, click on “Share Link” to generate and copy a direct sharing link that can be shared to provide map access.
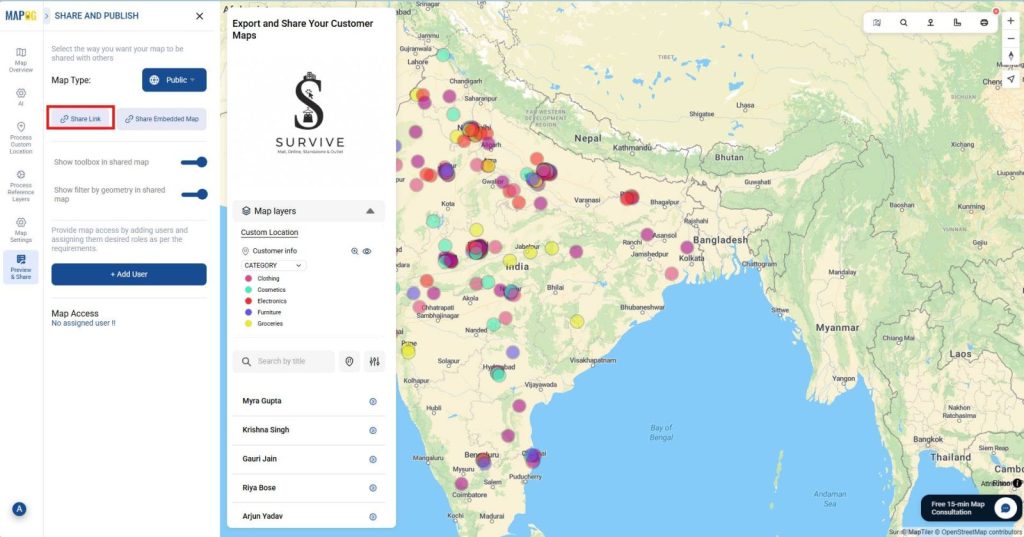
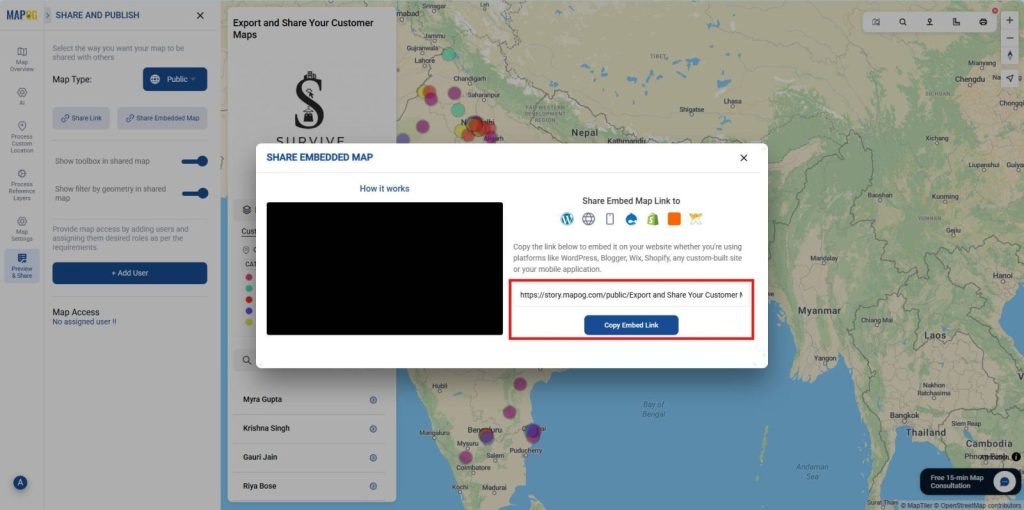
Simultaneously, for embedding, click on “Share Embedded Map” to generate an embed link. You can insert this link into your blog or website and display the interactive map directly.
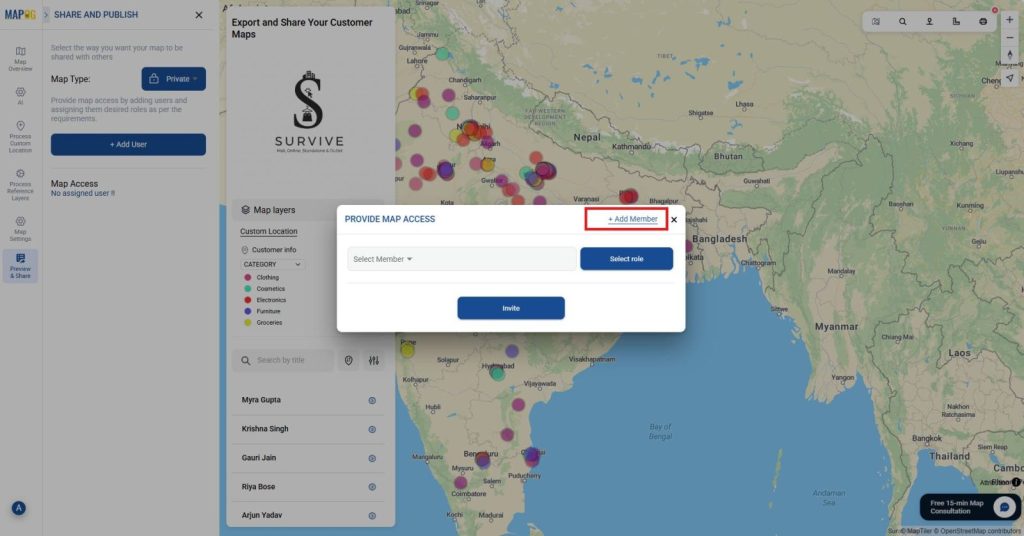
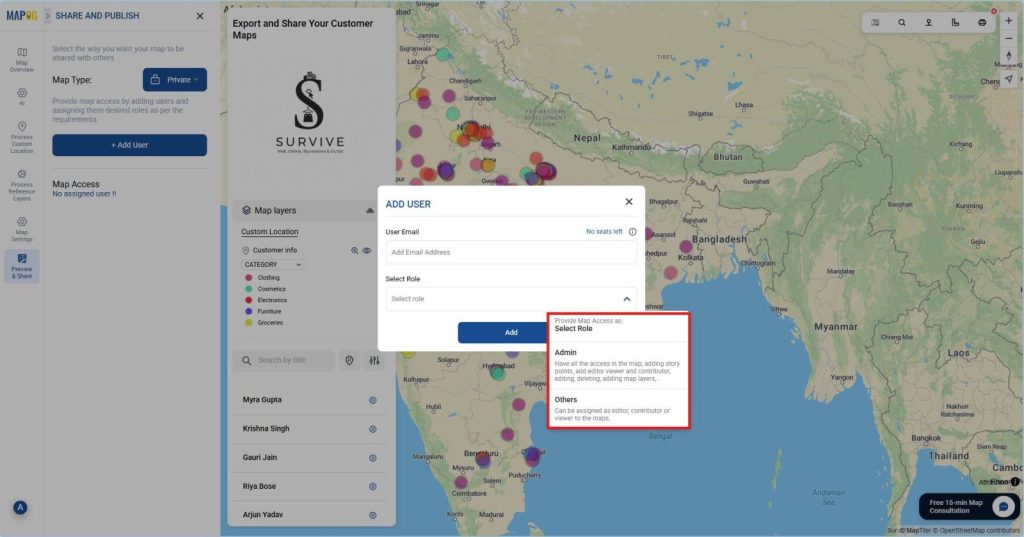
4. Invite Users
For private maps, Click on Add User, then go to Add Member and input the email addresses of people you want to invite and assign roles:
- Admin: Control over settings, users, and data.
- Others: Assignable as editor, contributor, or viewer depending on their needs.
This ensures that only verified collaborators gain access rather than distributing open links that anyone could use.
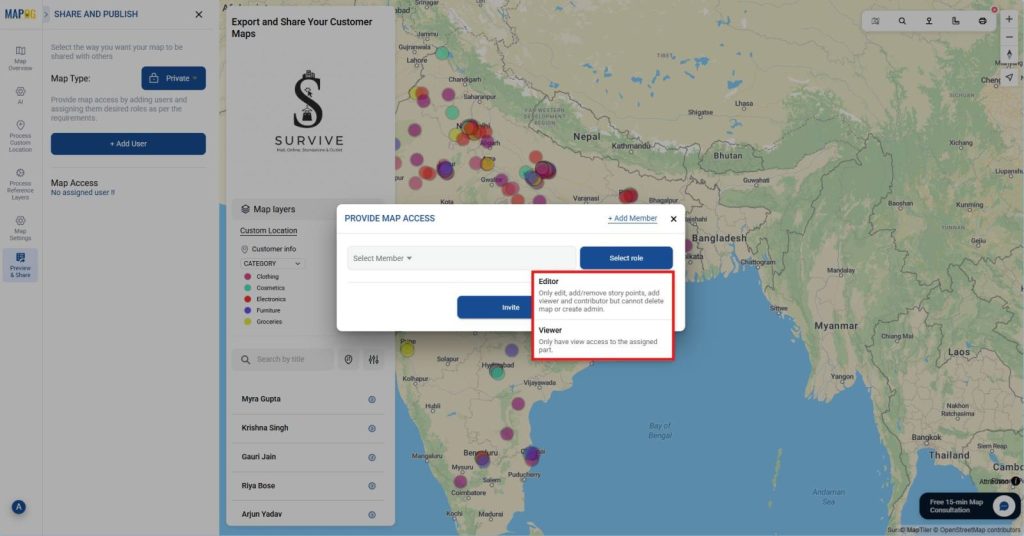
5. Provide Map Access
Next, choose from your member list, assign the appropriate role, such as Editor or Viewer, to regulate their access level and click “Invite” to send a direct email invitation.
Industries and Domain Applications
The ability to export or share customer maps applies across different industries:
For instance, real estate agents can share property zones and leads securely with their teams. Similarly, retail teams visualize customer clusters to guide store placement and campaigns. Additionally, logistics managers share optimized delivery routes and service coverage safely with drivers.
Overall, each of these domain benefits from faster decision-making and more secure collaboration through shared mapping.
Conclusion
In conclusion, exporting customer map layers in flexible formats enables your team to stay aligned and make faster decisions. Thus, by offering multiple export format options and instant sharing capabilities, MAPOG turns customer data into a real competitive advantage.
Do you want to know the step-by-step process to create such beautiful maps?