Clinic franchises often face challenges with scattered location information, inconsistent patient access, and inefficient appointment booking. Patients struggle to find nearby clinics, check details, or book appointments easily, while operators lack a centralized system to manage multiple locations. MAPOG solves this by providing an interactive map where healthcare providers can list all clinic locations with key details and a “Book Appointment” button, making it easier for users to explore, filter, and book, while enabling centralized management of the entire network.
Key Concept of the map
The core concept of the Clinic Franchise Map is to provide a unified, interactive view of all clinic locations, where users can explore nearby centers, access essential details, and book appointments in real time, while enabling franchise owners to manage and optimize operations across all locations from a single platform.
Step-by-step method to create map
Step 1: Create the map
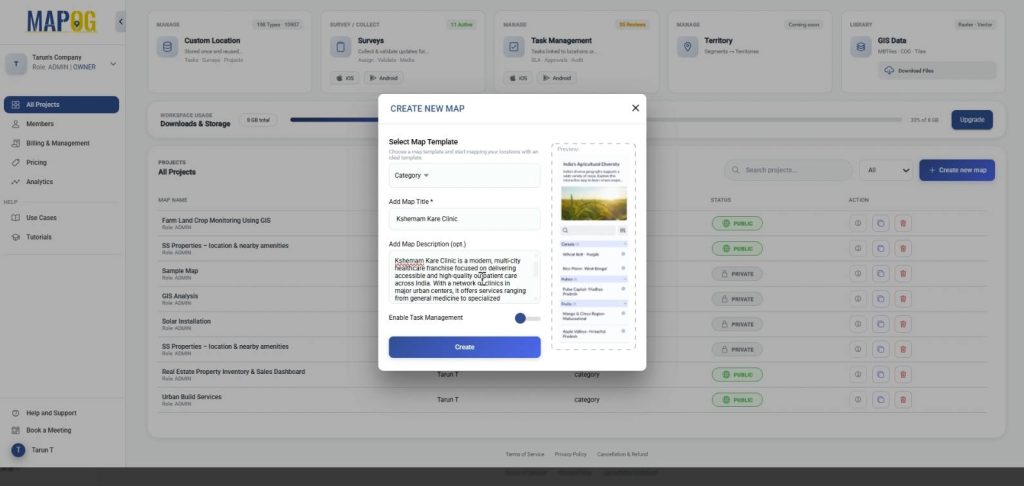
Go to MAPOG, click ‘Create new map’. Choose map template as ‘Category’, add title, description and click ‘Create’.
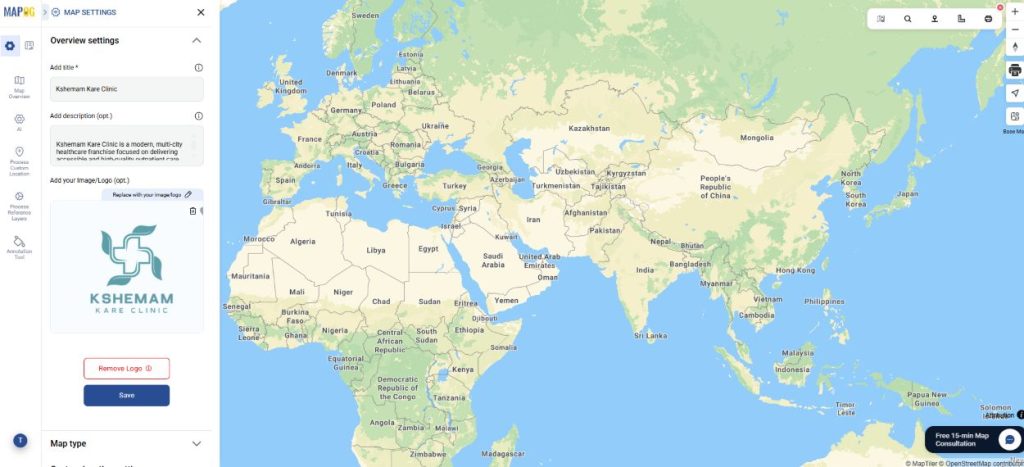
In map settings, using replace option, add the company logo and save
Step 2: Create new custom location template
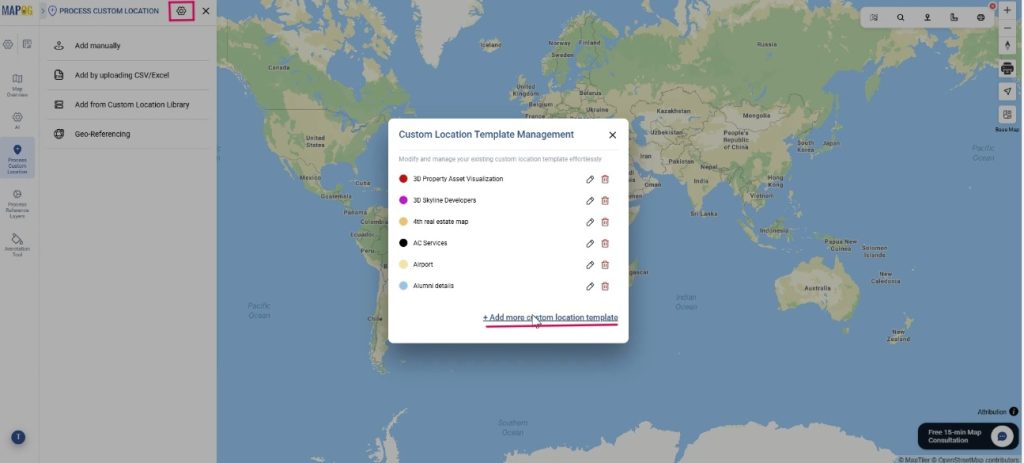
Next, go to Process Custom location to create your custom location template in order to add all the different attributes from your excel, go to custom location template settings and click on ‘+Add more custom location template’.
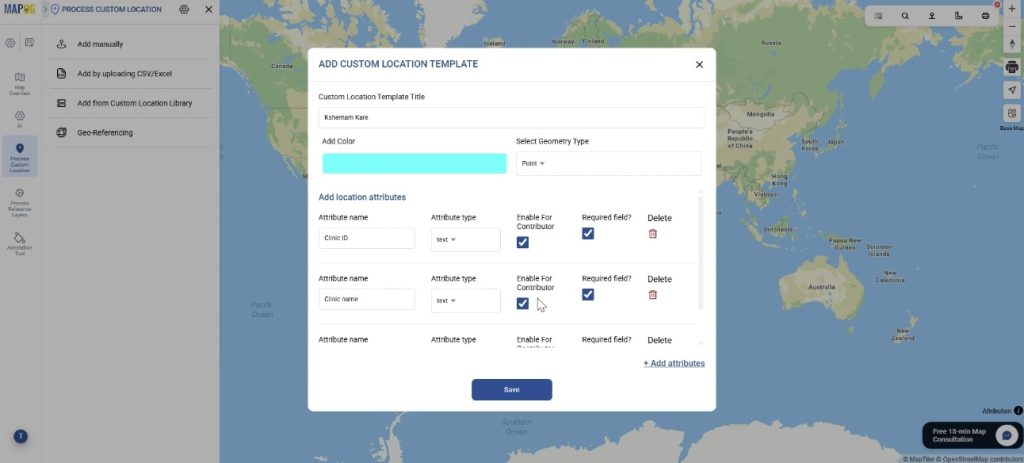
Further, add title, color and select geometry as a point. Then add all your attributes such as Clinic ID, name, etc. with attribute type such as select, multiselect. Also, add a book appointment attribute with type as website URL and display as button, that directs user to the book appointment page & save them.
Step 3: Add locations
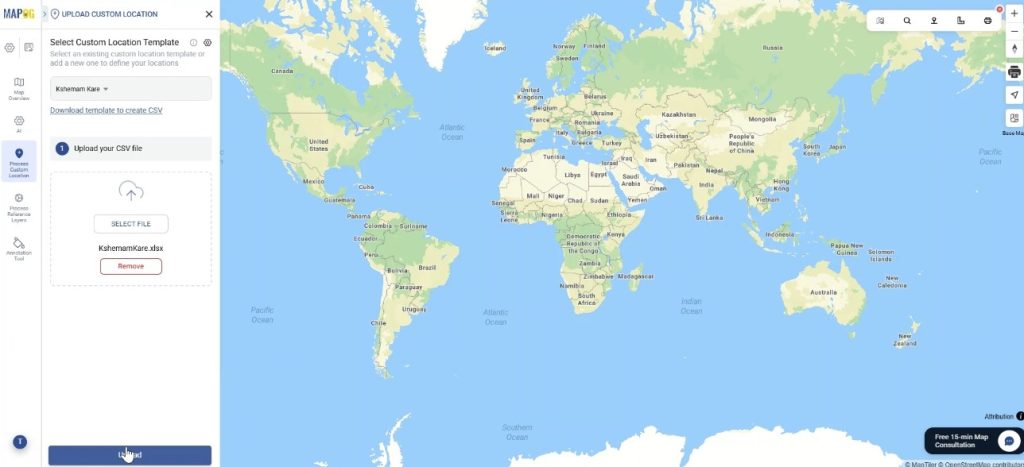
Now, in process custom location select ‘add by uploading CSV/Excel’, so that you can add all your details from the spreadsheet to the map. Here, select your custom location template from dropdown, browse excel file and upload.
Firstly, assign each point with a unique ID. This can be auto generated as well as assigned using an excel column. This is important for keeping track of locations and avoiding duplicates.
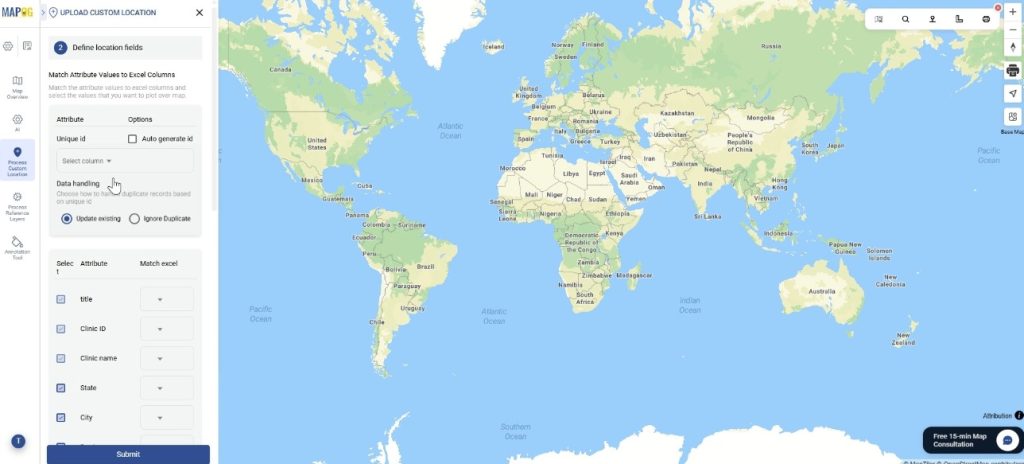
Next, match each custom attribute to its excel data column so that the data can be uploaded effortlessly. Lastly, select the field type and match your Latitude and Longitude column & submit. Your points will be auto-plotted on the map.

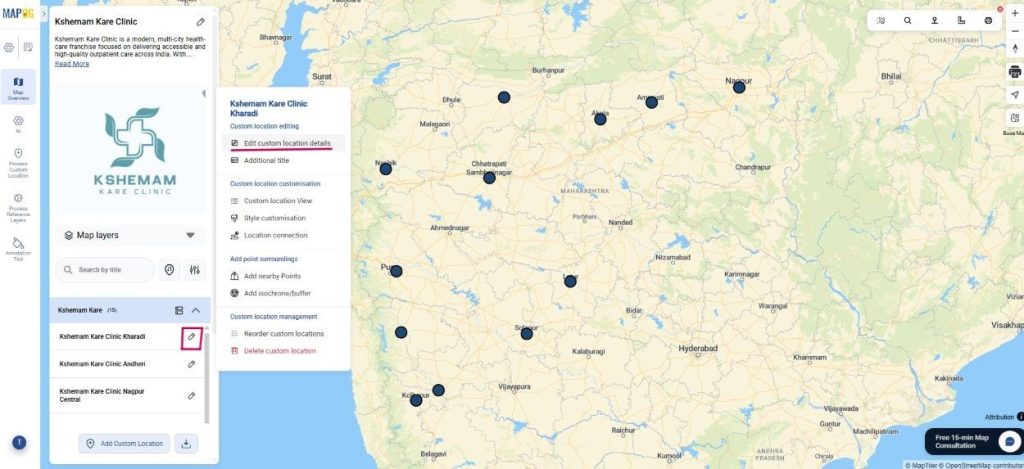
Step 4: Edit custom location details of map
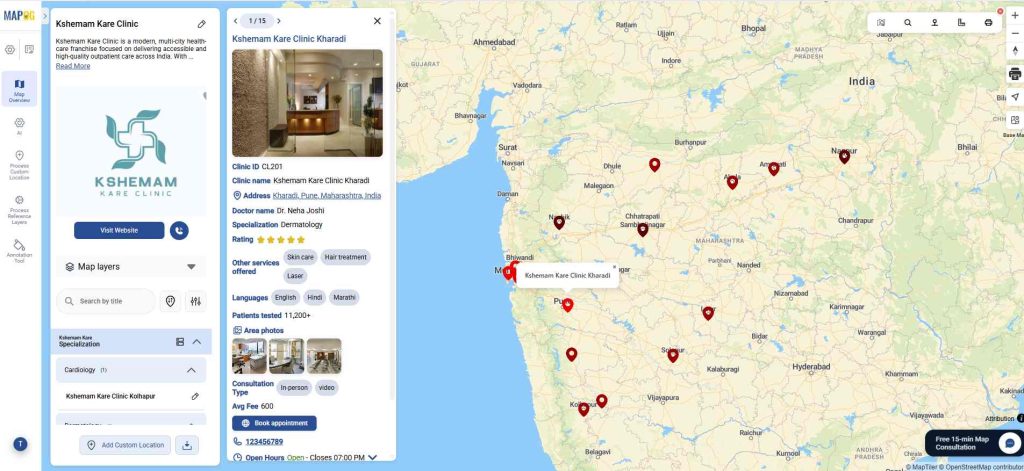
Optionally, you can choose to edit custom location details for each point. Go to edit custom location details.
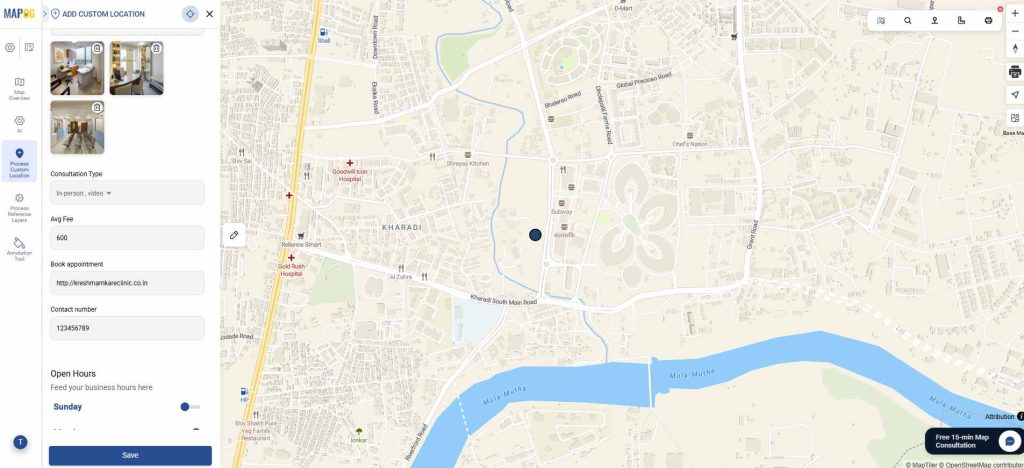
Add area photos, business hours, and other details. You can also add the Book appointment button URL to redirect users to the page and save.
Step 5: Group By, Filter and Sort your locations
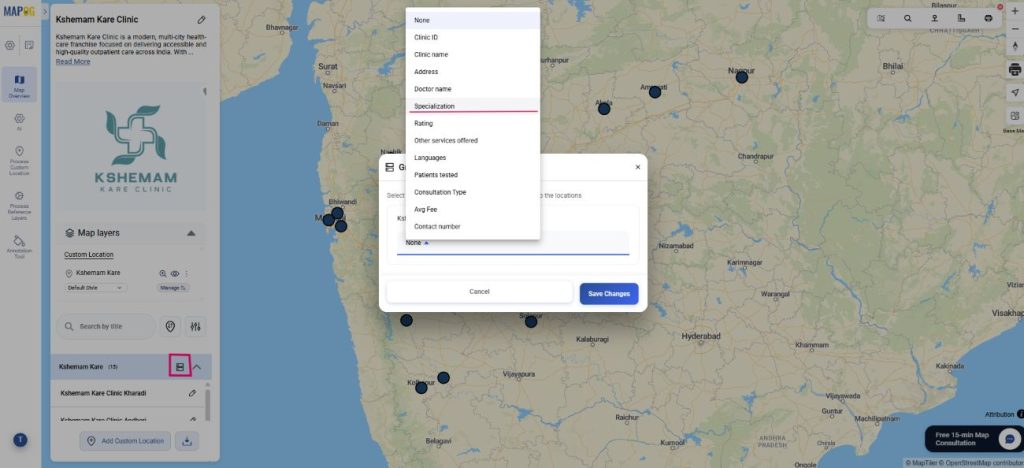
Next, organize your custom locations using “Group by Attributes”. Select the attribute that you want your data to be clustered into like Specialization. Therefore, data will be grouped based on specialization like cardiology or ENT.
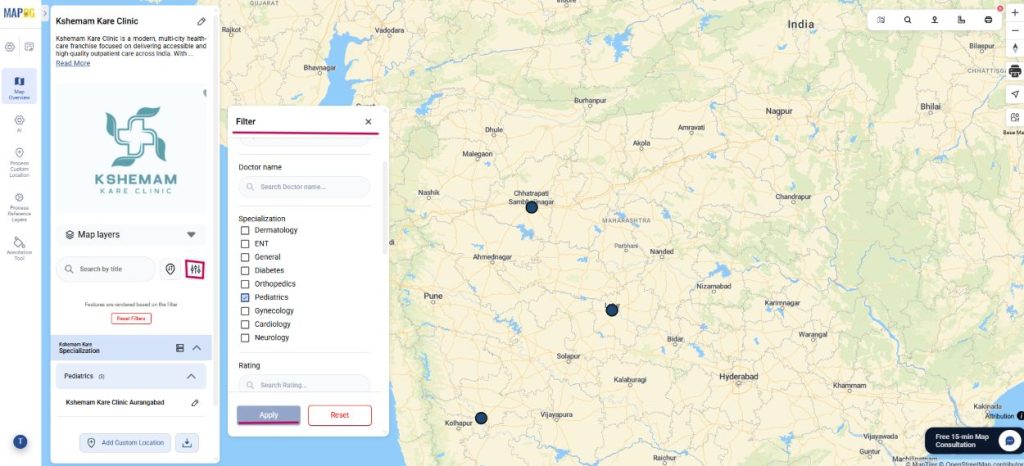
Using the Filter option, view locations selectively based on requirements. Go to Filter and you will view the clinics of your choice on the map.
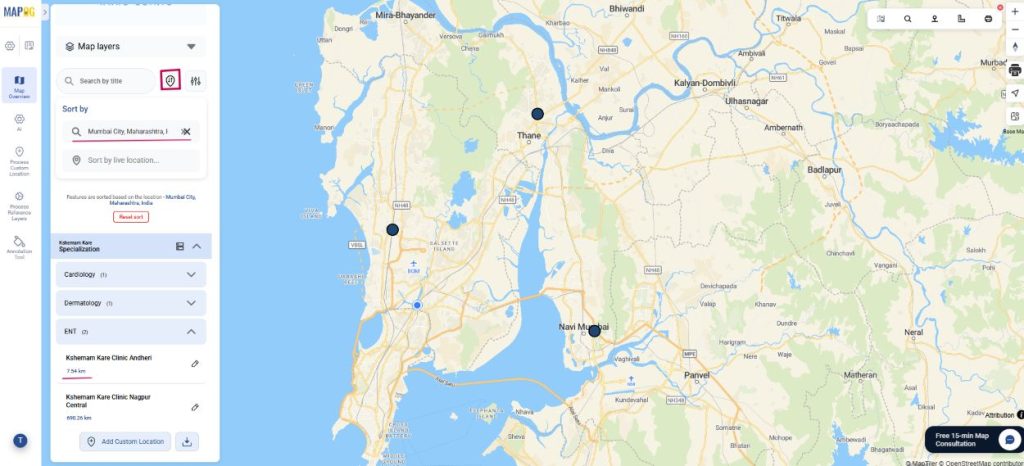
Finally, use ‘Sort by’ and view locations by live distance or by certain location. When you type any location, the system arranges the plots based on their proximity to the searched location and shows the distance from each property.
Step 6: Style your locations
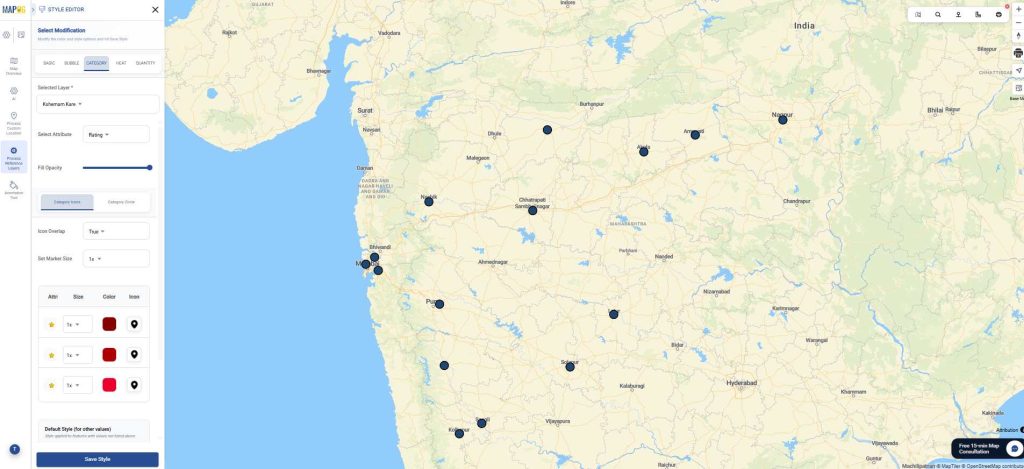
Now, to add style according to category, go to add layer style.
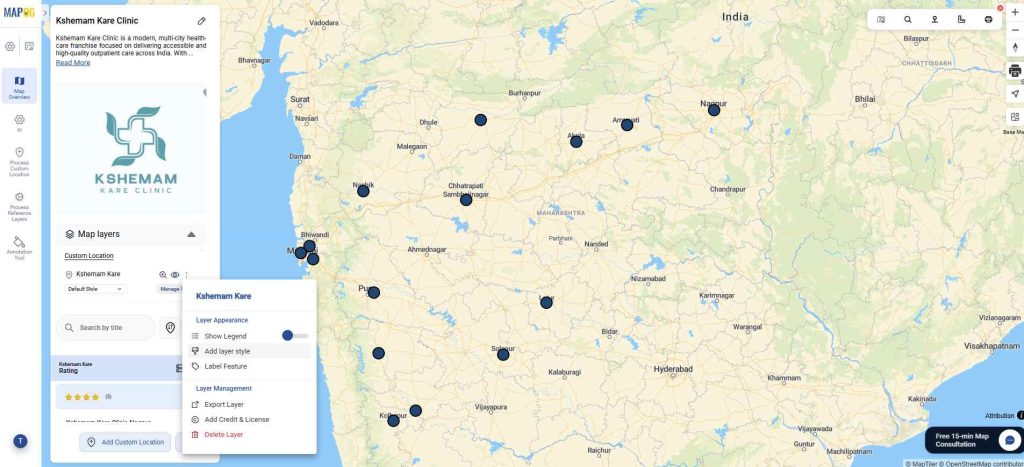
In category style, you can choose suitable attributes, assign a different colour or icon to each and save.
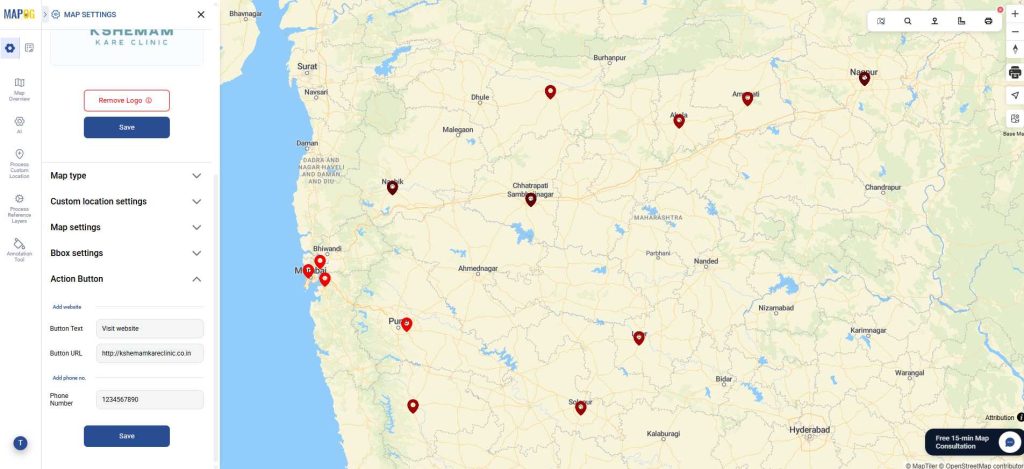
Step 7: Call to action button
To add this button for easy contact by viewers, go to map settings and action button. Here, fill in the text, website url and phone number, then save. It will show the website link and phone number instantly.
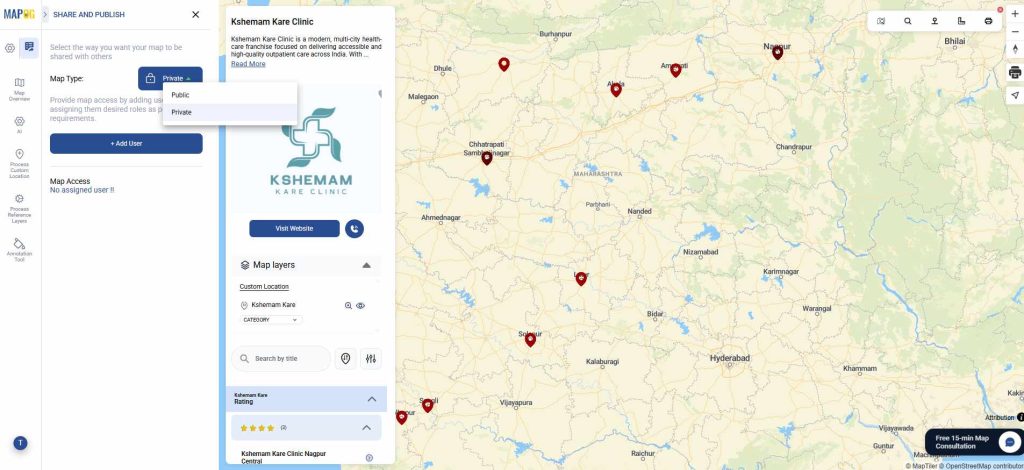
Step 8: Preview & Share map
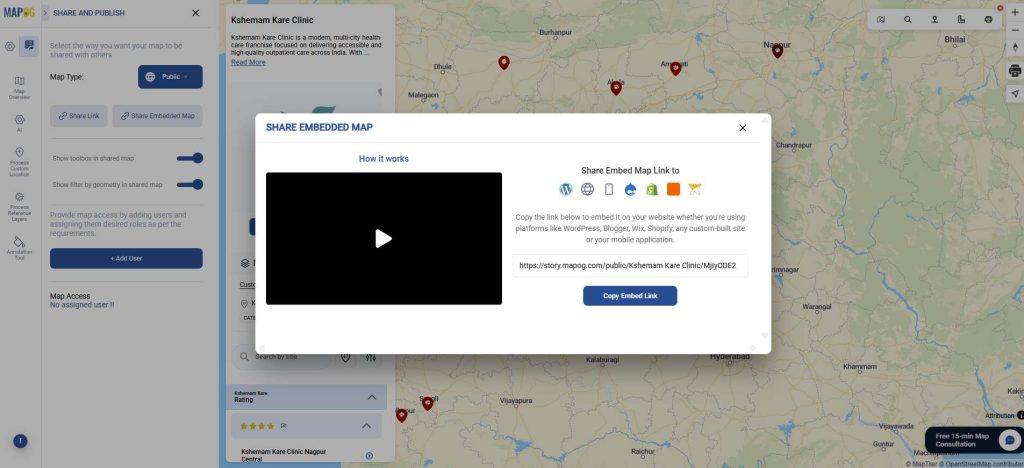
Finally, click on ‘Preview and share’. You can choose map type as private or public.
To share the map, you can share map link or embed map link to share it across platforms. Optionally, add users to the map for collaboration purposes.
Industrial Benefits
The Clinic Franchise Map enhances operational efficiency by standardizing processes across franchise locations, improves patient acquisition and retention through better accessibility, and enables data-driven decision-making for capacity planning, resource allocation, and overall service optimization. Businesses in other industries, such as retail, diagnostics, and service networks, can also extend the same model to streamline multi-location management and improve customer engagement.
Conclusion
The Clinic Franchise Map provides a scalable and efficient solution to modernize how clinic networks operate and engage with patients. By combining location intelligence with seamless booking capabilities, it not only simplifies patient access but also empowers franchises to deliver consistent, data-driven, and high-quality healthcare services.