As outdoor enthusiasts seek more rewarding and safe adventures, Smart Hiking Trail Planning goes beyond simply picking a path—it’s about understanding the bearings, distances, and key checkpoints along the journey through interactive mapping. Hikers often struggle to gauge accurate directions, track distances between waypoints, or identify important rest spots and landmarks. Without Smart Hiking Trail Planning, this lack of clarity can lead to miscalculations, safety risks, and missed experiences. With MAPOG, users can seamlessly visualise, bearings, measure distances, and map essential checkpoints, enabling smarter trail planning, safer navigation.
Key Concepts
Creating a smart hiking trail plan is more than drawing paths on a map; it’s about building a location-aware framework for safer and more enjoyable outdoor exploration. With MAPOG, users can visualise bearings, measure distances, and mark key checkpoints such as rest stops, water sources, and scenic viewpoints. This spatial insight empowers hikers to navigate confidently, park authorities to manage trails effectively, and tour planners to design enriched outdoor experiences—transforming every hike into a smarter, safer, and more memorable adventure.
Steps to Map the Hiking trail Smart Hiking Trail Planning:
1. Access MAPOG’s Mapping Platform
Visit MAPOG platform in your browser, Then lick on “Create New Map” in the top- right corner of the homepage to start creating your own map, then Add the title of your map and description telling us what it’s about. Then save.

2. Adding CSV file:
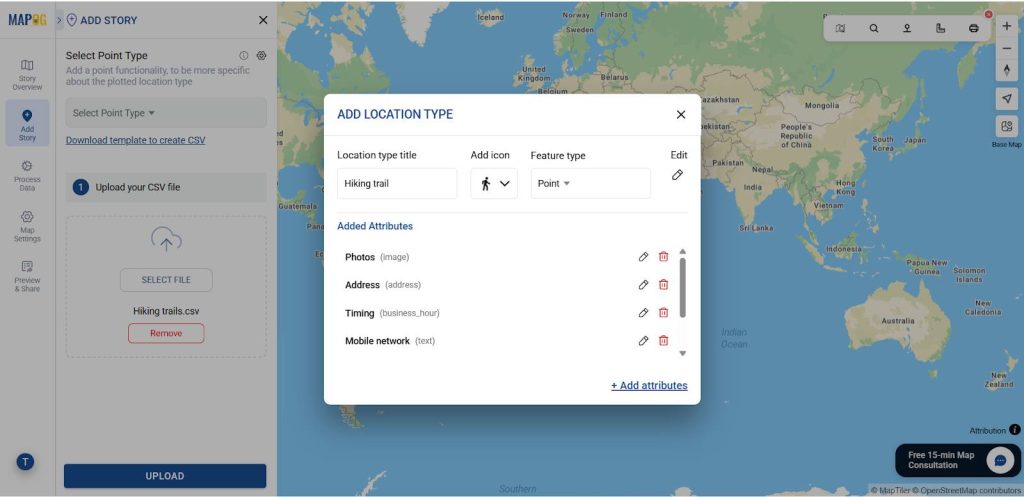
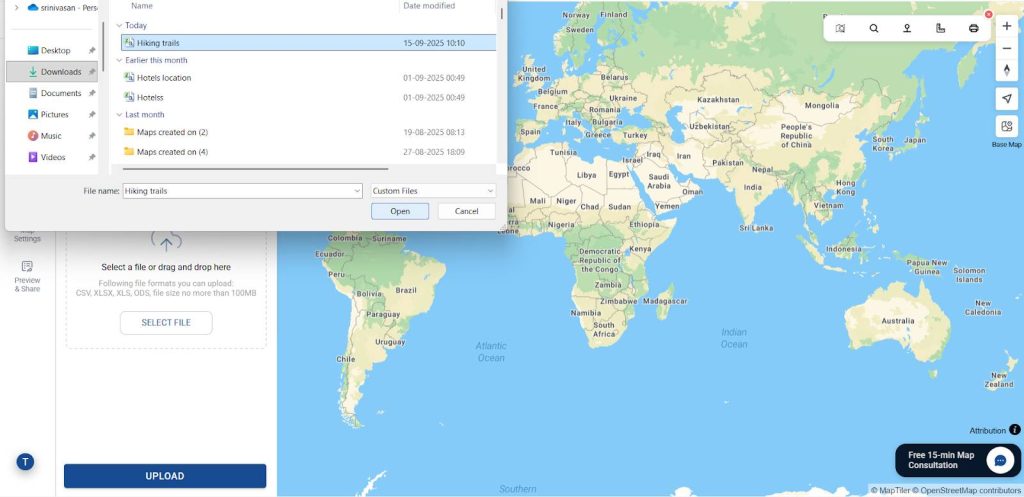
Go to the Add story, click “Add by Uploading CSV/Excel,” and then select the desired CSV file with attached details. Using the select point type settings option, add location type such as “Hiking trail” & add different relatable attributes to it such as address, photos & much more.
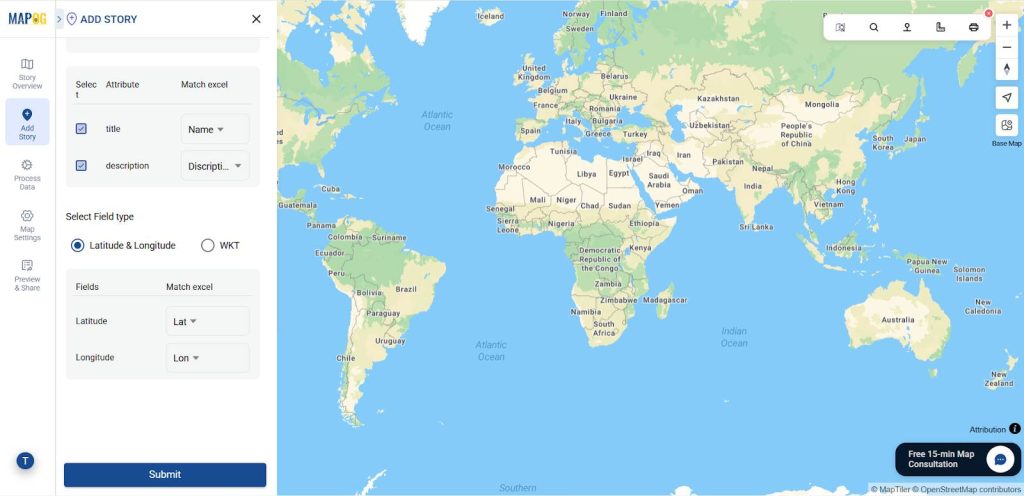
Then, match excel with attributes. In the title select Name, In select field type select your latitude in first coloum and select longitude in second column. Then give submit.
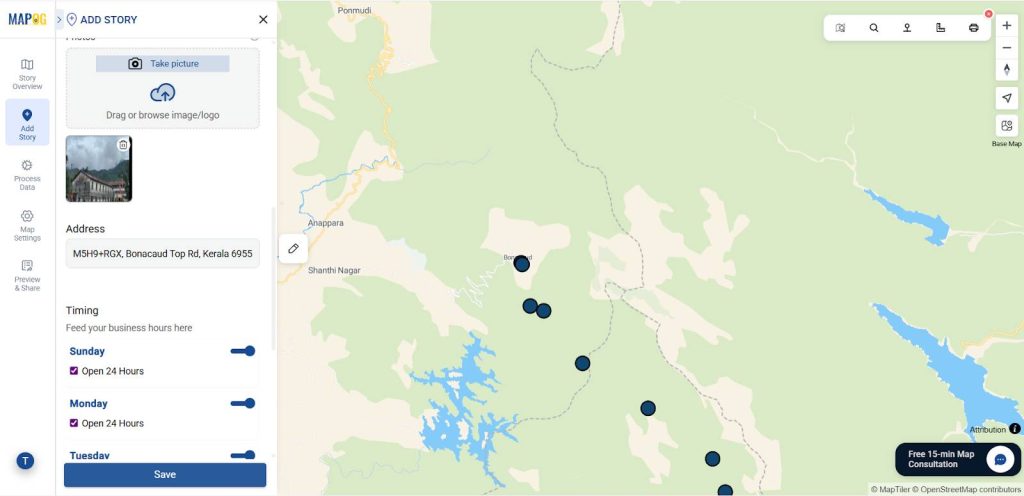
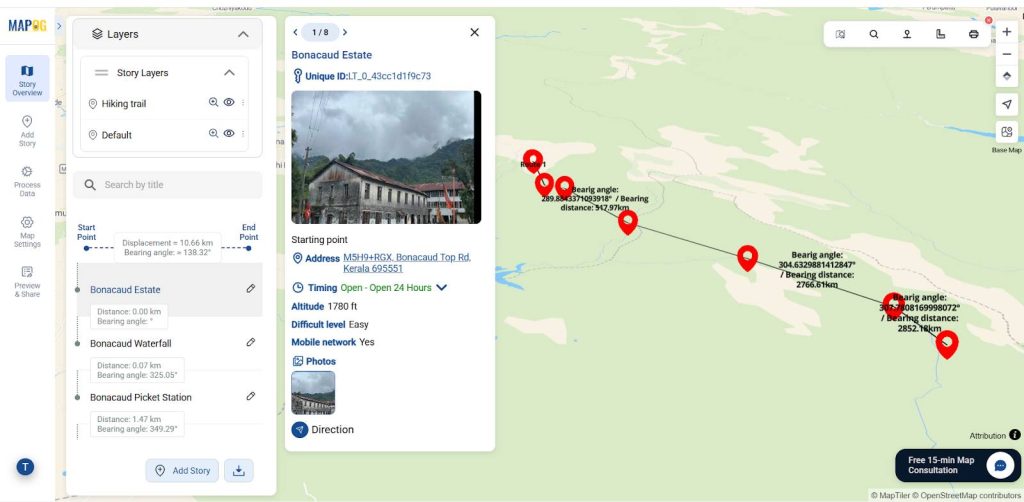
3. Editing your points:
Go to Edit point details. Then give a suitable image for your point and fill other required attributes then click save.
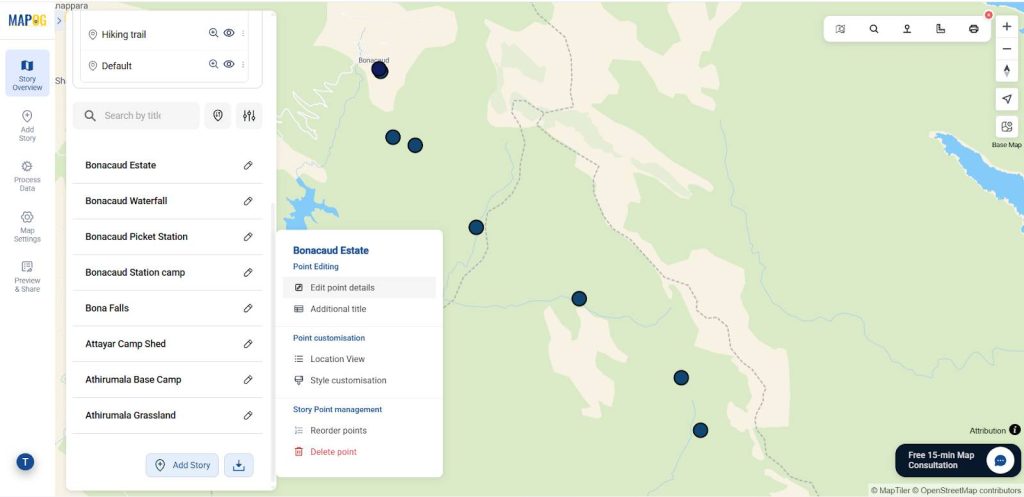
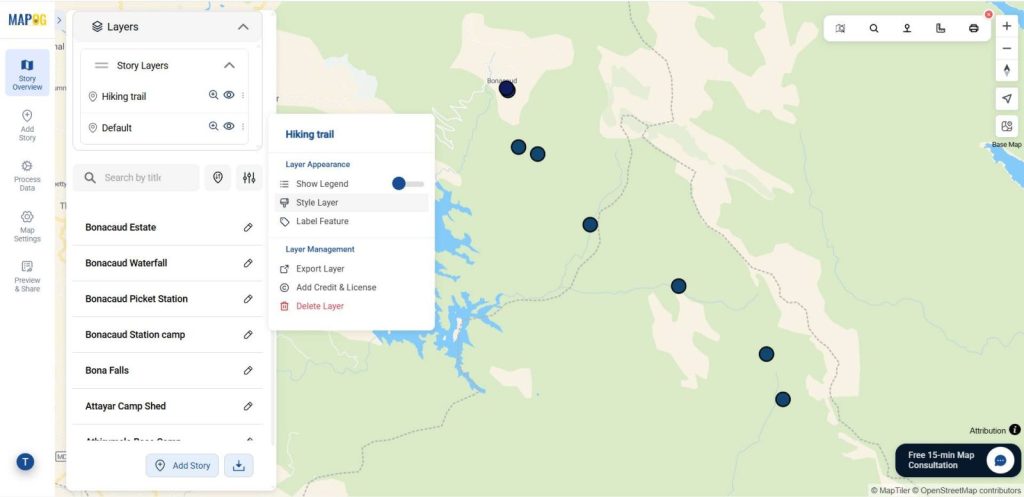
You can customize point icons using a style layer.

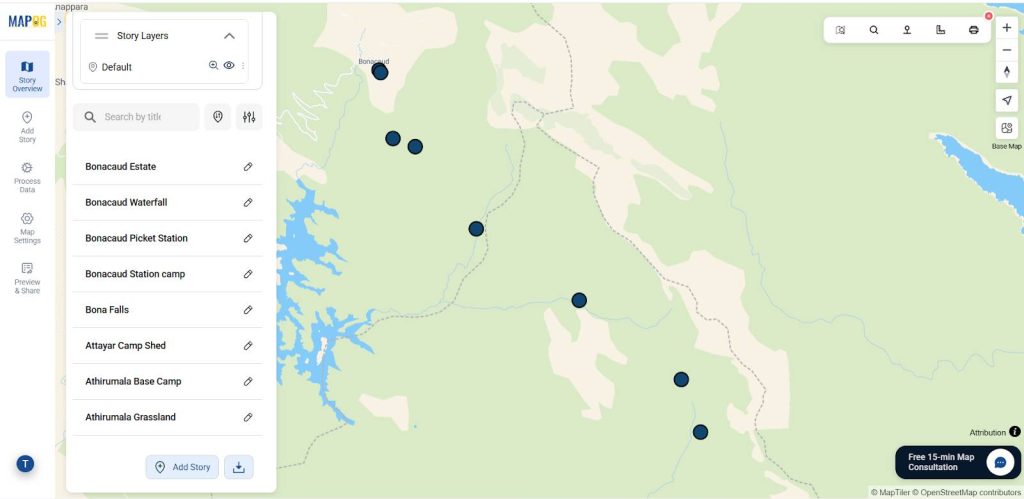
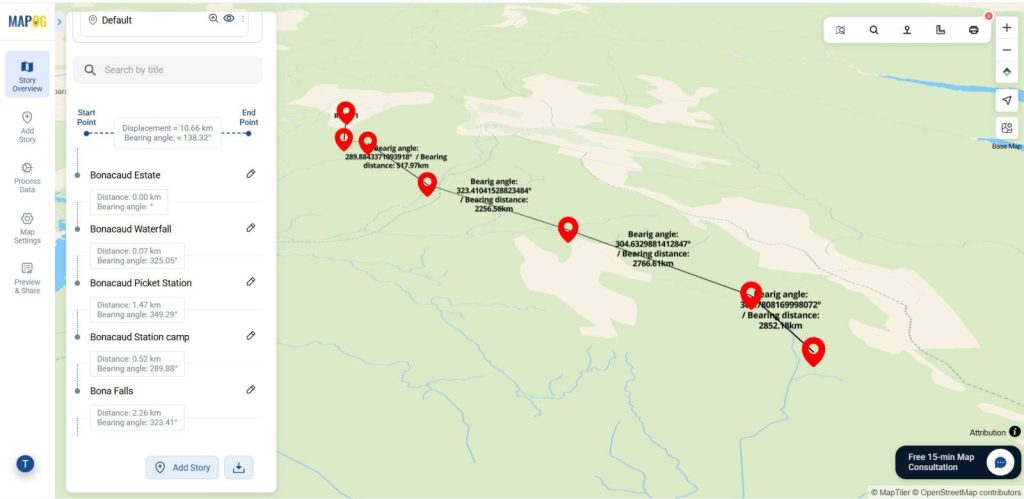
Then, change the map type into Bearing angle.
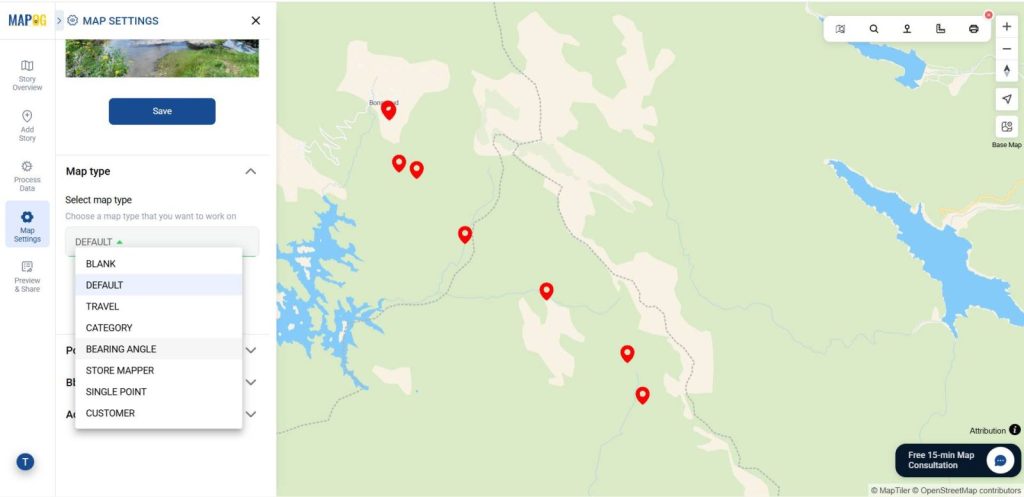
This way all the points will automatically generate distance & bearing angle that you can easily view in map interface.
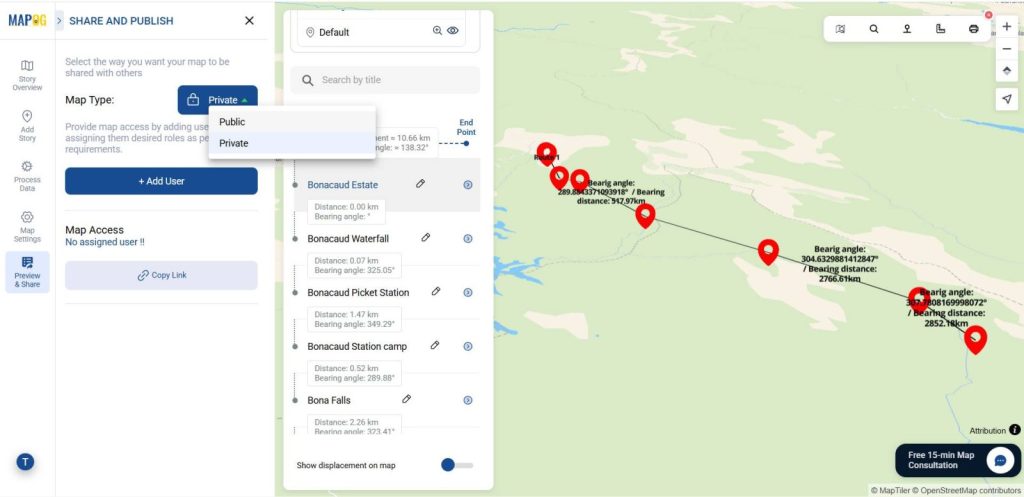
4. Share or Embed the Map Anywhere
Then go to the ‘Preview and Share‘ option, you can keep it private or change the map type to ‘Public’, this will enable the share link.
Who Can Take Advantage of Smart Hiking Trail Planning: Visualize Bearings, Distances, and Key Checkpoints
Firstly, hikers and adventure seekers can use interactive trail maps to plan safer routes, track distances, and identify key checkpoints for rest and navigation. Moreover, park authorities and trail managers can analyse route accessibility, monitor trail usage, and enhance visitor safety by integrating bearings and distance data. Finally, tour operators and outdoor activity planners can design customised hiking experiences, highlight scenic checkpoints, and promote eco-tourism more effectively.
Conclusion:
To begin with, Smart Hiking Trail Planning becomes seamless and impactful with the power of MAPOG. In addition, you can visualize bearings, measure distances, and identify key checkpoints—thereby empowering hikers, park authorities, and tour planners. As a result, they can make smarter, data-driven decisions for safer navigation, enhanced outdoor experiences, and more memorable adventures.
Here are topics related to this topic: